

Activating The Culture:
ACV Mother
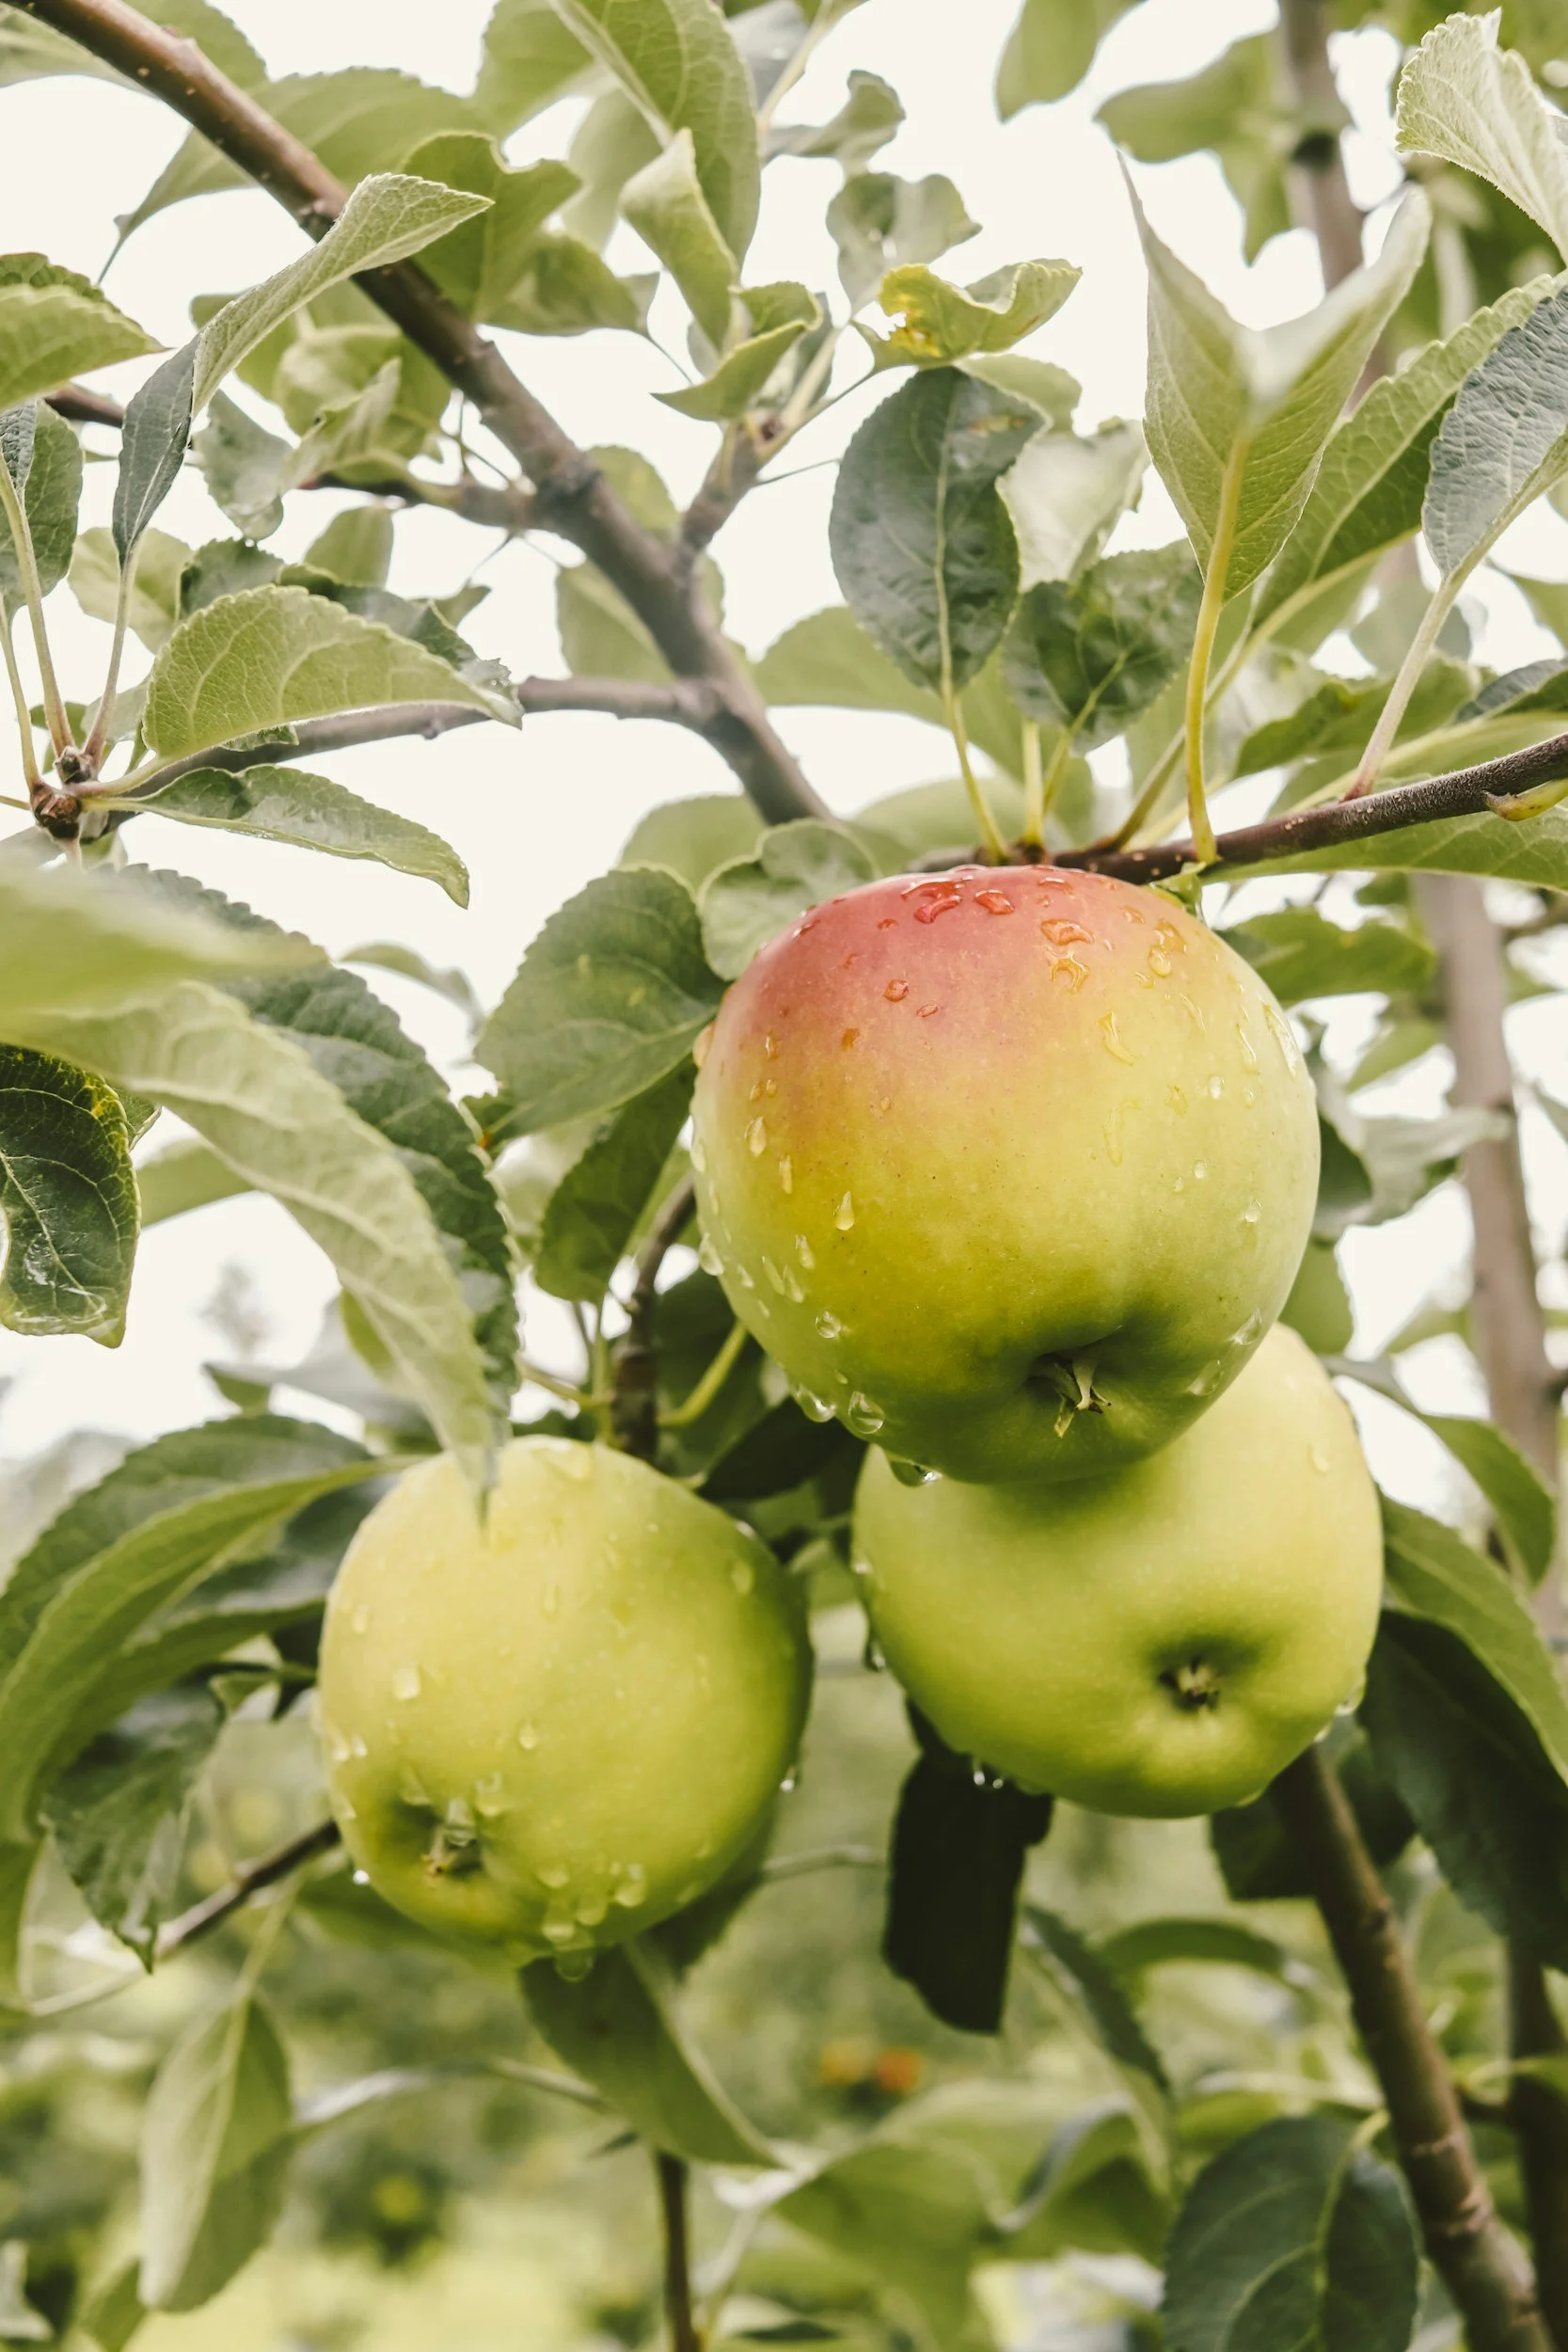
Apple cider vinegar (ACV) is a type of vinegar made from fermented apples. It undergoes a two-step fermentation process, during which apples are crushed, and their sugars are converted into alcohol by yeast. In the second stage, bacteria convert the alcohol into acetic acid, which gives ACV its distinct sour taste and pungent aroma.
ACV is renowned for its potential health benefits, which include aiding digestion, balancing blood sugar levels, and promoting weight loss. Many people also use it as a natural remedy for various ailments and as a flavor enhancer in culinary dishes, from salad dressings to marinades. Its versatility extends beyond the kitchen, as it can be found in beauty products and household cleaning solutions.
There are many ways to brew apple cider vinegar at home. We will go in depth into two of them. Each method calls for a vinegar mother but each recipe is very different so listen up and decide which is best for you and your lifestyle.
Method One
I call this the “Plain and simple’ OR “Who has time for that!” method. It’s pretty much a 1,2,3 and done. The hardest part is waiting for it to finish so you can enjoy the benefits. This recipe makes one quart of apple cider vinegar; adjust it if you want to make more.
Ingredients:
1/2 Gallon apple juice (Raw or pasteurized is fine)
1/2 cup strong apple cider vinegar starter (Need a vinegar starter? Find one in our shop!)
(Homemade apple cider vinegar tends to be less concentrated - if you’re using your previous batch, use double the amount of starter.)
How to brew:
Pour room temperature apple juice into a jar big enough for your ferment.
Next, add your strong starter vinegar and stir.
Cover with a coffee filter and secure with a rubber band. The yeasts and bacteria need access to oxygen, but you want to keep out dust and pesky bugs like fruit flies. The weave on cheese cloth is not near tight enough to keep out bugs. Trust us: they will burrow into the fabric and find their way into your ferment!
Ferment in a warm well ventilated area, out of direct sunlight for about 30 days. After about a week or two you will notice the juice has become a bit murky, and possibly a new vinegar pellicle has started to form at the surface. That’s a good sign of progress! Start tasting the vinegar at the 30 day mark. If it’s still on the sweet side, leave to ferment a few days longer and taste again.
Method Two
Ingredients:
5-6 Medium apples (Skin and cores are fine to use as well)
1/2 cup pure cane sugar
1/2 cup strong apple cider vinegar starter (Need a vinegar starter? Find one in our shop!)
1/2 Gallon un-chlorinated water
How to brew:
Combine Sugar and a 1/2 gallon of water in a jar large enough for your ferment. Stir until the sugar is dissolved.
Chop apples and remove the seeds. Add the apples to the sugar water.
Next pour in the strong apple cider vinegar and stir.
Cover the jar with a coffee filter and secure with a rubber band. Ferment out of direct sunlight for about 30 days. After about a week or two you will notice the juice has become a bit murky and possibly a new vinegar pellicle has started to form at the surface. That’s good. Start tasting the vinegar at the 30 day mark. If it’s still on the sweet side leave to ferment a few days longer and taste again.