

Activating The Culture: Buttermilk
Before we begin let’s discuss some side notes. Be sure to read our FAQs and activation page thoroughly before you begin.
If you are planning to make buttermilk with raw milk, please refer to our raw milk yogurt guide.
The first three batches need to be done back-to-back (one right after the previous batch, with no more than 24 hours in between batches).
Our mesophilic buttermilk is an heirloom culture, meaning you can use a portion of your last batch to make the next one.
The cultures will not fully dissolve, and you may notice some lingering culture flakes in the next batch or two. This is very normal.
Ensure that you refresh your buttermilk by preparing a new batch every five to seven days. If you need to take a break, freeze some buttermilk in ice cube trays, and when you’re ready, just pop out a couple of cubes. Depending on how old the buttermilk cubes are, you might need to double the amount of starter.
Once your buttermilk is active and consistently giving you good results, save some as a backup. Always keep your backup in the freezer and replace it every couple of months. Regularly rotating your backup will keep your cultures fresh.
The first batch of buttermilk may be runny or still liquid, which is normal during activation. The texture and flavor will develop over several batches.
Mesophilic buttermilk thrives between 68°F and 78°F. If you are fermenting at the lower end of this temperature range, be aware that the fermentation process will take significantly longer. It may require a couple of additional batches to achieve full activation.
Each packet contains enough starter to technically activate two batches. If you choose to use only half of the packet, please ensure that you adjust the quantity of milk accordingly.
Let's begin. Here's what you need:
Mesophilic buttermilk culture
1 cup milk
Glass jar
Rubber band
Coffee filter or lid
Activating The Culture
Add your buttermilk starter to a clean jar.
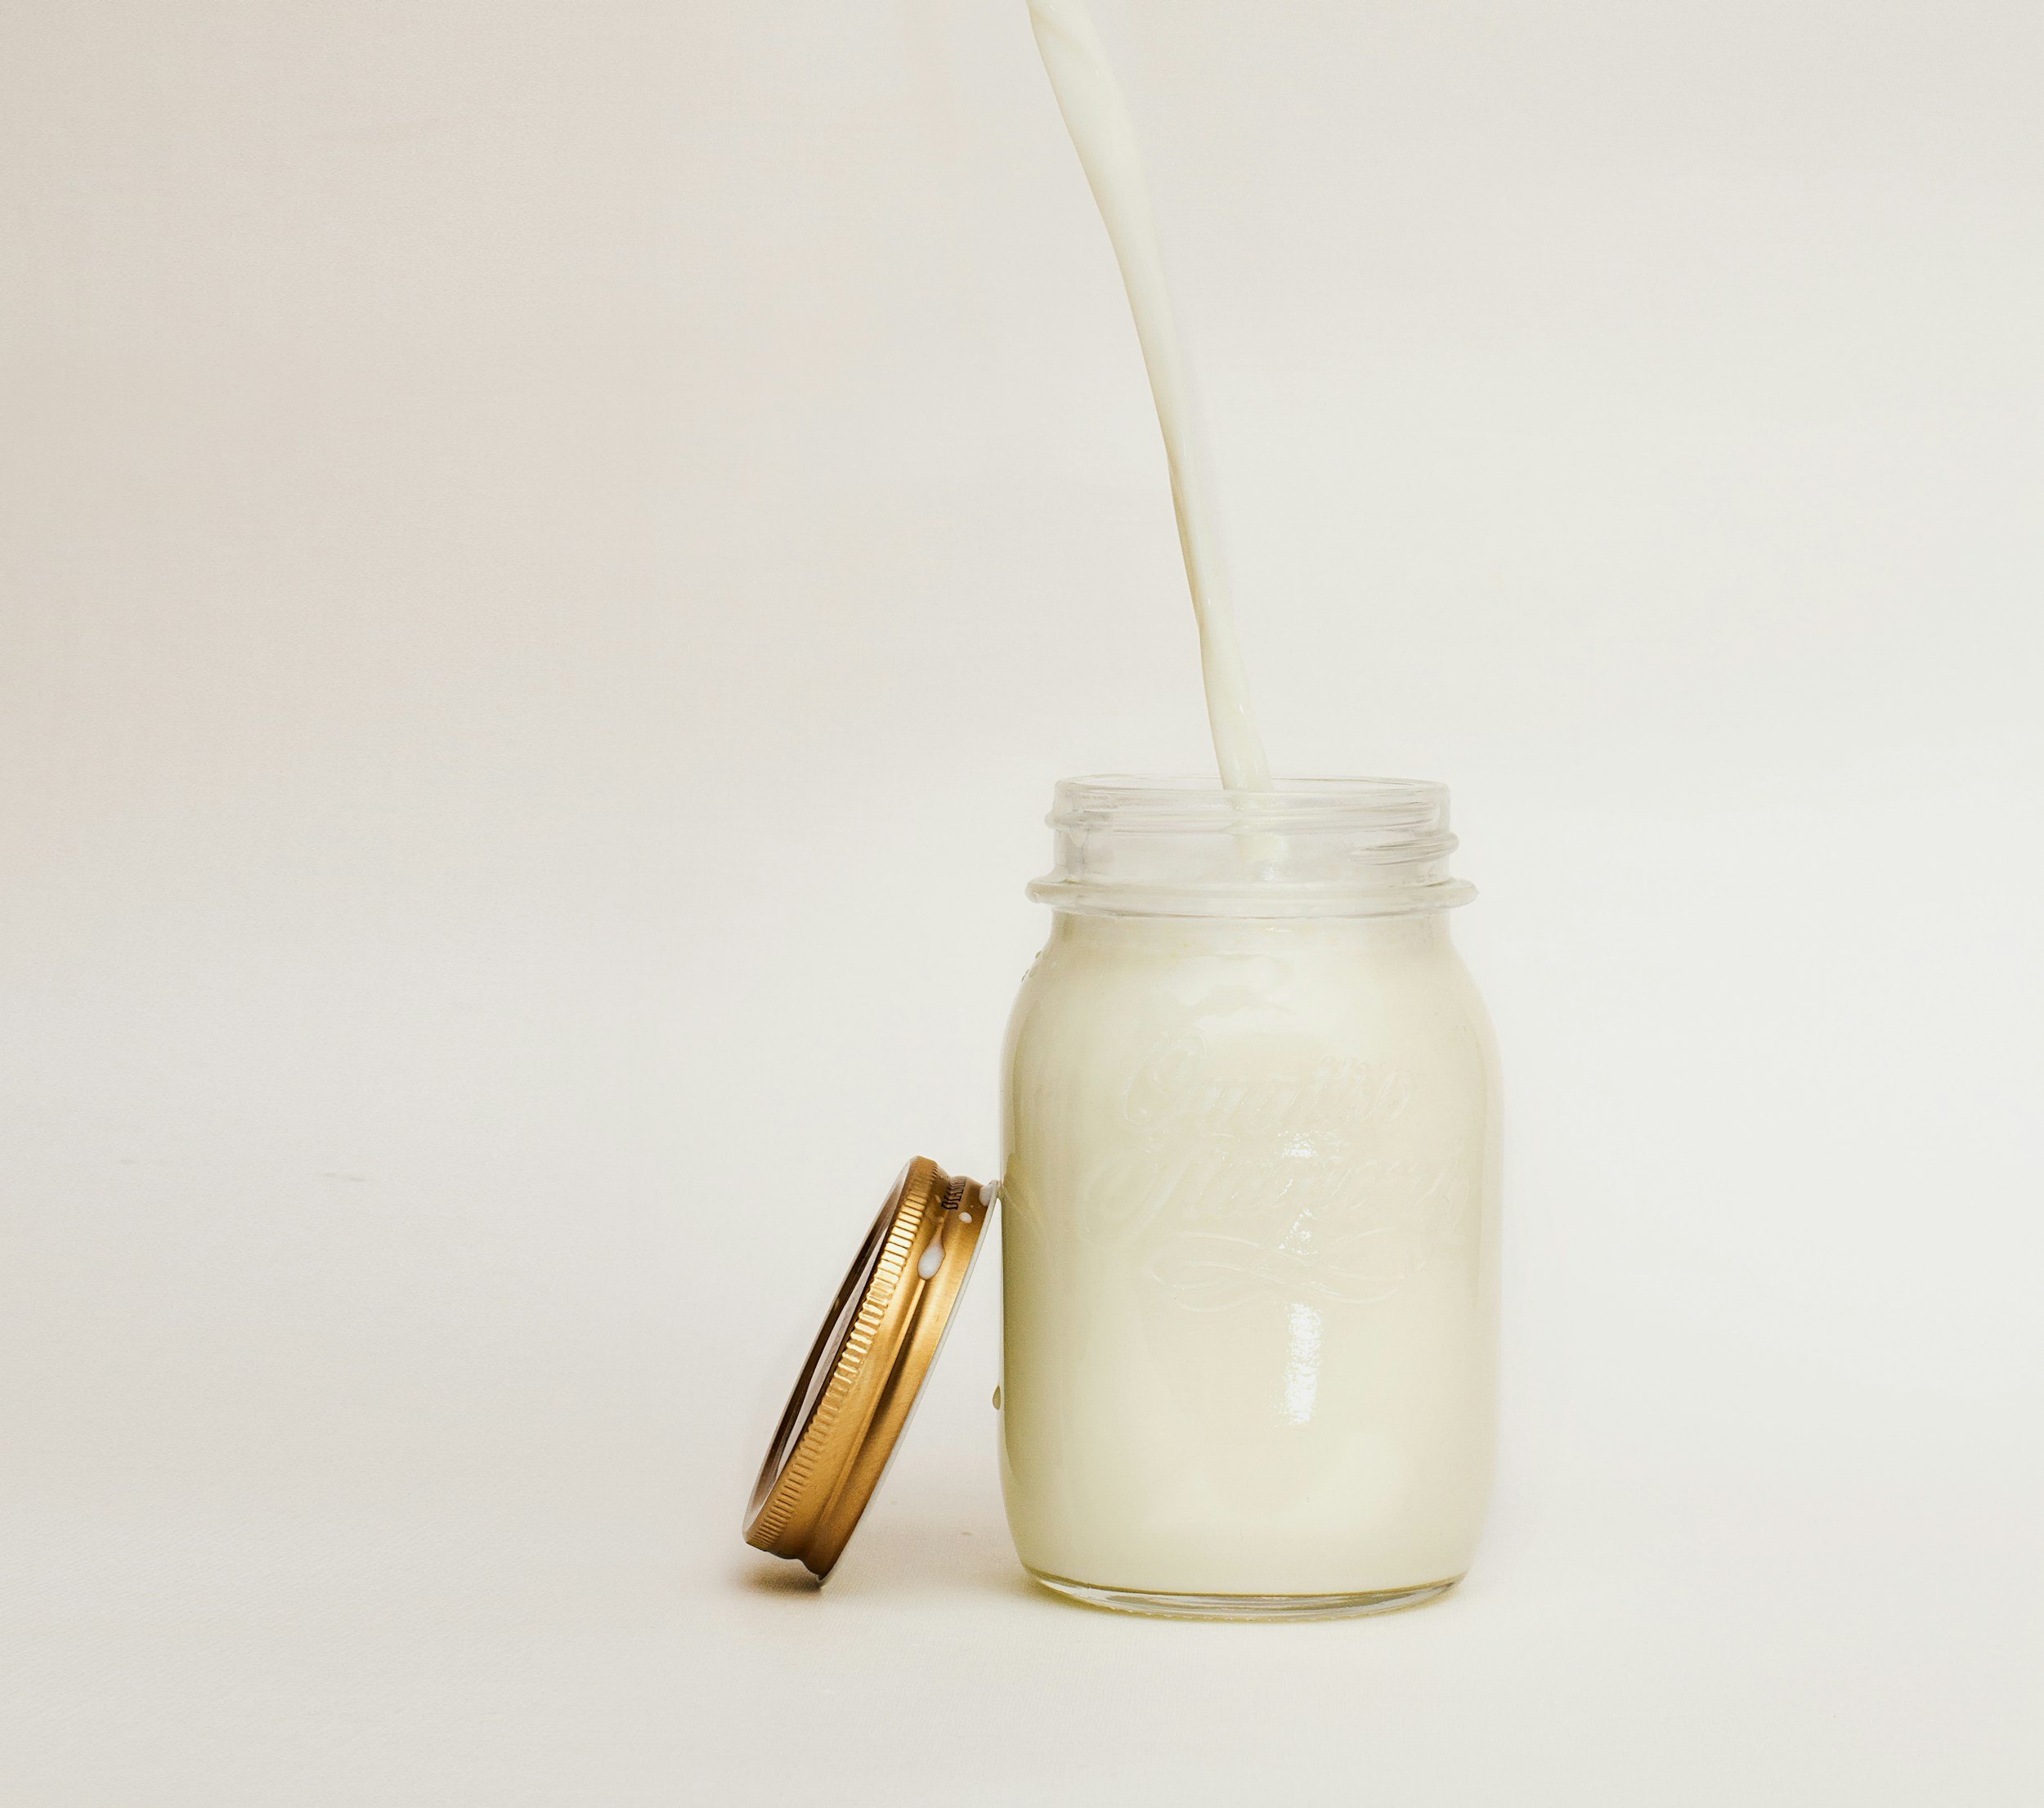
Pour 1 cup pasteurized milk over cultures, stir well and let sit for a few minutes to re-hydrate.
Stir again and cover with a coffee filter secured by a rubber band or loose lid.
Culture at room temperature between 68-78 degrees Fahrenheit. Once it thickens OR at the end of 48 hours (WHICHEVER COMES FIRST)
Optional: Place in refrigerator for 6 hours.
It’s OK if it’s still liquid. The consistency will improve over the next few batches.
You can now go on to the next step in the activation process and make your next batch of buttermilk.
Making Batch 2-3
To make second batch, add 1 TBSP of your first batch of buttermilk to 1 cup of milk.
Stir well and cover with a loose lid or coffee filter secured by a rubber band.
Let buttermilk sit at room temperature for 12 to 24 hours. It's ready when firm and separates from the jar when tilted slightly.
Optional: Place in refrigerator for 6 hours.
Repeat this process to create batch three, using the starter from batch two this time.