

Activating the Culture: Sourdough
Helpful Things to Know Before You Start
The starter will not fully dissolve. This is normal.
All measurements are by weight. I will include at the bottom a sort of by volume measurement. Just keep it in your mind that volumetric measurements are not as reliable as weight, so your results may be quite inconsistent. That’s not to say you won’t have great results, because you probably will! Why are we harping on this weight business? To put it simply, it’s because you’ve added more and new variables to your baking experience. Ambient humidity, compression of flour (sift to avoid that one), the absorption capabilities of this or that flour (some really are thirstier than others!), the actual fineness of the flour, so on. Beyond that, though, water and flours differ in density, so the flours won’t have the same volume to weight ratio as water does. For example: Our favorite brand of all purpose flour is approximately 146 grams per cup. Water is approximately 236 grams per cup (pro-tip: with water, the volume in mL is equal to the weight in grams). That’s a big difference especially when you want a 1:1:1 ratio by weight. A scale can be purchased rather cheaply, and we encourage you to do so.
How To Measure the Amount of Starter You Currently have: Take the weight of the jar and starter then subtract the weight of the jar. That amount is what you have in starter.
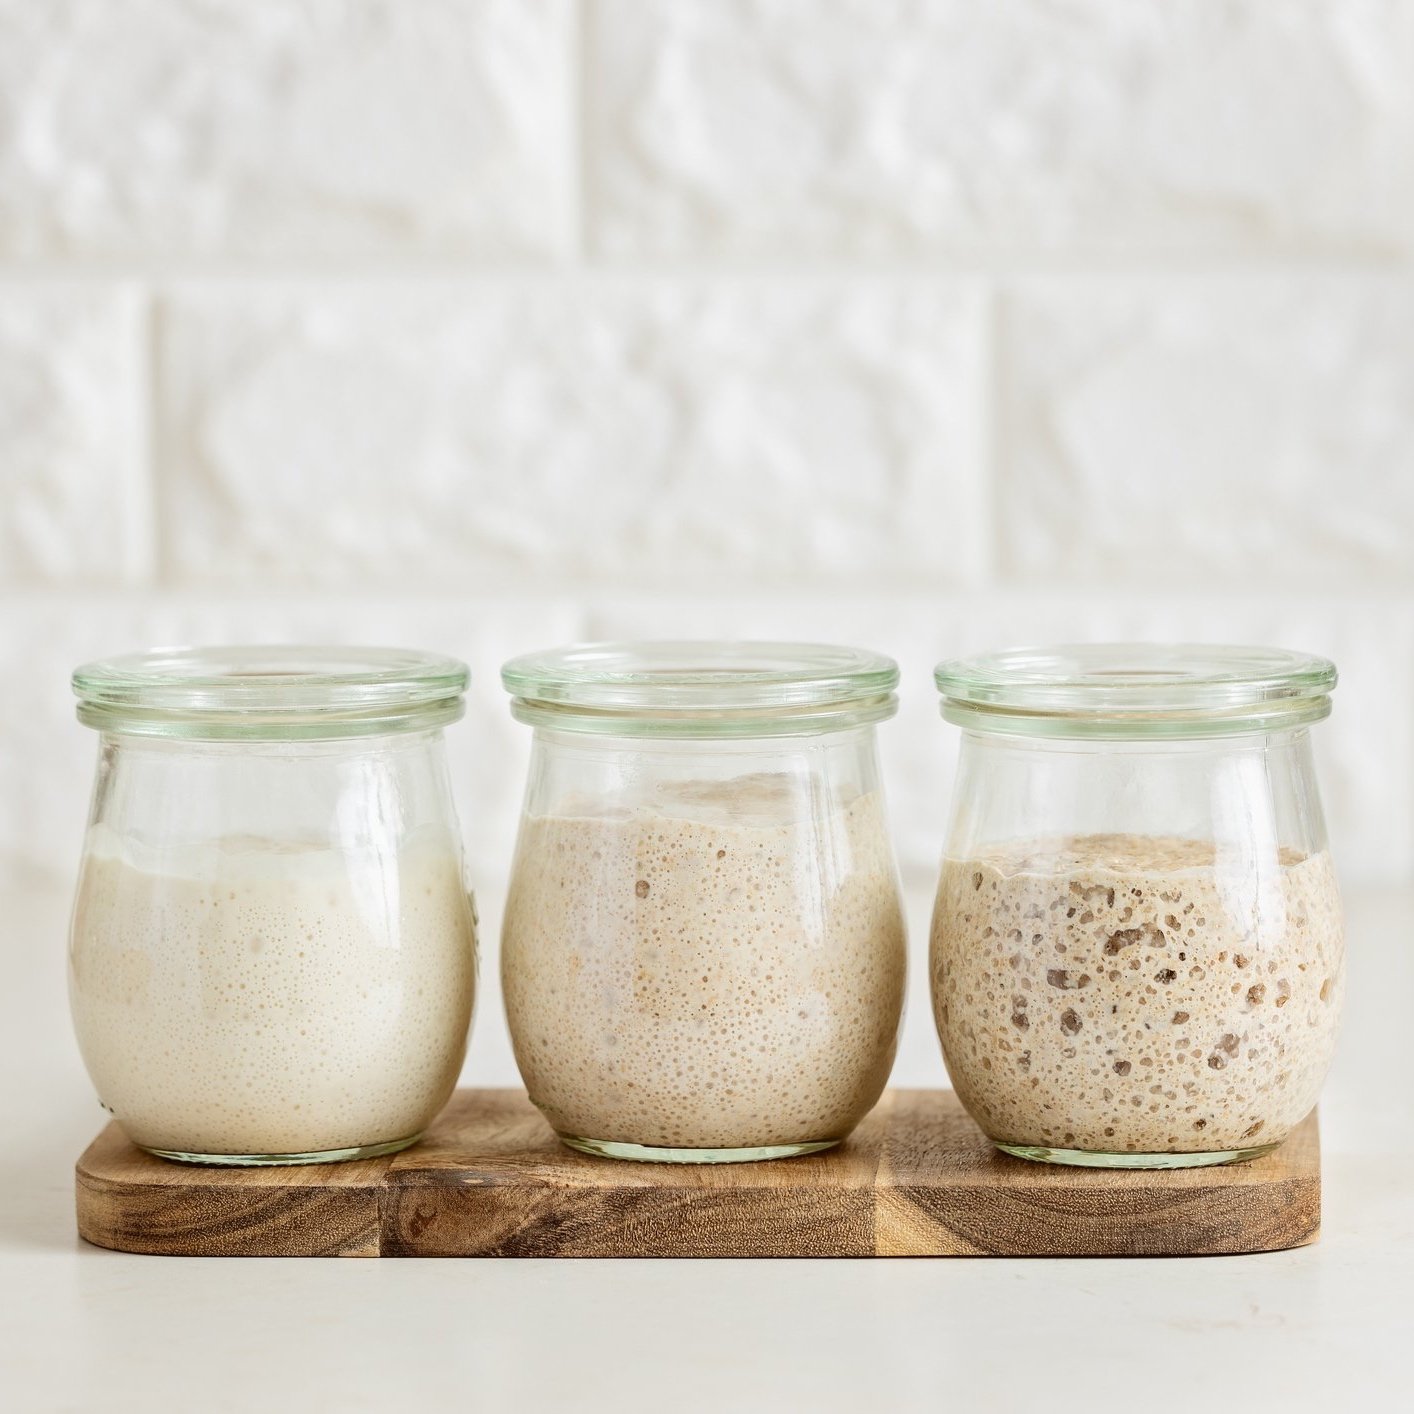
Gluten-Free starters are activated the same way, but generally will not have the same “pancake consistency” you get with glutinous grains (sometimes it will be same or runnier but usually it will be paste). They also tend to not double in volume after a feed. Don’t get discouraged by these two differences, as they have nothing to do with the performance of the starter.
You should be at the very least feeding your starter every 24 hours.
The float test is a myth. Enough said.
Take It One Day At A Time
Day One
Combine the sourdough culture with 40g of room temperature water and let sit for a minute. Stir again.
You may need to add a little extra water for the activation batch. The consistency you are looking for is a thick pancake batter.
Add 30g of flour and mix until thoroughly incorporated.
Cover the jar with coffee filter and secure it with a rubber band or loose lid.
Leave to ferment in a warm spot for 24 hours.
By volume: 1/4 cup water & 1/4 cup flour. We understand that volume may be incorrect depending on the flour being used. You may need to add more or use less water. The consistency you are looking for is a thick, pancake-like batter.
Day 2
After 24 hours, simply give the mixture a gentle stir and then leave it undisturbed for another 24 hours. This extended period enables the culture to further activate as it consumes the nutrients provided without overwhelming them with new flour.
Day 3
This will be your first feeding.
On day 3 you are going to add 30g of room temperature water and stir.
Add 30g of flour and stir again.
Cover and let ferment in a warm spot for 24 hours.
By volume: 1/4 cup flour & 1/4 cup water (Again, think thick pancake batter.)
Day 4
This will be your second feeding and first discard.
By day 4 you should be seeing some activity in the form of bubbles. If not, that’s OK just keep going. DO NOT THROW OUT THE SOURDOUGH STARTER.
Remove all starter in the jar until you have 30g of starter remaining.
Feed the remaining 30g of starter 30g of water of room temp water and stir.
Add 30g of flour and stir to incorporate.
Cover and let ferment in a warm spot for 24 hours.