
Cultured Butter
Butter is crazy expensive these days, alongside everything else. I don’t normally pay a lot of attention to butter prices since I generally buy it 1-2 times per year, when Kroger has it on sale for $1.88 per pound. I have my doubts that those days are coming back. I was down to 9 pounds of butter in the freezer, so I guess we’ve been using more butter than usual. I should’ve had around 15 in there when I did inventory right before deciding to make butter. Saw at all the stores that sale priced butter is $3 per pound, and that seemed unreasonable to me, given that Aldi sells cream for $1.75 per quart.
This price may be higher or lower in your area, but that’s what it is in Houston. My assumption is that if the price of Aldi cream is higher, the butter prices are commensurately higher. That’s because cream has been in shortage in various regions, as of this writing, but not all. High demand for butter also can increase cream prices in some regions, and my favorite Aldi employee told me people have recently been buying full cases of cream when I went back for more cream for the upcoming Cultured Butters Comparison: Sour Cream Edition. I assume they’re also making butter. I had to go to 2 more stores to get the case I needed for the rest of the sour cream portion of my new project.
From a quart of cream, you generally get a pound of butter and a pint of buttermilk. So the $3 butter is nearly double the cost of its raw ingredient and far more than double if you add in whatever the cost of a pint of buttermilk typically is? Pass. It also doesn’t taste as good. If you’ve had freshly made butter, you know what I’m talking about. If you haven’t, you are in for a real treat! Homemade butter tends to be as delicious (sometimes more so) than the European half-pounds of butter you can buy for $4-10. Again, passing on the high costs but accepting the yums!
I went to Aldi for cream.
Since I decided I liked myself that day, I only (haha) bought 5 quarts of cream. Yes, I did explain to the lovely cashier why I was buying so much cream. No one should be paying $3 for a pound of butter when they can make it themselves cheaper (less labor costs) and homemade butter tastes way better. She seemed pretty excited to stop paying so much for butter. It would’ve taken me 1 day of properly working on this to do 10 quarts of cream/pounds of butter, but I prefer a lazier style of kitchening, so 5 pounds is as much as I’m willing to do make in a day.
You absolutely can make butter without culturing the cream first. But even though I often don’t treat this blog as such, it is technically a fermenting blog, so I figured I should go on ahead and culture it. Also, cultured butter genuinely tastes better.
I used the crème fraiche culture because I have a boatload of French sea salts to “match” to that culture. For these butters, all were made with Guerandais fleur de sel. Boatloads of this stuff, so now the culture and the salt are match-match! You can use any salt, though. I’ve salted butter with $0.40 iodized salt. It was delicious. Whatever salt you have is fine and you do not need to buy fancy salts. If you’re going to buy fancy salts, though, do it at Home Goods. The prices are incredibly reasonable for good amounts of whichever salt they’ve got.
You should use whatever culture you have for this, if you intend to culture your cream before churning it. Any mesophilic yogurt, sour cream, clabber, or milk kefir grains will get that job done for you. Easier, if you have cows (or other milk-producing livestock) to simply let the cream clabber overnight before making your butter.
To churn your butter, you can use an actual churn if you have one. I really want one, but I do not have one. During our more expansive portion, I longed for a churn. You also can shake up the quart itself if it has a resealable screw-top lid. You can also use a mason jar. Or a food processor. Or a stand mixer. Or basically anything that will allow you to separate the fat out of the cream. I used a stand mixer, because I’ve had my friend Leah’s stand mixer on permanent loan for around a decade. Real talk here, though, is that if I’m only making one pound of butter, it either stays in its carton or it goes in a mason jar and is handed to Ross for churning. I really, really hate doing dishes, so small quantities get manual labor and large quantities get more dishes needing to be washed.
The rest of this post will be done principally with pictures. Butter-making is really easy, but it is a little less easy if you don’t have visual references to explain the myriad steps. Thus, the remainder will by-and-large be visual references with some notes in captions that you’ll want to read. I’ll try to keep them brief.

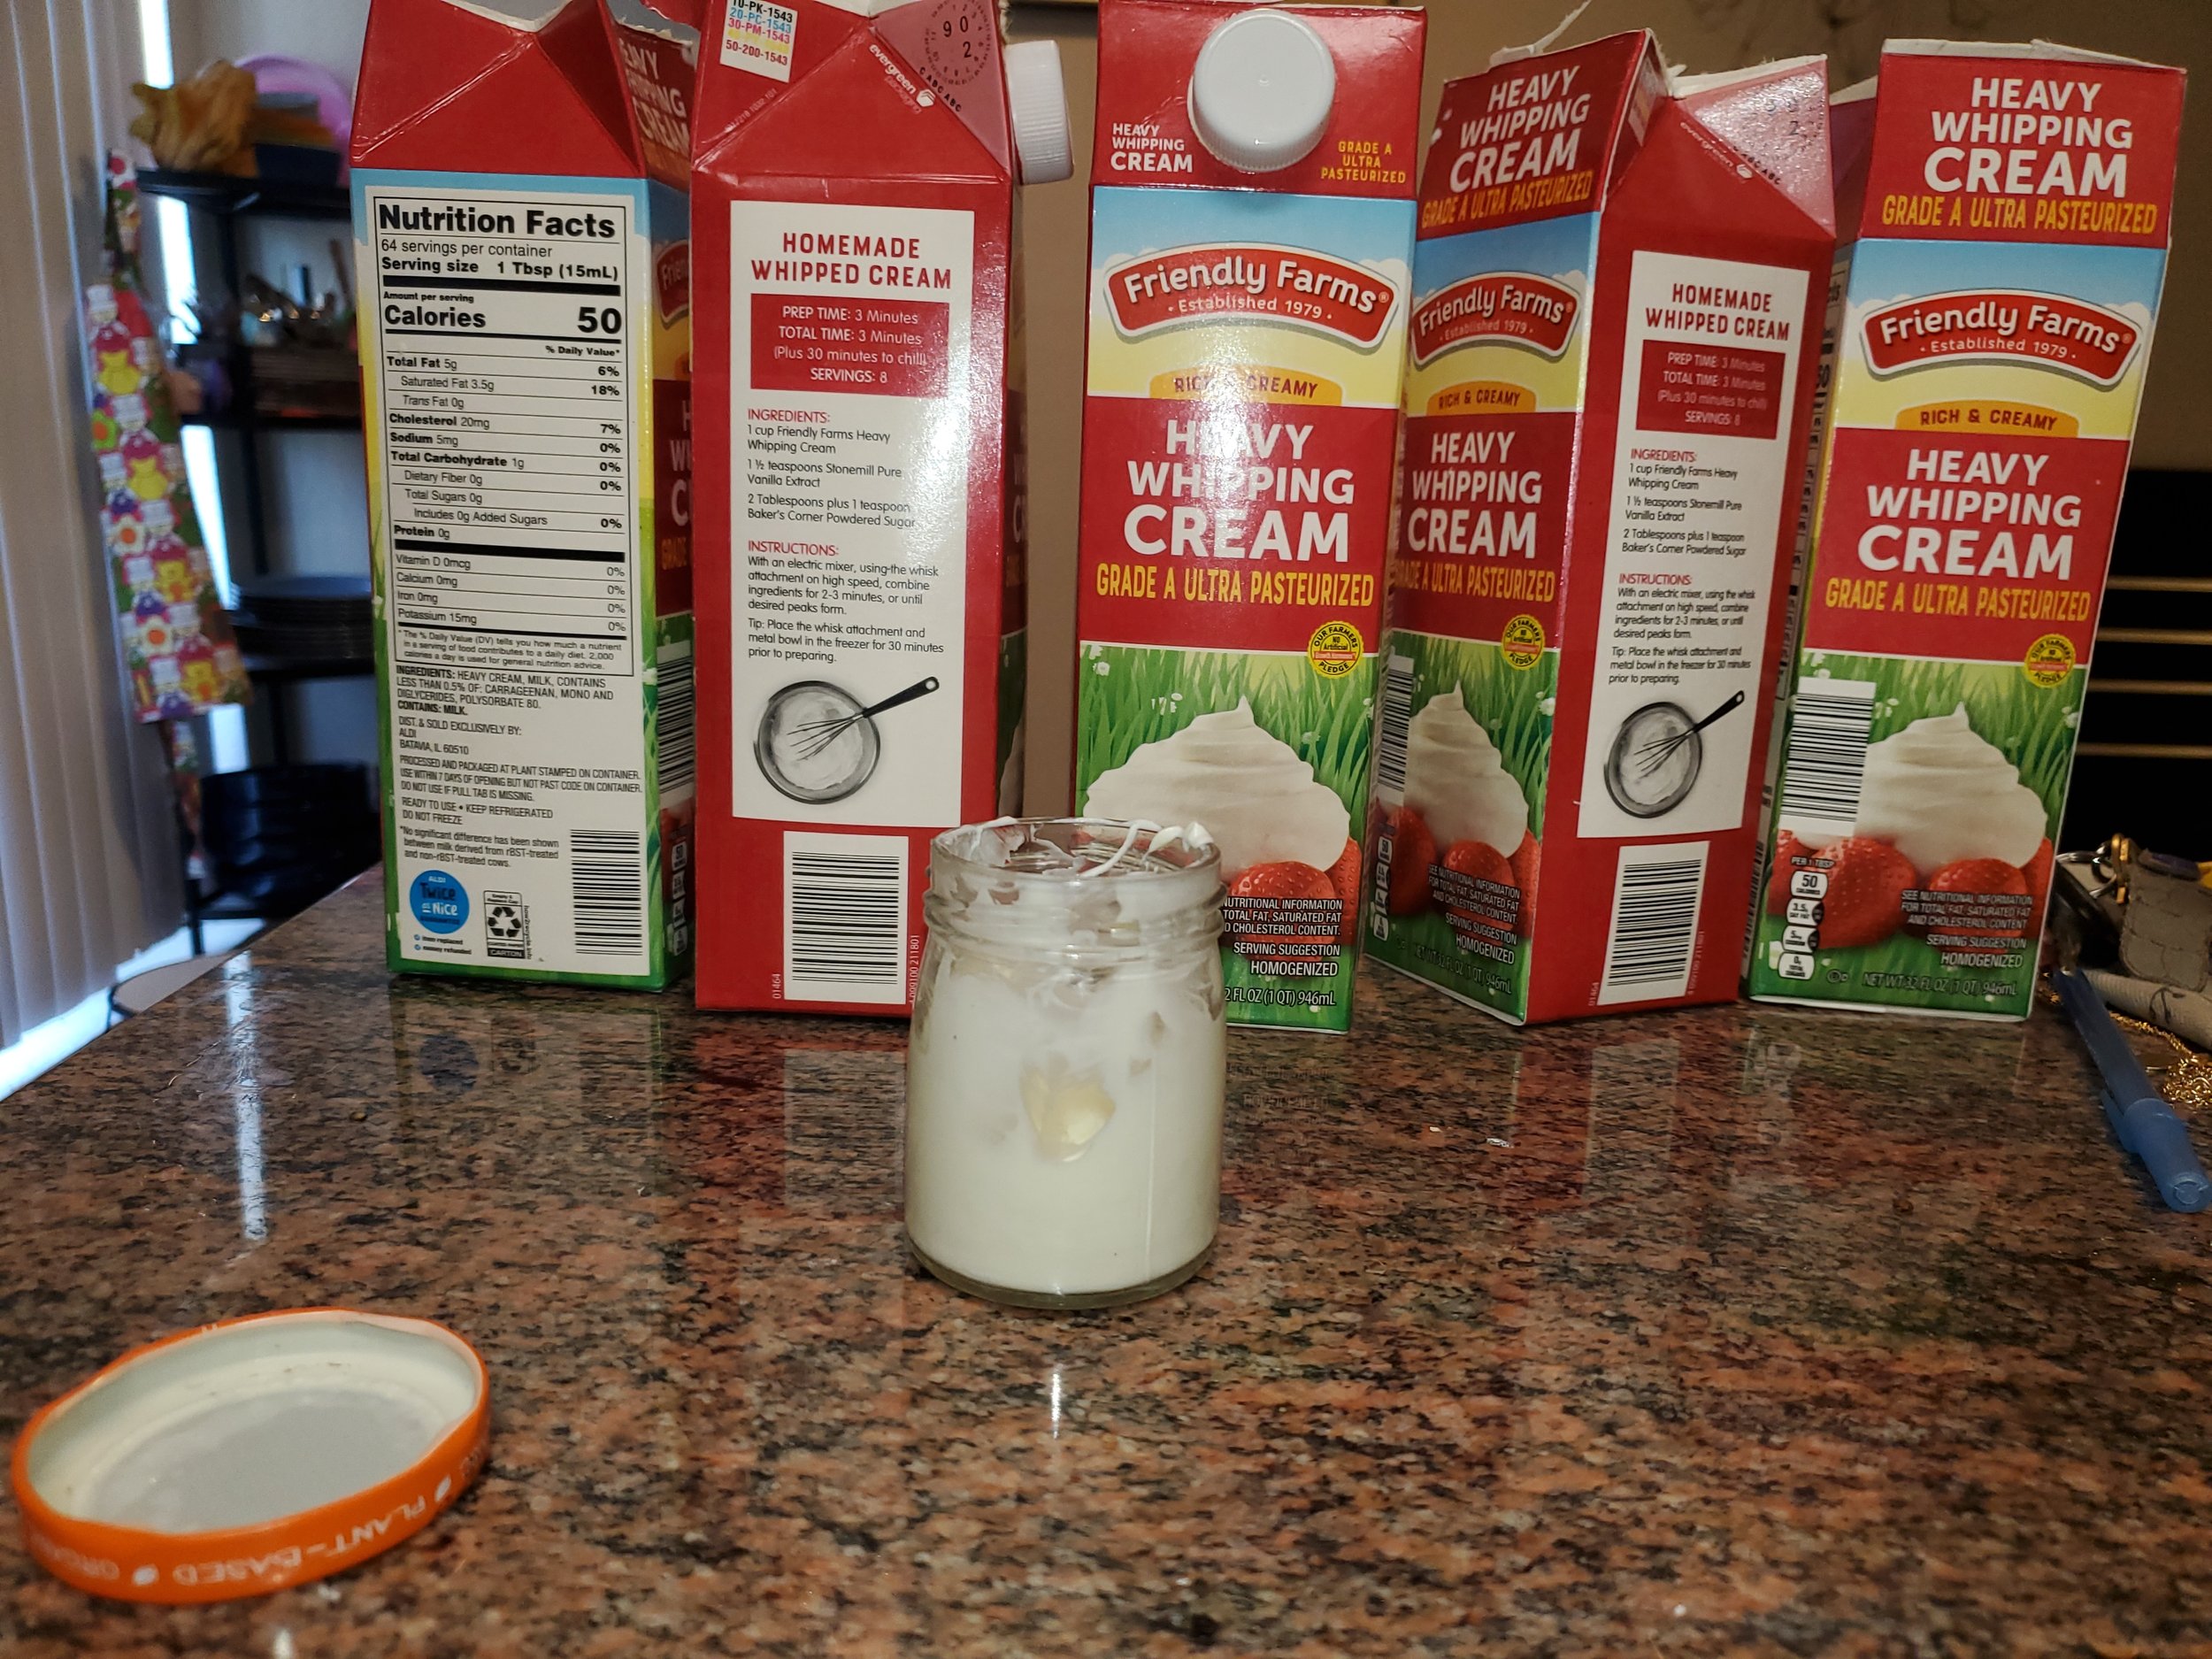
This is 5 quarts of heavy whipping cream, plus a tiny tub of prepared crème fraîche. I cut the sealed portion of the tops of the quarts off. Why do more dishes than I have to? For the second round, I just opened the tops instead of cutting them off.
If you are planning to make the butter inside the cartons instead of pouring it into something else to whip, you will not cut those tops off.
I just noticed that they teach you how to make whipped cream on those cartons! Maybe one day, they’ll also tell people how to do butter! But if not, you’ve got this instead.
Add a spoonful of your culture (or some grains) to each carton. Stir well with a spoon or whisk or whatever you like to use. I used a long spoon that came with my French press. I didn’t measure this, in typical fashion, and I also didn’t care how fully cultured the cartons of cream got. I was really just looking for extra flavor, not precision. In 20 years, people will stop batting an eye at my aversion to measuring because then I’ll be entering the proper age range for “granny style” cooking.
If you are going to keep the cream in the container and do the 30 minutes of shaking to turn it into butter, you’re simply going to use a funnel to get your culture into the carton through the plastic pour spout found on these cartons. Then you will close that pour spout and give it a quick shake to combine.

Put those carton somewhere until tomorrow. It’s okay if they aren’t fully cultured tomorrow; doesn’t matter. If you cut those carton tops off, though, you need to put something on top of the cream so dust and other debris don’t find their way into your butter.

As you can see, this one is cultured completely. Some of my quarts were not. That’s okay!

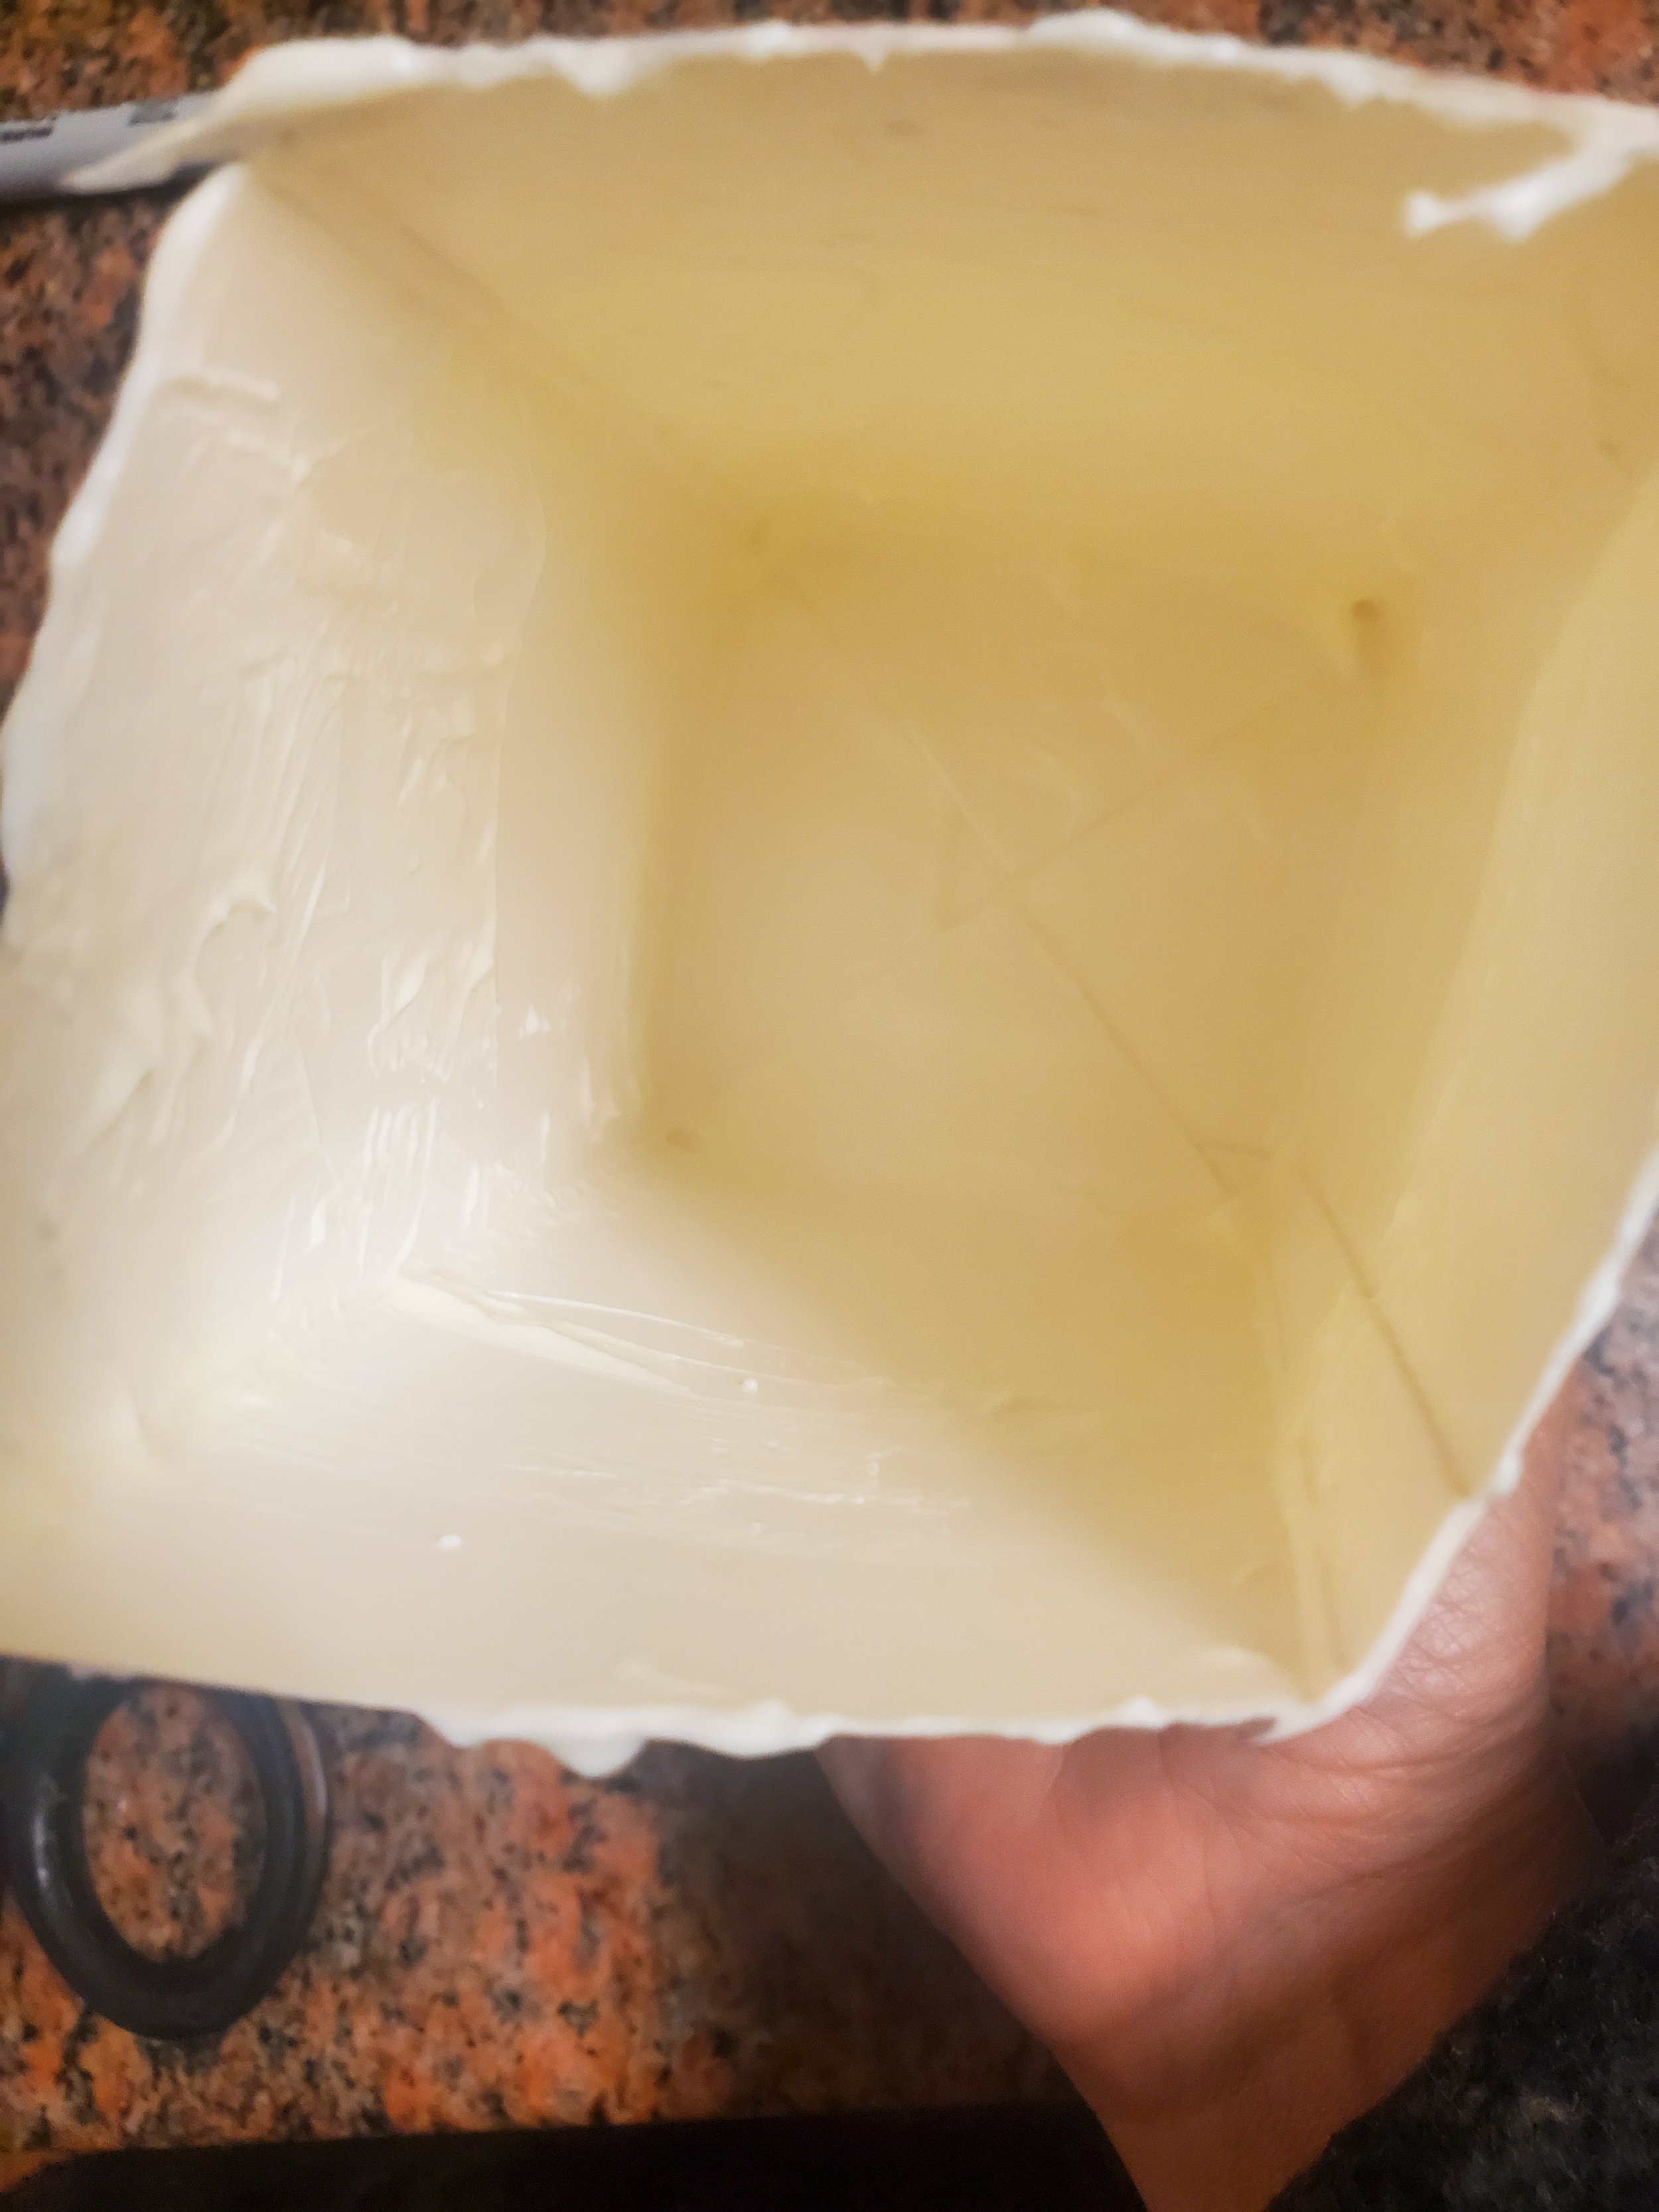
Soured cream is in the bowl! Oh wait, it’s not all in there! Scrape the rest out.
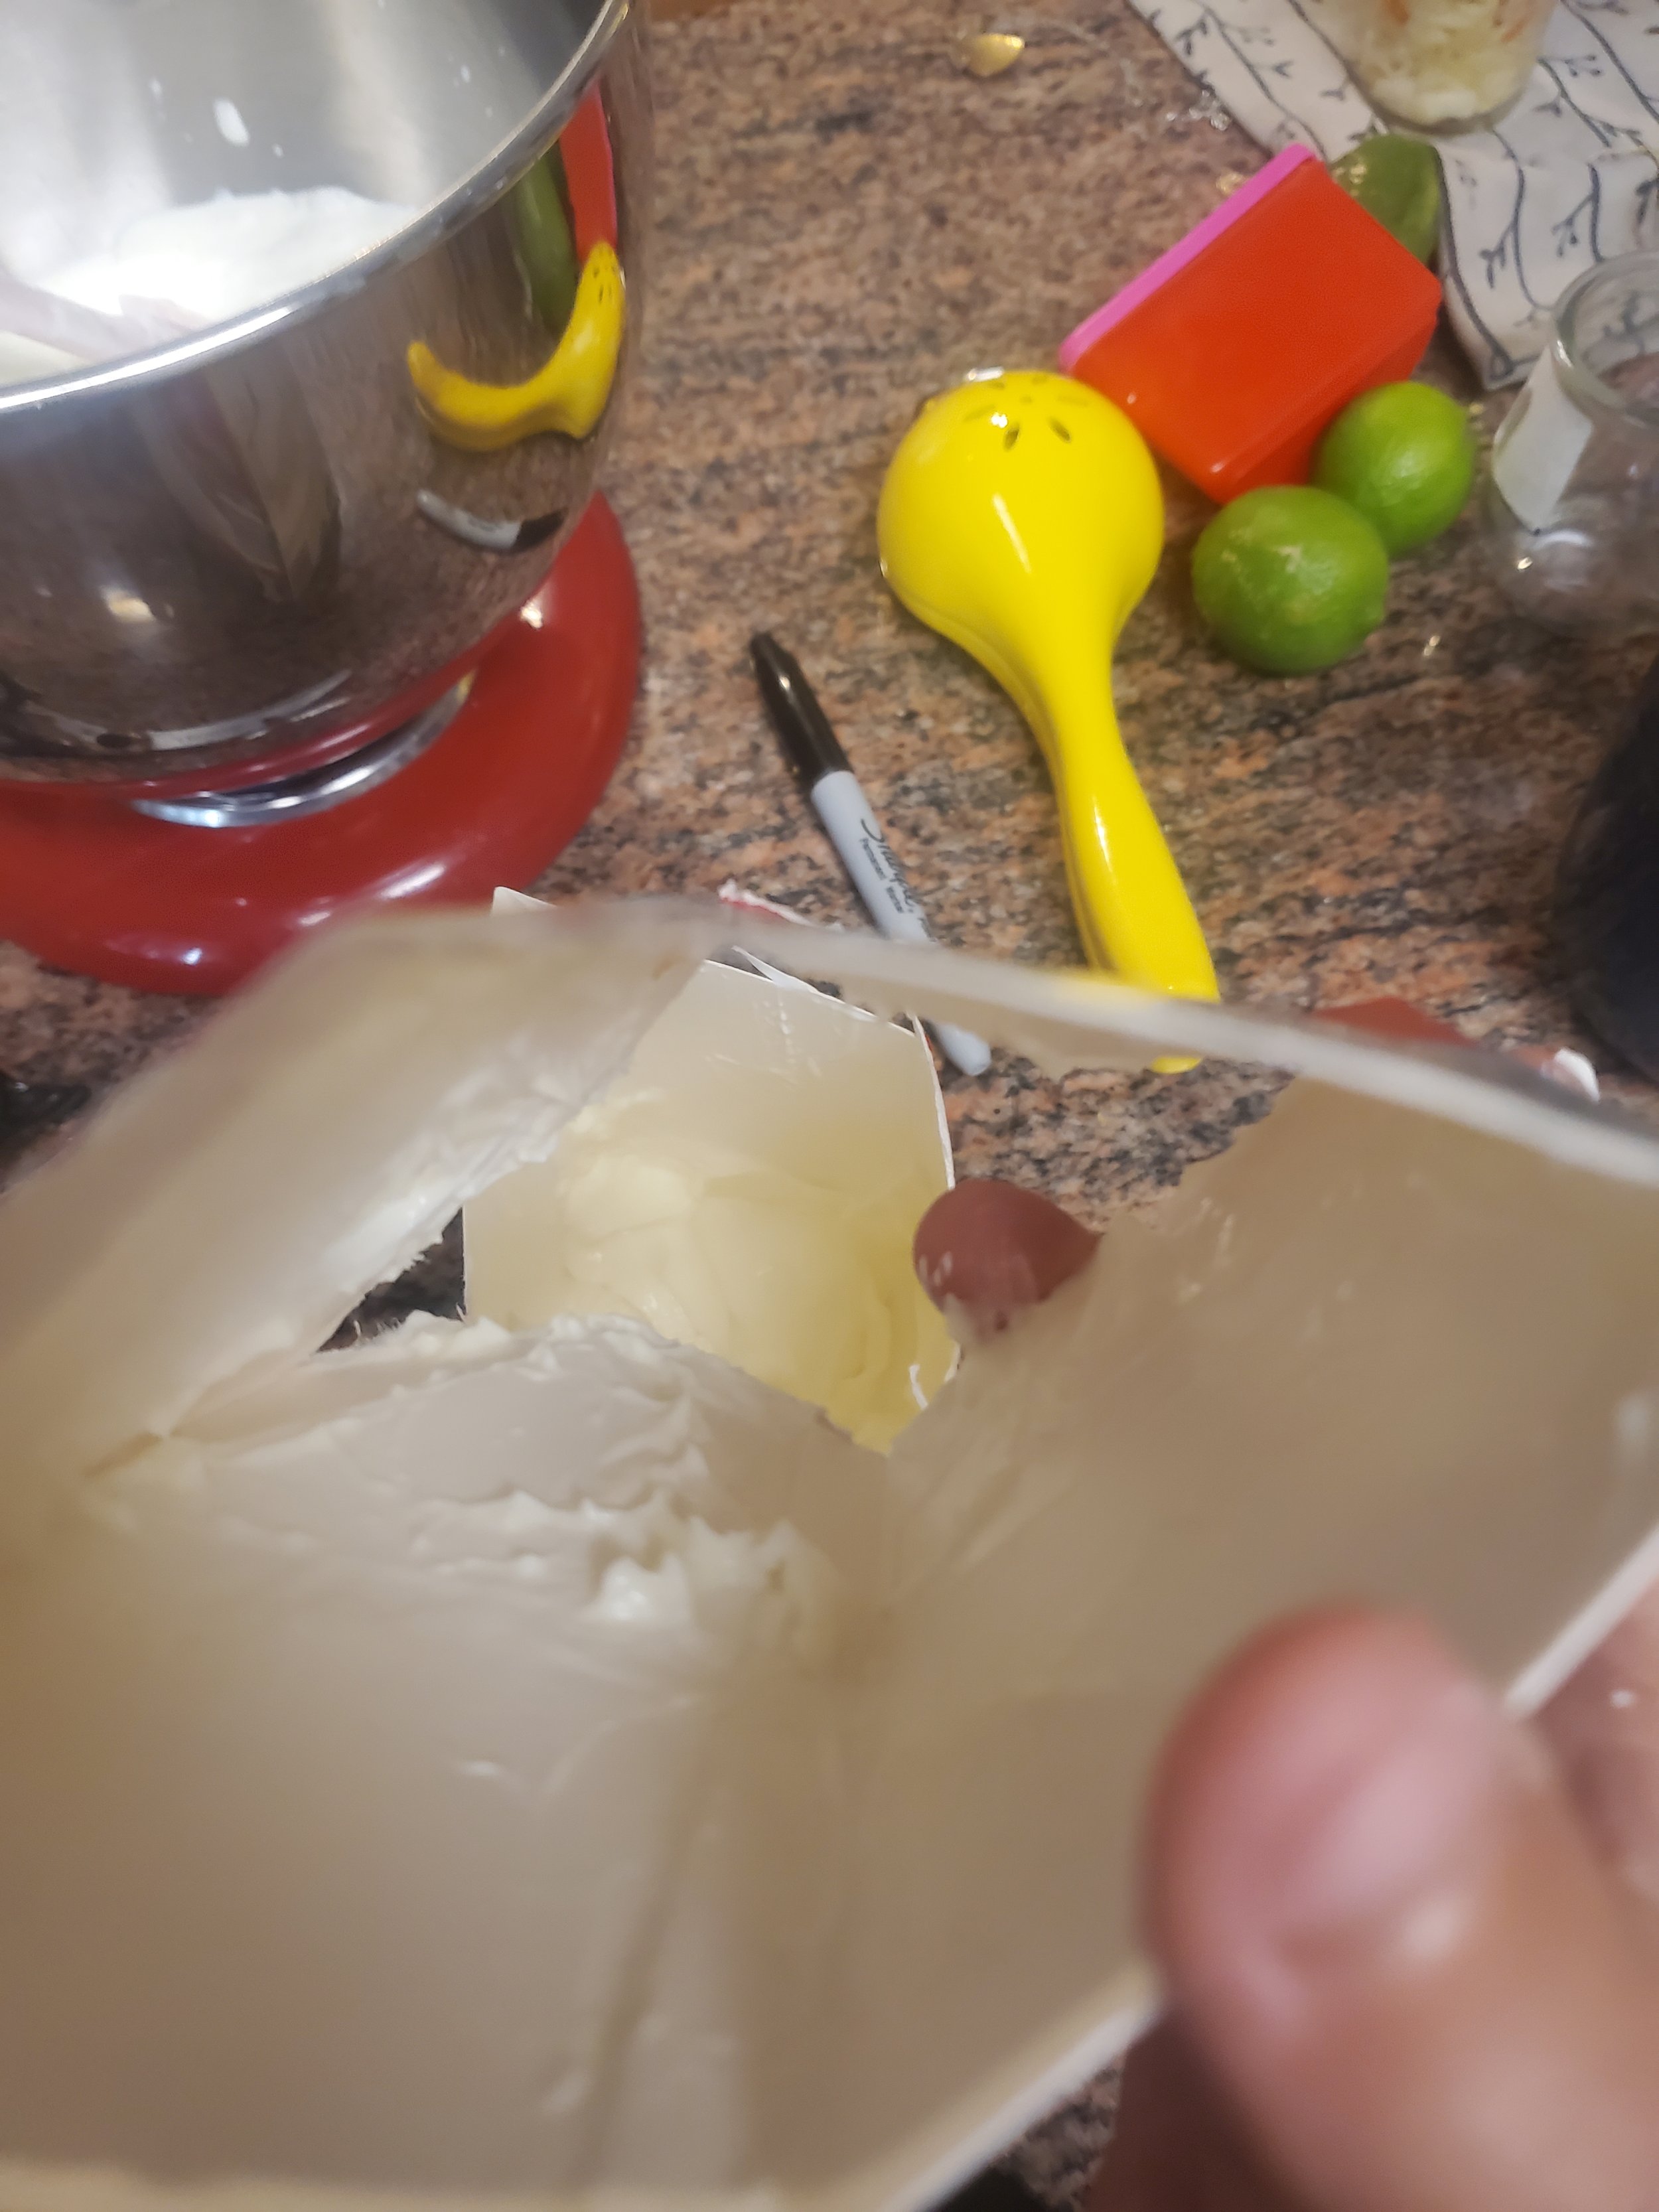
I got the first half then cut it off so I could more easily/cleanly access the bottom half of the tub to scrape it.
Those limes were for a chili I was making from leftover brisket Ross smoked. Y’all just go on ahead and ignore that stuff since it’s not relevant to what we’re doing today.
Not a bad job! I am not hungry enough to really do the work of getting every tiny bit out. I mainly just wanted some butter and the corresponding buttermilk.

It’s all in the bowl.

I set my stand mixer to “2.” I didn’t really want to deal with cream spitting all over the place.
If you’re making your butter in the carton, this is where you start shaking the heck out of your cartons. Roughly 30 minutes per carton, if you’re doing it by hand. I didn’t remember this, but it’s max 10 minutes in the stand mixer. Been a while since I made butter!

This is whipped cream. Stop here if you want whipped cream. If you want butter, keep going.

This is the moment right in between whipped cream and the beginnings of butter. Keep going, because the cream is starting to break!

When it looks like this, your cream is properly breaking. Keep going.

Mostly broken. Give it a little longer.
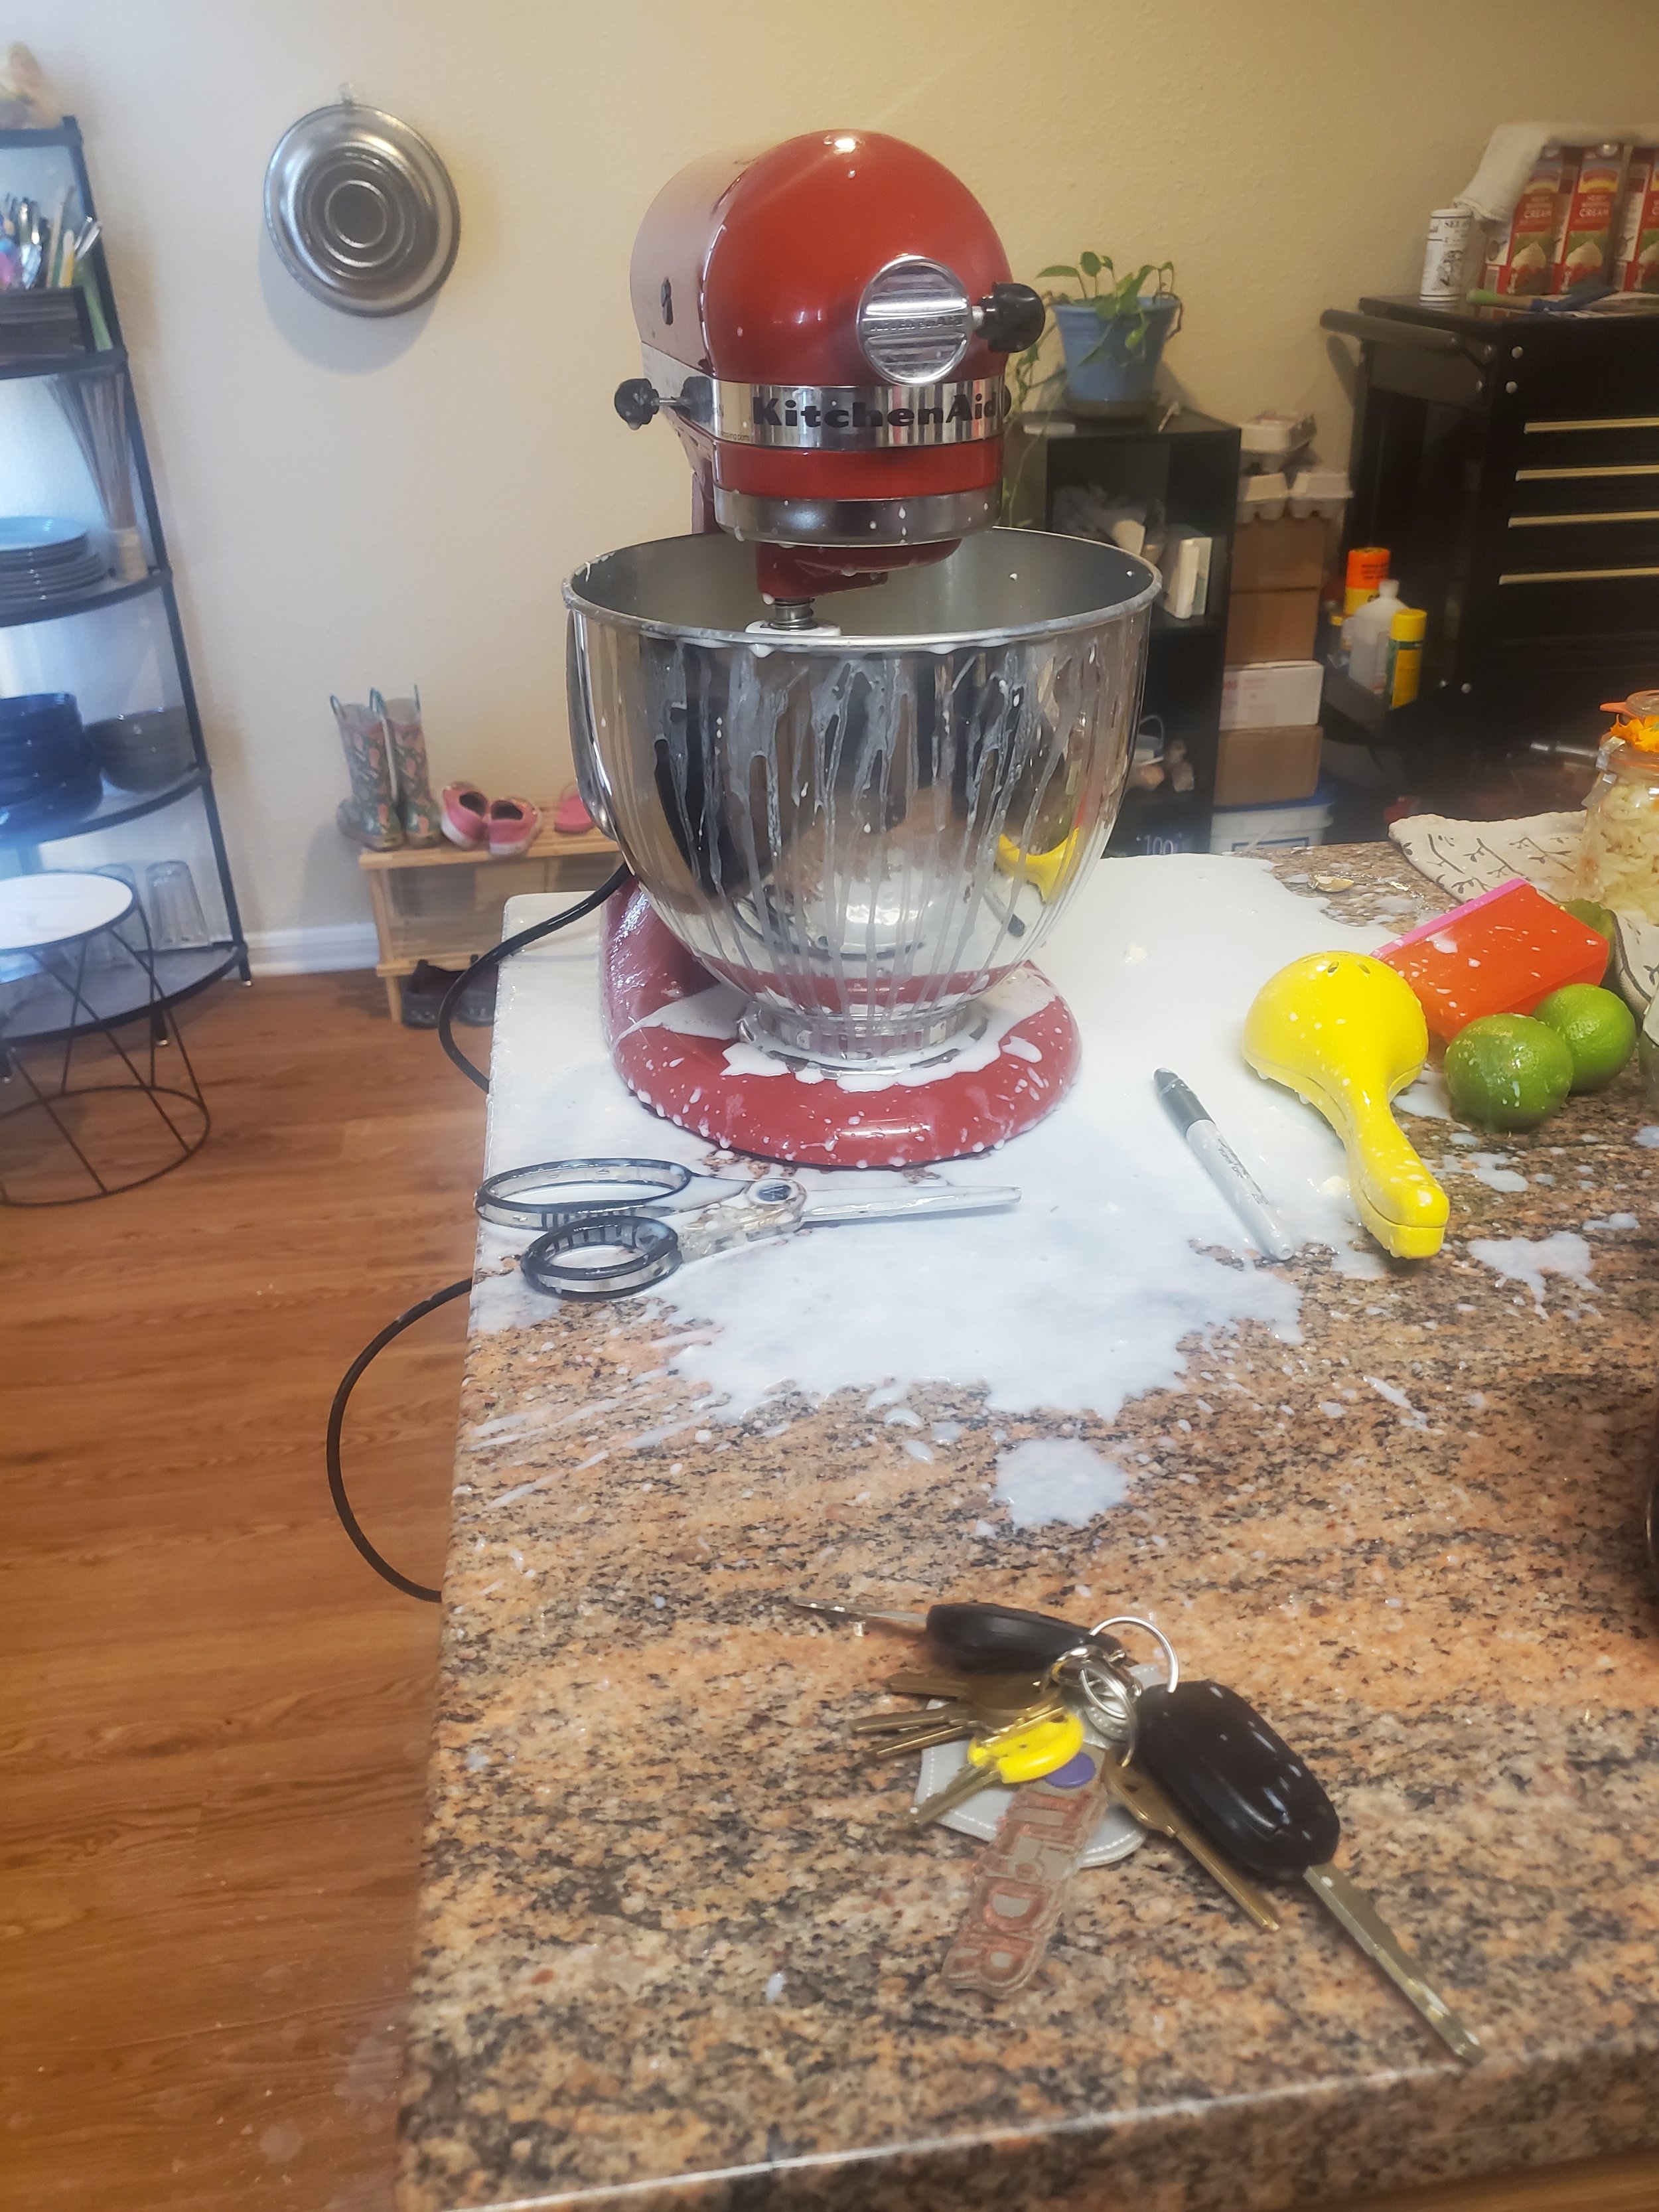
Didn’t pan out on the no spewing business. That’s because I foolishly decided to go do some gardening while butter was churning. You can see that this resulted in a lot more cleaning for me than should’ve been involved. There was way more buttermilk to clean up on the other side. I lost almost the entire pint of buttermilk. So stay there with your cream and don’t let it decide to wander off!

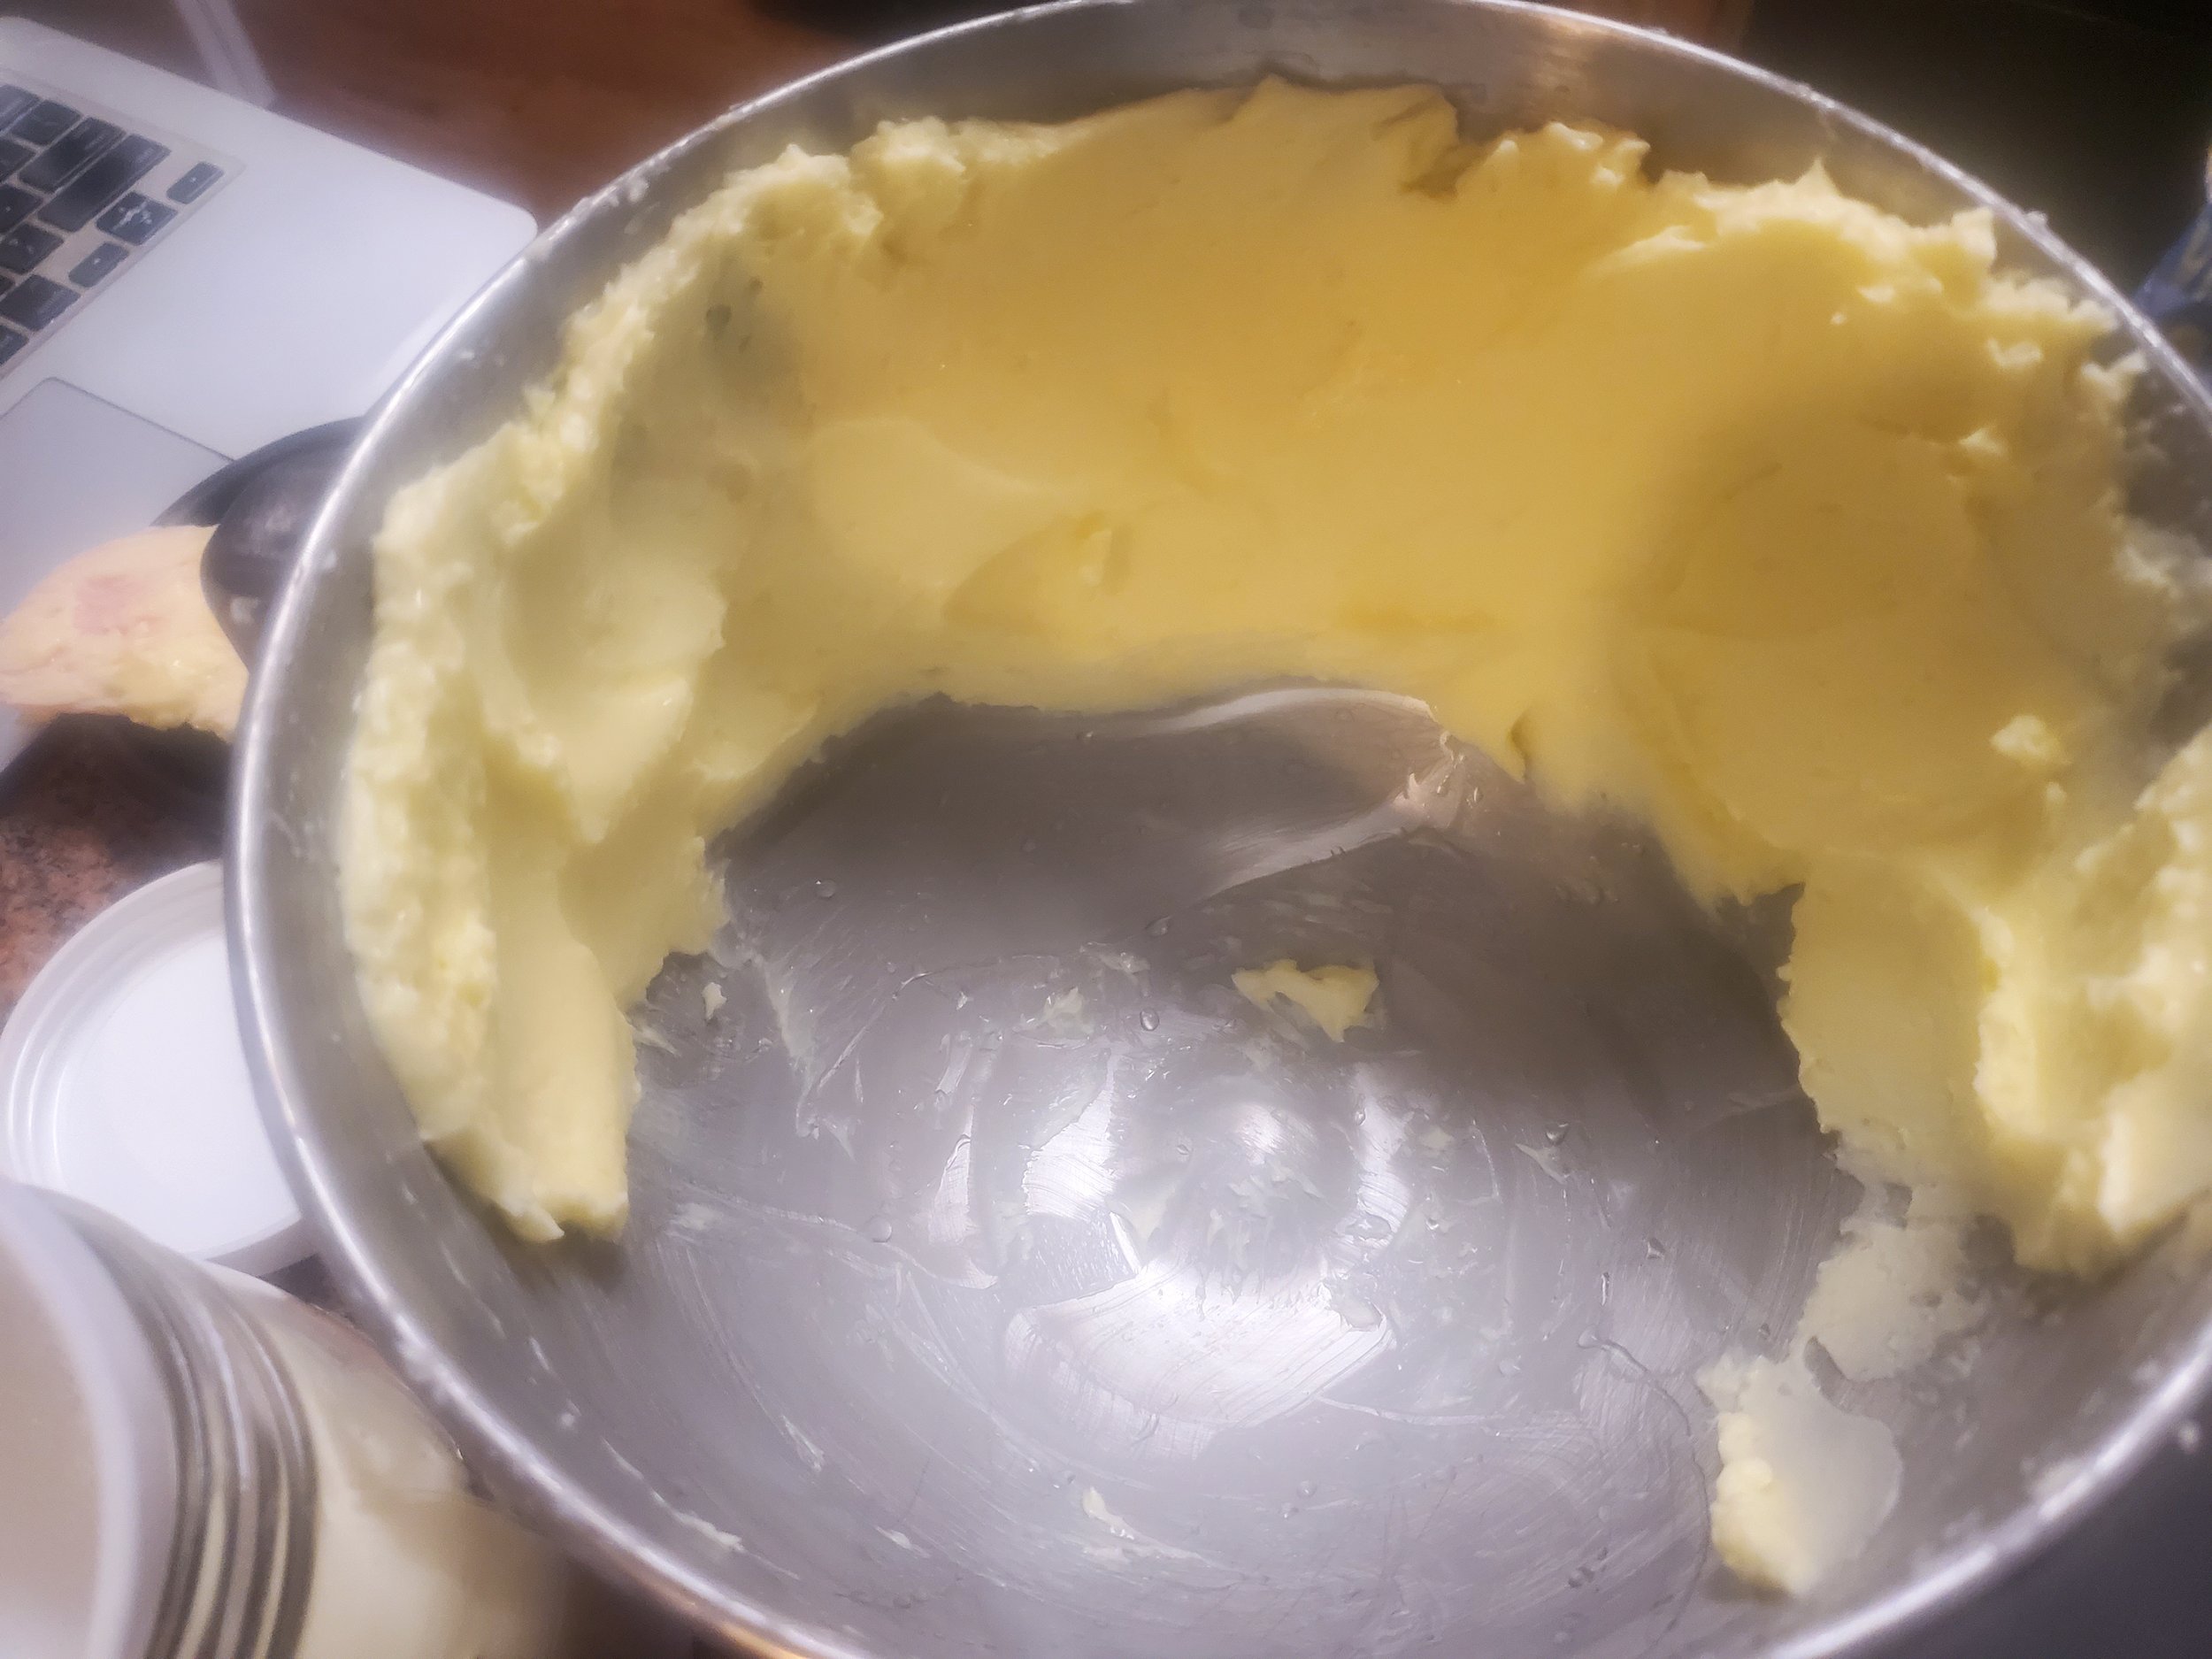
Butter, plus the tiny bit of buttermilk remaining.

Pour the buttermilk out and get ready to wash your butter!
Once you’ve drained that buttermilk out, you can actually keep whipping it for a little bit (not for a super long time; thing 30 second Hulu commercial break). More will come out. I always let the cream break, pour buttermilk out, break it more and then pour again, then repeat for a third time. It’s also less work to wash the butter if you extract the buttermilk multiple times and your butter will be closer to European style, which tends to have a lot more fat than American style butter.

Cover, or mostly so, your butter with fresh, cold water. Once you’ve done that, please knead the butter to help extract the remaining buttermilk. I used a spatula for most of these batches, instead of my hands, because I didn’t want to have to work so quickly. You can knead your butter with your hands, but you have to work wicked fast so the heat from your hands doesn’t start melting the butter.

2nd wash.

3rd wash.

4th wash.

5th wash. This generally takes 2-5 washes, and ideally you will wash that butter until the water is clear. See that little knob breaking off at the top? Those are very easy to pluck out of the water and insert into your mouth. My pounds are never really full pounds because I do pluck floating knobs and sometimes knobs that look like that want to float.

Once I poured the 5th water off, it was obvious that the remnants were clear. I stopped washing. Sometimes I stop washing a bit before it’s clear, even though you shouldn’t. You’ll do it the right way, I’m sure.

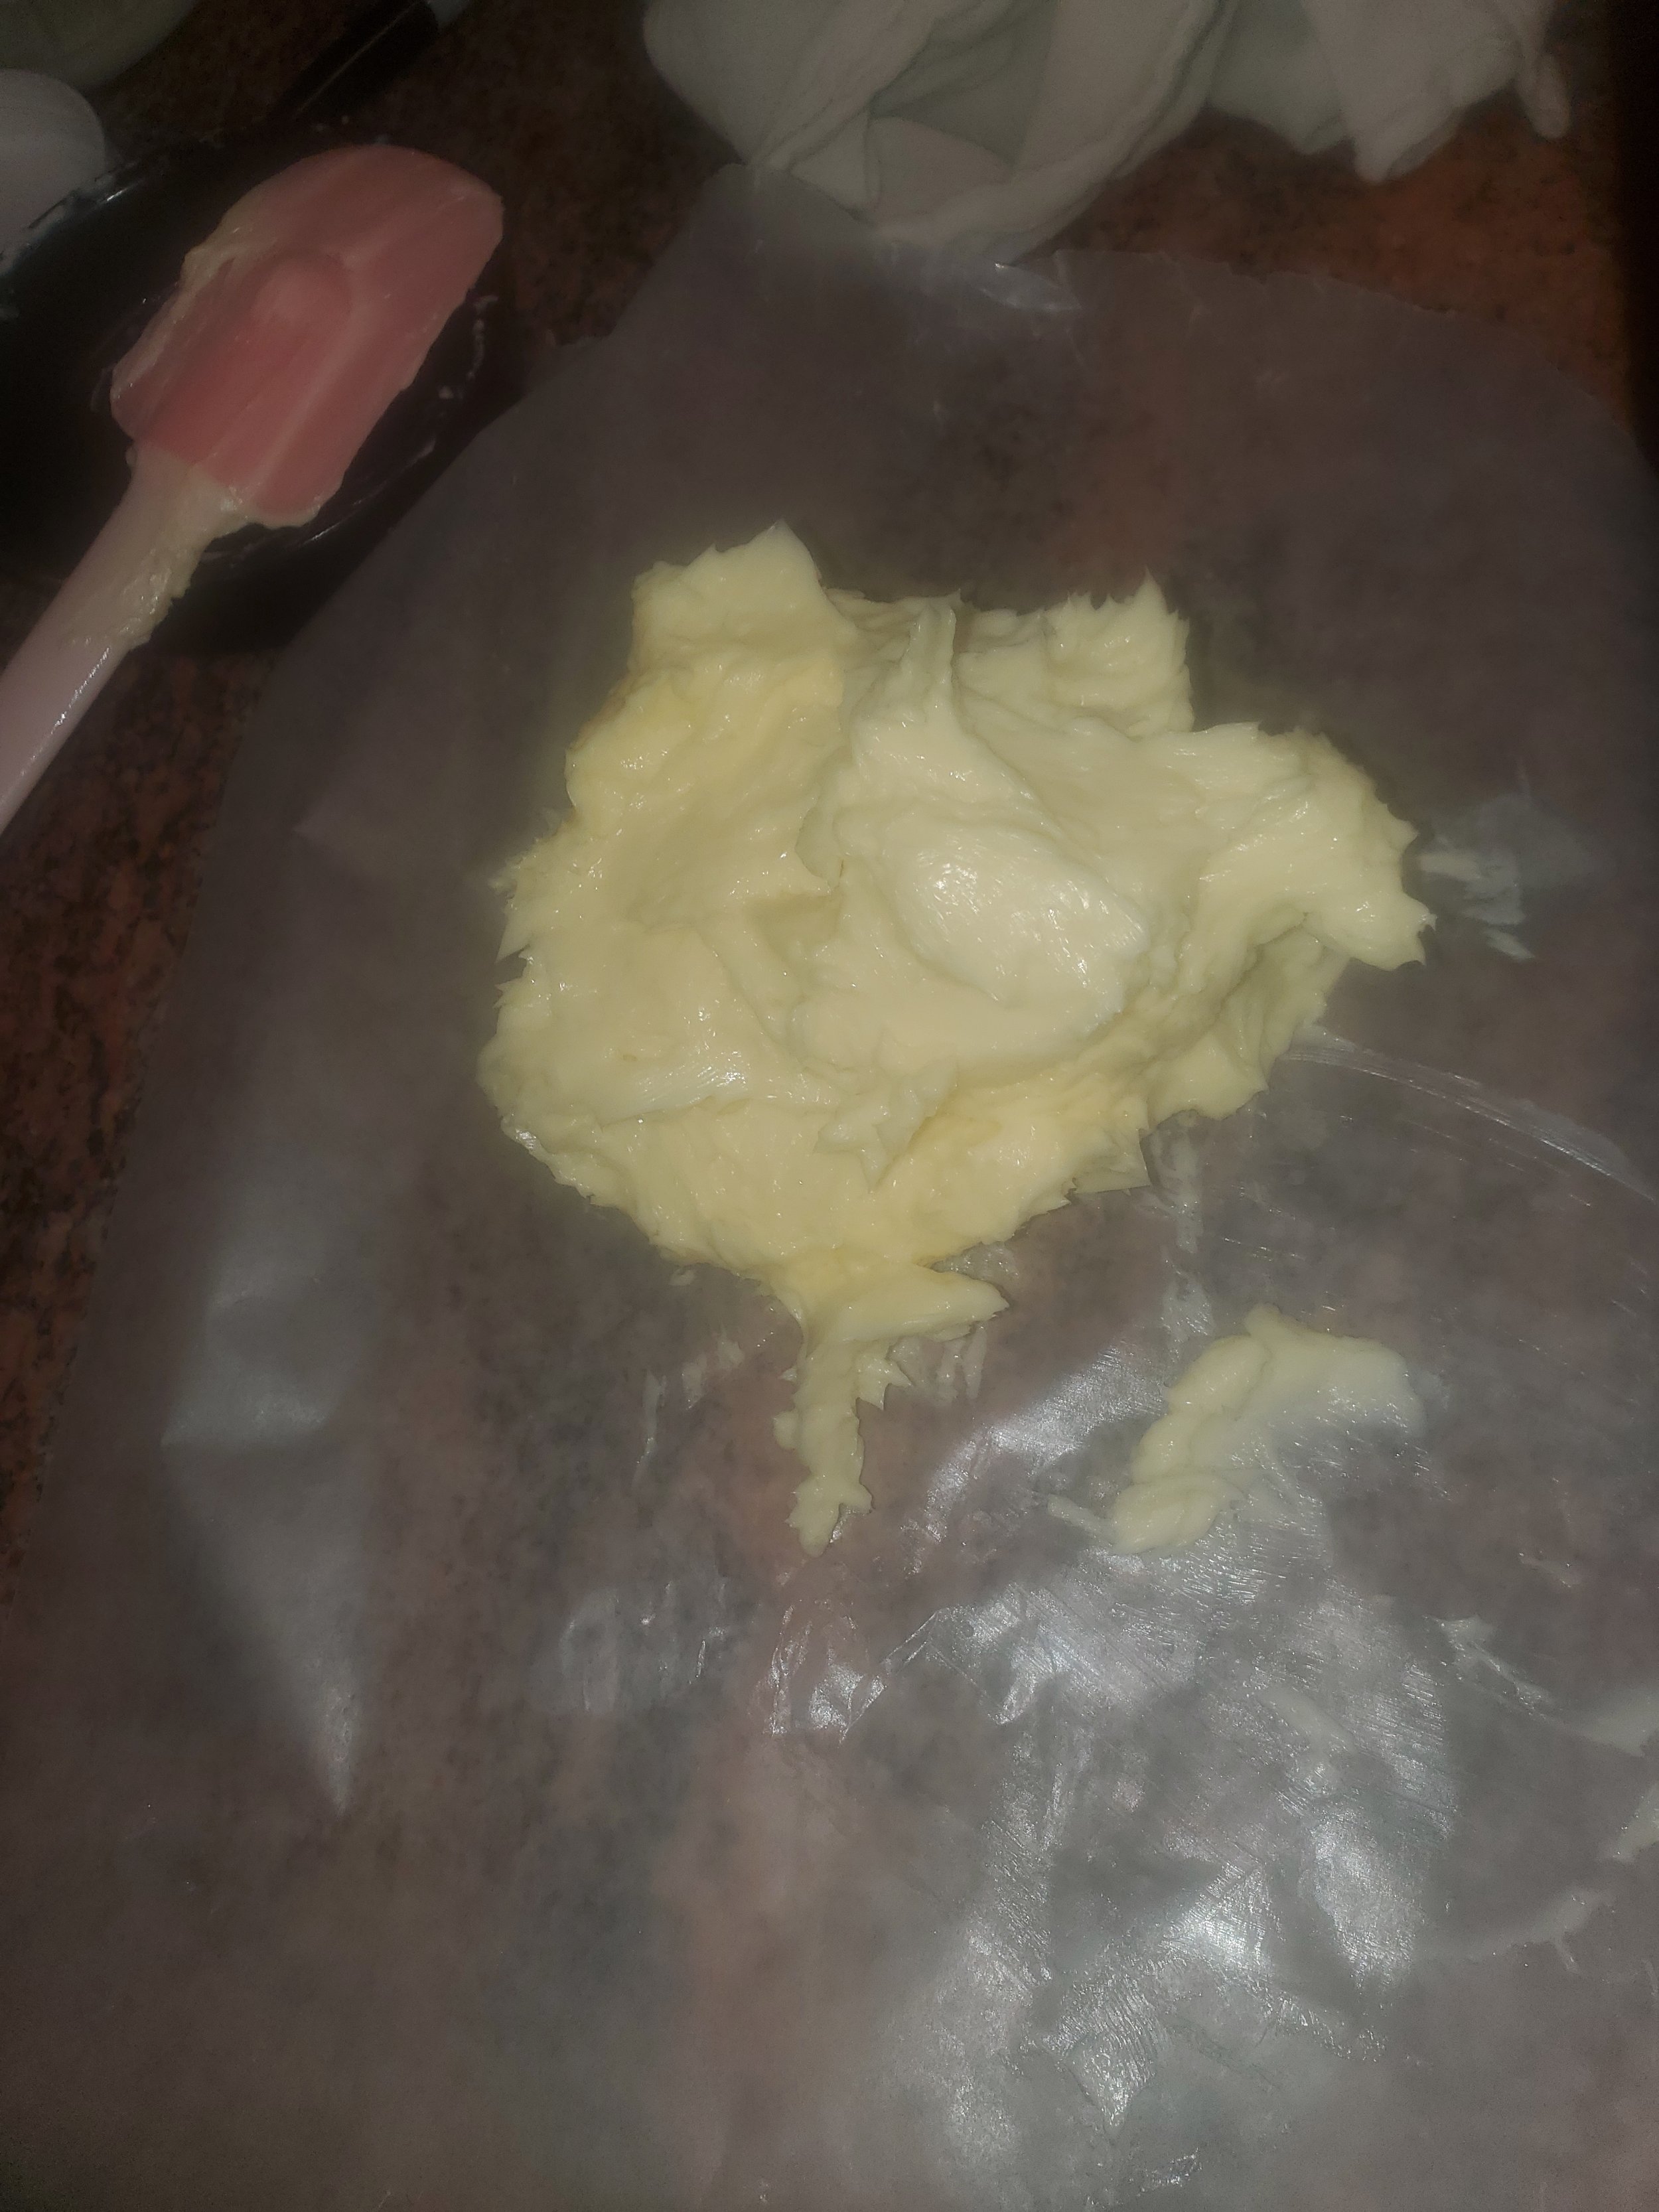
There are a few ways to do this without butter molds and/or a butter paddle. Method #1 I used was to line mini loaf pans with wax paper. I strongly considered molding all 5 pounds into my giant bread pan and then cutting them into the number of pieces I needed, but I already knew these were getting lined and thus not making more dishes for me to wash.

If you are salting your butter, now’s the time! In general, salted butter should get about 1/8 teaspoon of salt. This is roughly what your salted grocery store butter has in it, and that quantity presumes you are using pickling salt, a super fine sea salt, or regular table salt. If you’re way into salt, bump that up to up to 1/4 teaspoon. I was using a heavily mineralized sea salt and I also like a bit more salt than is typical in butter, so I used a heaping 1/4 teaspoon. My salt, because of all the other minerals its laden with, is not all that salty. Taste your salt before you salt the butter so you understand if you need a bit more because your salt isn’t so salty.
This is an alternate (also my preferred method) way to knead more buttermilk (or water, during the bathing process) out of the butter, and it’s also easier to salt the butter if you spread it out like this. Sometimes I spread it super thin, other times thicker like this. This also helps you keep the butter out of any residual buttermilk or water that’s at the bottom of the bowl because you can just mold the butter to the top of the bowl instead of using two bowls.
Every time I write one of these posts that should need a bunch of dishes, I’m shocked by how much thought and effort I put into not having to wash as many. I never notice this habit until I’m writing for y’all.

Storage method #1: pack your butter into the mold.

Fold the tops of the wax paper down to cover the top properly.
Put them in the fridge to solidify. For batch 1, I split it into roughly half pounds. I did this because I already knew I was giving butter to two people.
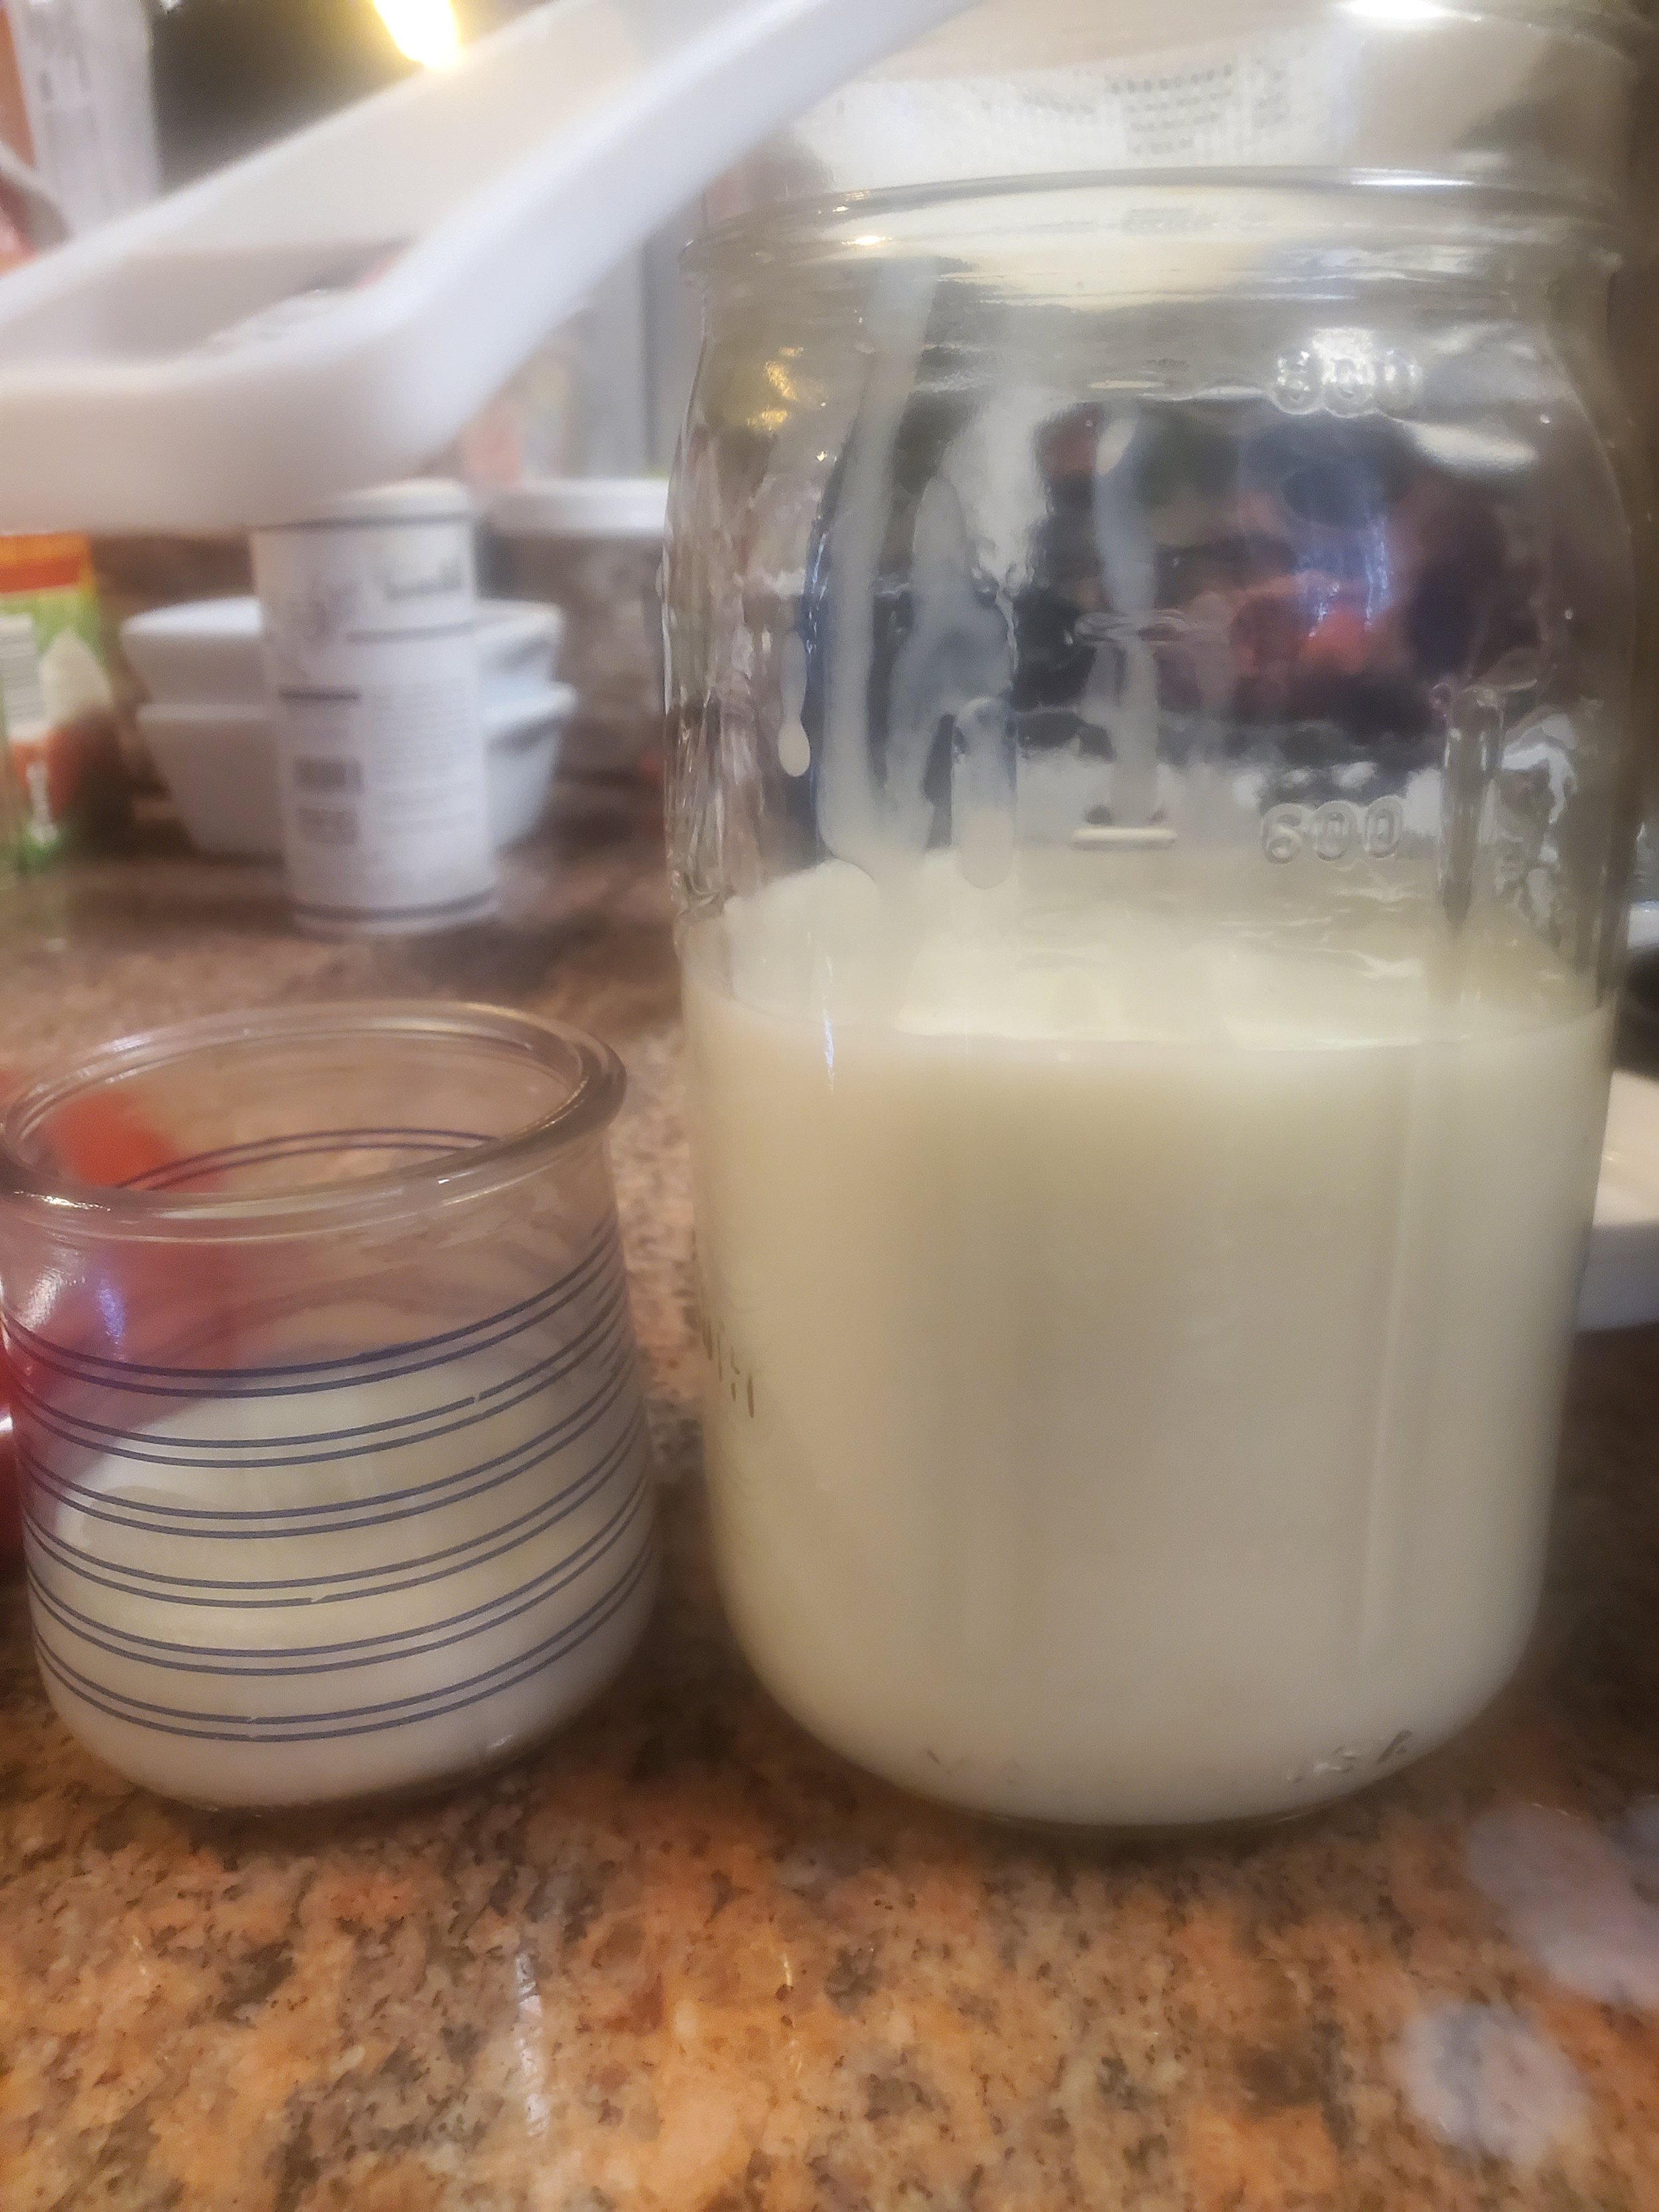
Please don’t throw your buttermilk away. Left container is the tiny bit that didn’t go flying out of the stand mixer during the first batch. Right container is the buttermilk from the second batch. If you’re not planning a pancake festival or something else that needs lots of buttermilk, you can freeze it for later. Make sure you leave 2 inches/5cm of head space in your container. I made pancakes the next day, but I also froze some because I wound up with a lot.
Storage method #2: dump your butter on a piece of wax paper.

Bring the long edges up together and roll them down, shaping the butter into a log of whatever thickness you prefer at the same time. Do this fast, because the heat from your hands isn’t a joke. That butter will start melting if you’re slow.

Twist those edges like you’re makin’ taffy!

Ohhhhh look at that beauty!

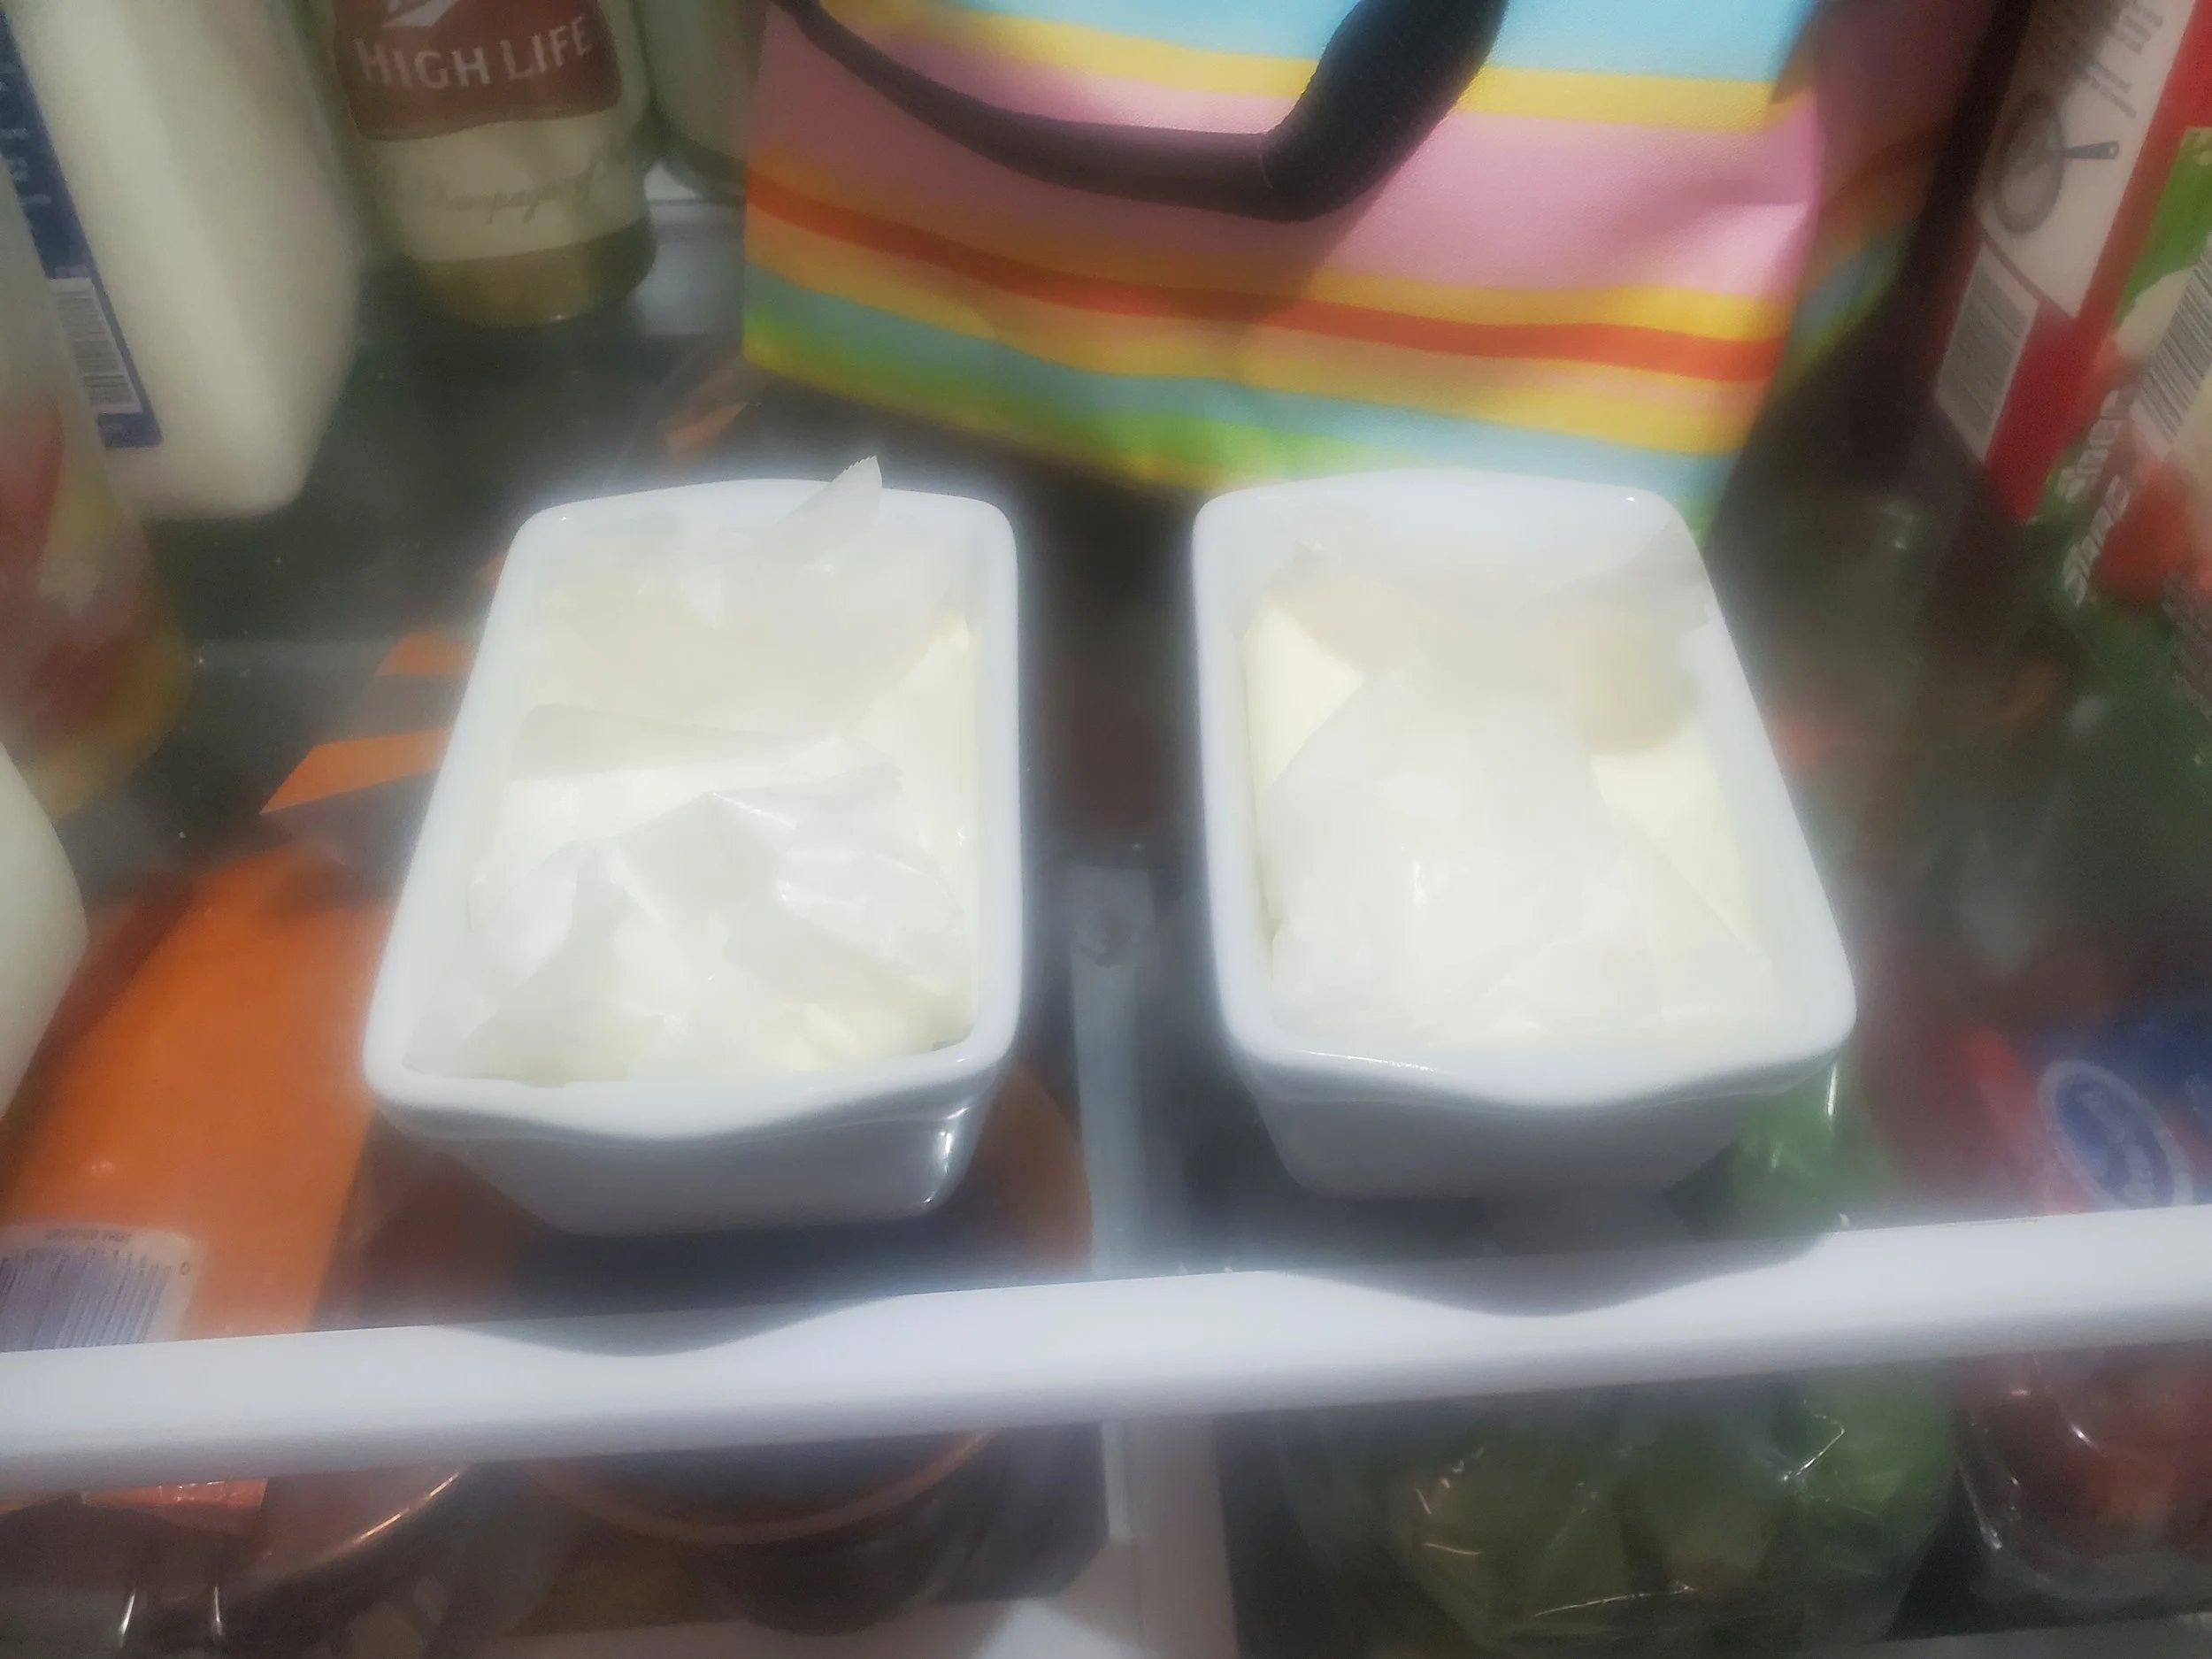
Storage method #3: pack your butter into butter keepers or other containers you’d normally put jam in to serve at the table.
Batch 1 I split into 2 parts, a and b, so I could give these to two families. Batch 2 was just a single mini mold. 3 and 5 were logs, and 4a/4b were put into crocks that can be left at room temperature.
When these were all appropriately chilled, I put 2, 3, and 5 in a freezer ba and then into the freezer. 1a went to a neighbor, and 1b is in a big bag with a bunch of other ferments so I can finish my barter of ferments for a 1 meter 3D-printed niddy noddy. 4a stayed on the counter and was nearly gone a day later because apparently people were just eating the butter (that happens; don’t feel bad if you do it, too; I try to get that out of my system while I’m draining buttermilk and washing the butter), and 4b is in the fridge awaiting its turn on the counter.
For those of you who’ve never made butter before, I hope this demystifies the process and saves you some money on your grocery bill!
For those of you who have made butter before but for whom it’s not a regular practice, I hope this reminds you of how much you enjoy eating homemade butter!
Happy churning, y’all!