

How to Save Backup Cultures

Other than the odds and ends on the far right, this is all my dairy, sourdough, and water kefir. Some of these are still being converted over from wet to dry, for reasons that are now clear.
Seasonal reminder!
Today, we’re going to talk about backups. We’re doing that because a lot of people don’t think to save them (I share this issue as pertains to my laptop), and Sabrina and I don’t think y’all should be buying more cultures from us unless you just want to. Once you’ve got a culture, you should be able to keep it going for many generations. Generations of humans, I mean. So let’s make sure you know how with each kind of culture. I am writing this under the assumption that everyone has a freezer and a shelf, and no one has a dehydrator.
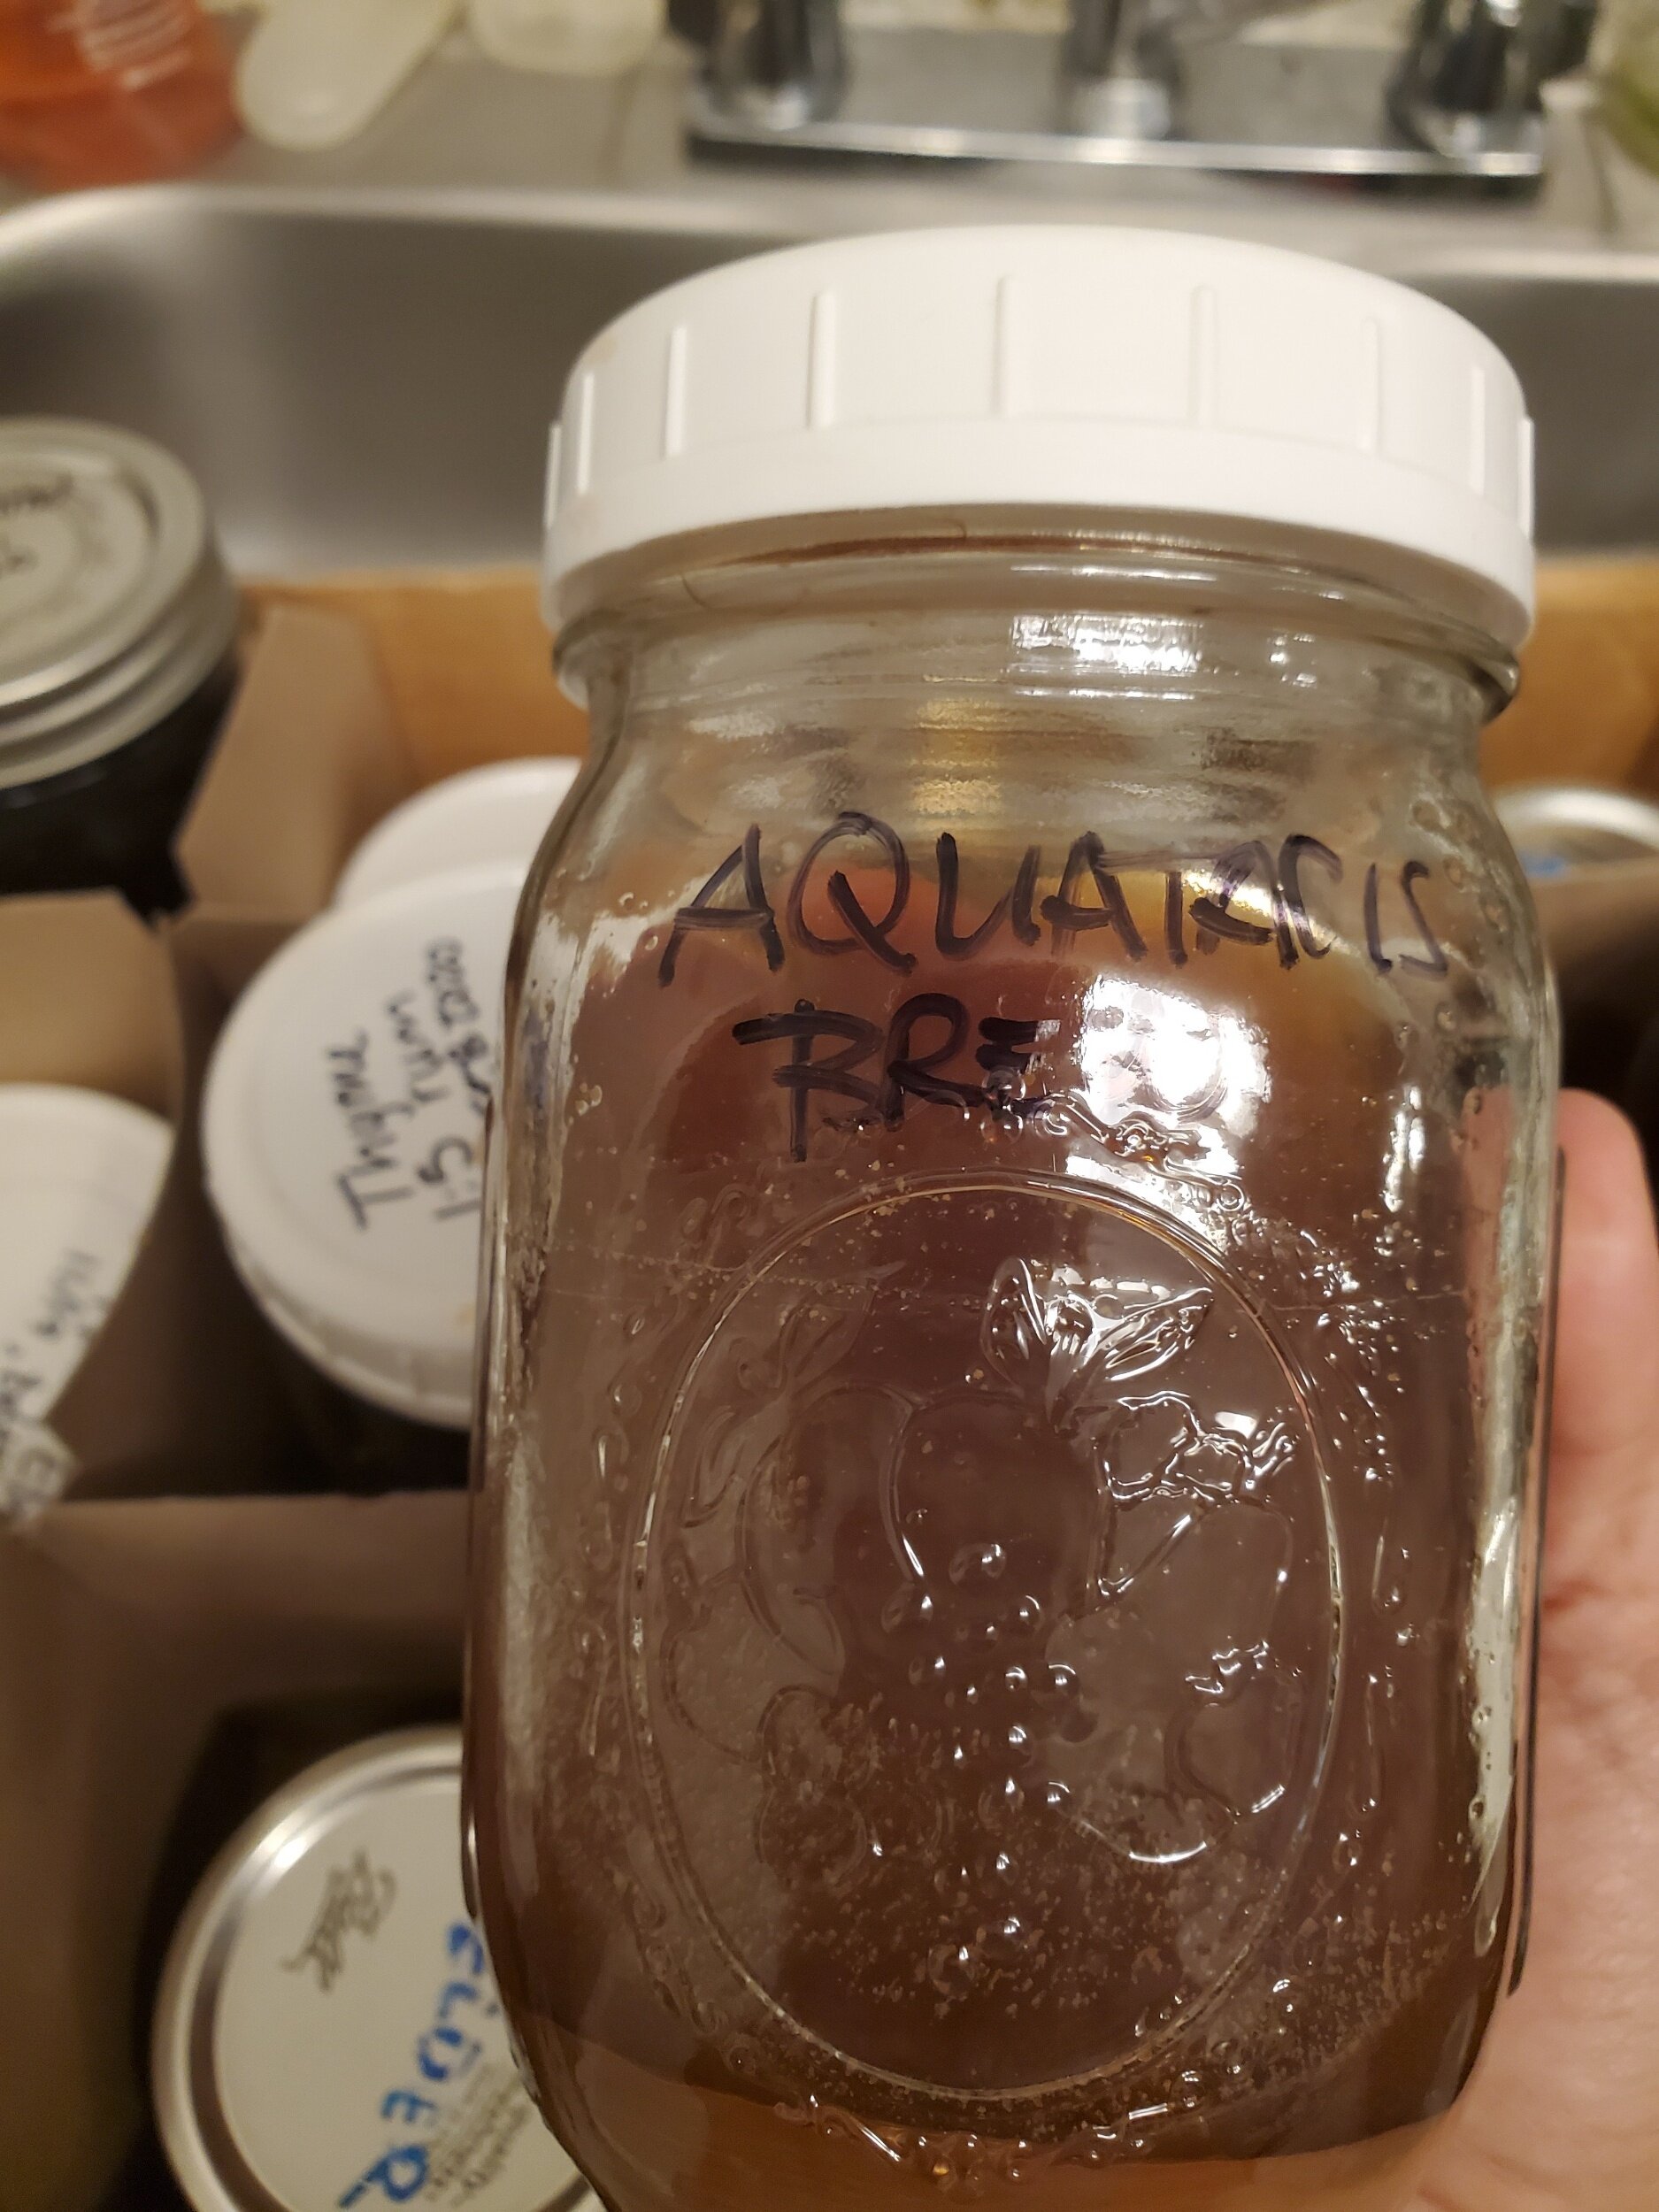
In all cases where you’ve frozen a culture, the standard expected shelf life is one year. I find that it’s typically quite a lot longer than that, but don’t plan for longer than a year just in case it’s not so in your situation.

Sourdough and Yogurt-y Cultures
There are two ways to take backups of sourdough starters and yogurt cultures: wet and dry.
Wet
It’s exactly what it sounds like. You take some of your existing culture, put it in a container or bag, and freeze it. I really like breast milk bags for this, though I’ve largely moved away from freezing wet starters. If I didn’t have so many, I would totally still save wet because it’s less work to get them going again. For breast milk bags, I like them because they’re actually made for doing this kind of stuff, and also because they freeze flat (space saving; my freezer is small).
To reactivate, simply thaw and then continue along as though you had never frozen them (but make sure to have another backup). I like to do 1/4 cup, because it gives 4 backups. You can break off a chunk to thaw or you can thaw it all, get out what you need, and refreeze the rest. Thaw in the fridge.
Dry
Get your 1/4 cup-ish of culture and spread it thinly on something. I used to use wax or parchment paper, and I believe Sabrina still does due to the massive quantities she dries, but now I use either a plastic bowl, plate, or tray. I switched over because the plastic items were already in my house, and making parchment/wax paper is environmentally taxing. Especially parchment. As such, I try to reserve its use for times I don’t have an alternative option available. You can use other materials like ceramic and whatnot, but I find plastic releases most easily. Use what you’ve got; don’t go buy something for drying cultures.
Once you’ve got it spread on something, you can dry it either wherever you’ve got space at room temp, or in the fridge. I prefer to use the fridge both because it’s faster and because it doesn’t increase the likelihood of gnats and fruit flies in my house. I garden and ferment, so those bugs are ones I’m very careful to take preventative measures against.
The culture will lift up when it’s dry, and it’ll be fairly uniform in color with no dark spots. Most of the time it doesn’t completely detach, but will come off the vessel easily in those instances. Put it in whatever it is you want to store it in, then tuck in the freezer. To reactivate, you’ll do exactly the same things you did when you activated the one you got from us.

Milk kefir on the right, water on the left. This is my preferred brand of breast milk bags.
Water and Milk Kefir
This too is wet or dry, and also involves the freezer. The main differences here from the sourdoughs and other dairy is how you dry them. Let’s do wet first.
Wet
Put these in your container. You will need as little as a tablespoon of water kefir grains (which makes a cup or two at a time) and as little as a quarter teaspoon of milk kefir grains (which will also do a cup). Again, I tend to prefer multiple backups, because I’ve needed more than one sometimes in the same incident. For me, this is a situation created by Fermenting While Distracted, but y’all might find other things happen that create a need for multiples. You also might just want to share with someone without having to feed it until you do!
Some people prefer to store their milk kefir grains in layers of milk powder to prevent freezer burn. This is a totally valid option, though not one I personally use. I’ve never had milk kefir grains get freezer burn, even after a couple of years in there, but I store them in bags designed for freezing dairy. Human dairy, but dairy is dairy in my view. If I do ever have it happen, I’m sure I’ll add the milk powder next time.
Dry
Note: I have never done this, so although I understand the process there’s zero personal experience involved here on my end. I have never done this because I only take frozen samples of kefirs. Drying really can adversely affect grains, so you will expect a higher failure rate (even if it doesn’t happen to you). They also can survive a really long time in their wet form without food, so I’m not concerned about situations where the power goes down and frozen things thaw. Well, I’m not concerned about it so long as the power isn’t down for a couple of months or more, in which case I assume I’ll have much bigger problems than the state of the ferments.
This sounds pretty flippant, but it’s really true. Excepting when Sabrina sent me some of our water kefir grains, I’ve never had grains arrive in less time than a month. Don’t know why they were lost in the mail in the other instances, but indeed they were. Milk kefir is so hardy that I’ve seen pictures in fermenting groups of grains that were lost in the mail for 6 months or more, and they still recovered.
To dry them, you will rinse water kefir grains (wkg) in water, and milk kefir grains (mkg) in milk. Put on something clean (tray or similar, with or without parchment or wax paper), and then top with a thin dish towel. Leave at room temperature for a couple of days, then flip them over (in the case of wkg, move them around), dry another day or two, and so on until they’re properly dry. You can run a fan over them, also, and my guess is you can probably dry them in the fridge (but don’t quote me on that).
MKG will turn yellow, and I understand it generally does not lose that color completely afterward. You must store them in milk powder, but in either case, they also get put in something and tucked in the freezer.
To reactivate, rehydrate in relevant liquid in the fridge for 6-7 hours, then ferment as usual.

Frozen ale yeast.
Room temperature ale yeast. I’ll find out if it’s dead next time I go to use it, and if it is, so be it! Those are tinctures and jellies in the background.
Fresh Ale Yeast
We obviously don’t sell this, but I’m going to tell you anyway. Wait, I first need to tell you that I don’t brew the normal way, and that on the occasions I don’t brew using wild yeast (whether saved from a prior batch or new), I only use sourdough starter for my ales. If you do brew in the usual way rather than wilder or medieval ways, you probably buy packets of yeast and this isn’t so relevant to you. As a head’s up, if I used SD starter to brew, I baked with it afterward. Every time. Post-brewing sourdough starter is excited and makes wicked tall loaves! You totally could save them, though, and use them to create your own unique ale strains!
Room temperature wet
I do not prefer this method, but I do have some STARVING cultures stored this way due to freezer space issues. I probably should go forage some dock seed soon so I can get them going again. The method is to put your yeast in a container with some sugar (presumably, but whatever sweetener it is you like to use; I mostly use honey or fruit syrups unless I’m making a swanky) to feed it, close the lid and store. You’re really meant to do this in a fermenting container and/or with an airlock, because otherwise you have to burp it, but I’ve done it in masons without issue (because I didn’t keep feeding it). You should be feeding this at least once per week, but reality is reality. If you are keeping it in a mason jar and are not planning to burp beyond the first week, you’ll have to stop feeding it and may lose your yeast as a result. Or you might not. So it’s best to go on ahead and feed it if you really care about it lasting in this method.
Fridge Wet
Same as above, but can go a lot longer without food.
Frozen Wet
Doesn’t need to be fed, lasts at least a year. For me this matters a lot, because I only use conventional, purchased ingredients if Ross has asked me to make something not-wildcrafted. On account of this, my brewing is always seasonal and I might not be able to make more than one batch in a year if there are ingredients that have a really narrow season. I missed loquat season while I was this year, so I hope the yeast for that ale will hold a second.
Dry
I would only do this in the fridge, to be honest. There’s a lot of fluid left behind, even if you’ve strained (and I don’t know that I would want to strain), so for me this goes in a casserole dish covered with a flour sack towel (you use what you have, but pick a thinner towel) into the fridge. You just have to wait until it’s dry, and it will be some time, and then you can get it out and store in the freezer.

This is room temperature-stored starter and krausen from an elderberry and wild plum mead that’s still in its big jug and will be two years old in (and ready to bottle!) in October or November.

Right to left: kombucha (tiny piece of SCOBY but mostly starter tea on top of jun hotel, home-cured and marinated olives (look for posts on this in the fall and winter), red wine vinegar (this is malbec; it’s the only one I really love).
Kombucha, Jun, and Vinegar: No Freezers!
This is our oddball. Because all of these cultures are aerobic fermentation only and aren’t massively fond of the cold, they get different instructions from the rest!
Let’s first talk about SCOBYs and MOVs. This is a pet peeve of mine, so I’m going to harp on about it for a few. These are completely unnecessary items that exist solely as a byproduct of fermentation. They take up a lot of space, and without any real right to since it takes months to ferment with them if there’s no starter tea/vinegar. I know people like them, and I know people love having a tangible item to show that things are happening, but they are basically good for making jerky. The starter tea/vinegar is what’s doing the heavy lifting here.
Jerky made from SCOBYs is really good. My friends Graciela and Edgar sent me some maple-soaked jerky, and It. Was. Bomb. I understand they’re also nice to compost with. I could see that making for some pretty happy plants, because I know mine sure do love kombucha and jun! They like it more than the people who live here do, to be fair, so I only really make kombucha/jun for the plants and for people who don’t live here. But the jerky is good. Cut your SCOBYs up into bite-sized pieces and soak in maple syrup before dehydrating. You can do it room temp or you can use the oven at its lowest setting. You will wind up losing your whole hotel once you taste this!
I don’t know what to do with MOV, so I just put some in the container when I share starter. If anyone has recipes for using the MOV, please tell me. I want to know.
Your SCOBYs and MOVs will die if you get them cold. No freezer, no fridge. Can’t do it, don’t even think about it. I’ve never frozen starter tea or vinegar, so I don’t know yet if it would die. I suspect not, but don’t rely on my suspicions unless you’re experimenting with something that isn’t your only backup (but tell me what happens when you do). I have, however, started many batches of kombucha from bottles of tea in the fridge, and that’s been just ducky.
Wet
All I really do is put a lid on tightly and leave it wherever it was fermenting with the lid off. This stops fermentation until you let it have air again, and you can do this a good stretch. I make batches of vinegar once per year, right before olive season, and I only make enough for the olives plus a litre for salad dressings and sauces (it’s better once it’s conditioned a while then when it’s young and fresh), and the rest of the starter vinegar sits there waiting for the following year. Now that I think about it, I should make the next batches now so they’re less fresh by the time olive season returns. Thanks for making me realize that, y’all!
Ditto kombucha and jun, though. I open those jars once every so often, say hi, and make a batch for the garden. It’s totally fine. If the lid’s on tight, you’re good.
Sabrina reminds me that you can vacuum seal your starter tea/vinegar (with or without SCOBY/MOV) and it’s good for months. I have a sealed elderflower vinegar starter in my pantry, in fact, that Child Tester and I will be foraging flowers for as soon as the rain for this week stops! I found a new field the other day, and it’s just elderflowers as far as my eyes can see. Really excited about that for vinegar, cordial, drying for teas, and fritters!!
Dry
Basically what you do here is make jerky, except I guess not cut them up (or not as much). Store these in the fridge (not the freezer). My understanding is they have a shelf life of about 3 months and a massively high failure rate.
Lastly, a picture of fridge starter. It’s the same as any unpasteurized kombucha you might be storing in your fridge to drink, and works perfectly well to start a new batch!

Lemonade bottle is the kombucha, and it’s there waiting for until I can see the friend I saved it for. Water kefir is the rest of those swing tops.