

Three Sisters Stuffed Shells
Since I mentioned this recipe last week and am reasonably sure none of you remember it, here’s an extra thing to do with all your Halloween and Thanksgiving pumpkins! Also an extra thing to do with those cans, if you’ve any leftover.
I really, really like making stuffed shells, though I forgot I like this for a few years. I go in phases with my cooking. We have so many pumpkins and squashes left over from Halloween, so for Thanksgiving I grabbed the largest pumpkin and set about dealing with it so I could make Child Tester the requested pumpkin pie. That only used a quarter of the pumpkin, and I really didn’t have room for the rest in the freezer (even though I put it all in there, anyway!) so I eventually decided to whittle it down with some delicious shells so as to open up some more freezer space. I’m gonna need to make at least 2 more pies before that first pumpkin is cleared out of the freezer, and I of course have not yet done this; it’s more likely that I will ultimately put those bags of pumpkin in breads and other savory dishes. Luckily, the remaining ones are smaller, and it’s also wonderful that if you keep your winter squashes in a cool, dark place, they really will last throughout the winter.
If you didn’t know that, now you do and you should remember load up in October and November when all the squashes are on sale for Halloween and Thanksgiving! We bought 5 total, 1 massive jack o’lantern (yes, these are also food, even though no one seems to notice this), 1 pie, 1 large white squash that looks like a hard pattypan instead of soft (who knows what it is? Not me!), and 2 tiny/ornamental pumpkins (yep, can eat these, too!). I personally am going to work in descending order of size to eat these all up unless one of them develops a soft spot. I check the squashes about once per week for soft spots, and if I find one before that guy is due for butchering, it’ll jump ahead in the line and get used immediately! You can, of course, also load up on winter squashes now, since they are still cheaper than in the warmer months even if they aren’t on sale.
Now that I’m thinking of it, those of you with dogs can save your peels for them! I’d never given just the plain peel when I had dogs, but I did blend them up with water and add them to dog treats and the food bowl in general. Just make sure they’re cooked, if you peeled your squashes before you roasted them.
Y’all. It’s been so long since I made shells that Child Tester thought this was a new-to-her food! She also ate more of these shells than I did, so they’re either way yummier than I realized or she’s going through a growth spurt. Maybe both! Either way, she and Ross scarfed down their food so quickly I thought I’d not done this particular shell for them, and I asked. He said, “I’m not really sure. There was a year or two when you made shells every time you didn’t feel like cooking, and you made a lot of different kinds. I think you just put whatever you wanted to eat in shells during that phase.” That’s probably true. I get kind of obsessed with certain foods when I see how easy they tend to be compared to whatever else I’d considered using those ingredients for. We also had a risotto phase, because no matter what is going on in Gordon Ramsay’s kitchens, most people find risotto pretty simple once they understand the process. Shells are the same: they look like you worked hard (great for parties!), when most of the time the presence of shells indicates you opted for the easy way out on meal prep that day.
This was a particularly good batch, though. With this batch, I kept seasoning to a minimum so we could revel in the awesome of the ingredients themselves without distraction. Add some spices if you prefer that! I love the taste of actual pumpkin, so I don’t like to mask it with spices if I can get away with not doing so.
Know also that when I make shells, I make way more filling than I need. I do this because it freezes well (haha, see aforementioned freezer problems), and thus one moment of quick prep often leads to 2-3 meals. So…. yeah. I have half a pumpkin in my freezer now, plus enough mix to do 2-3 more batches. It’s so much pumpkin in there!
Here’s what you’ll need (quantities adjustable to suit your preferences)
1 box of jumbo shells (or whatever portion you want to use; I used 18)
1 can of black beans (or 1 3/4 cups that you cooked yourself)
1 can of corn (I used freeze dried corn due to lazy)
1 quart of farmer’s cheese, ricotta, or cottage cheese
2 cups cooked pumpkin, pureed or cut up (I grabbed another quarter of my roasted pumpkin and broke it up with a spoon into chunks)
salt and pepper
8 ounces of shredded mozzarella cheese (you can never have too much cheese, so increase as desired)
Sauce
1 28-ounce can of crushed tomatoes
2-4 tablespoons of your pasta cooking water
juice of one lemon
salt and pepper
Here’s what you’ll do
Boil your pasta per package directions (I short the time on this because it’s going to bake in liquidy sauce), then drain them. Then, mix together your salt, pepper, cheese, corn, pumpkin, and beans. It doesn’t need to be evenly mixed. I prefer it to not be evenly mixed, because then each shell is its own unique experience! By the time you’re done with this, your pasta should be cool enough to handle.

Your mixture will look something like this. This is what was leftover for freezing for future meals. There are probably 2 meals’ worth of filling in here.
Put enough filling in each shell to fill it without overfilling it. This is a great time to pre-heat your oven to 400F/200C/GM6! Please preheat your oven now.
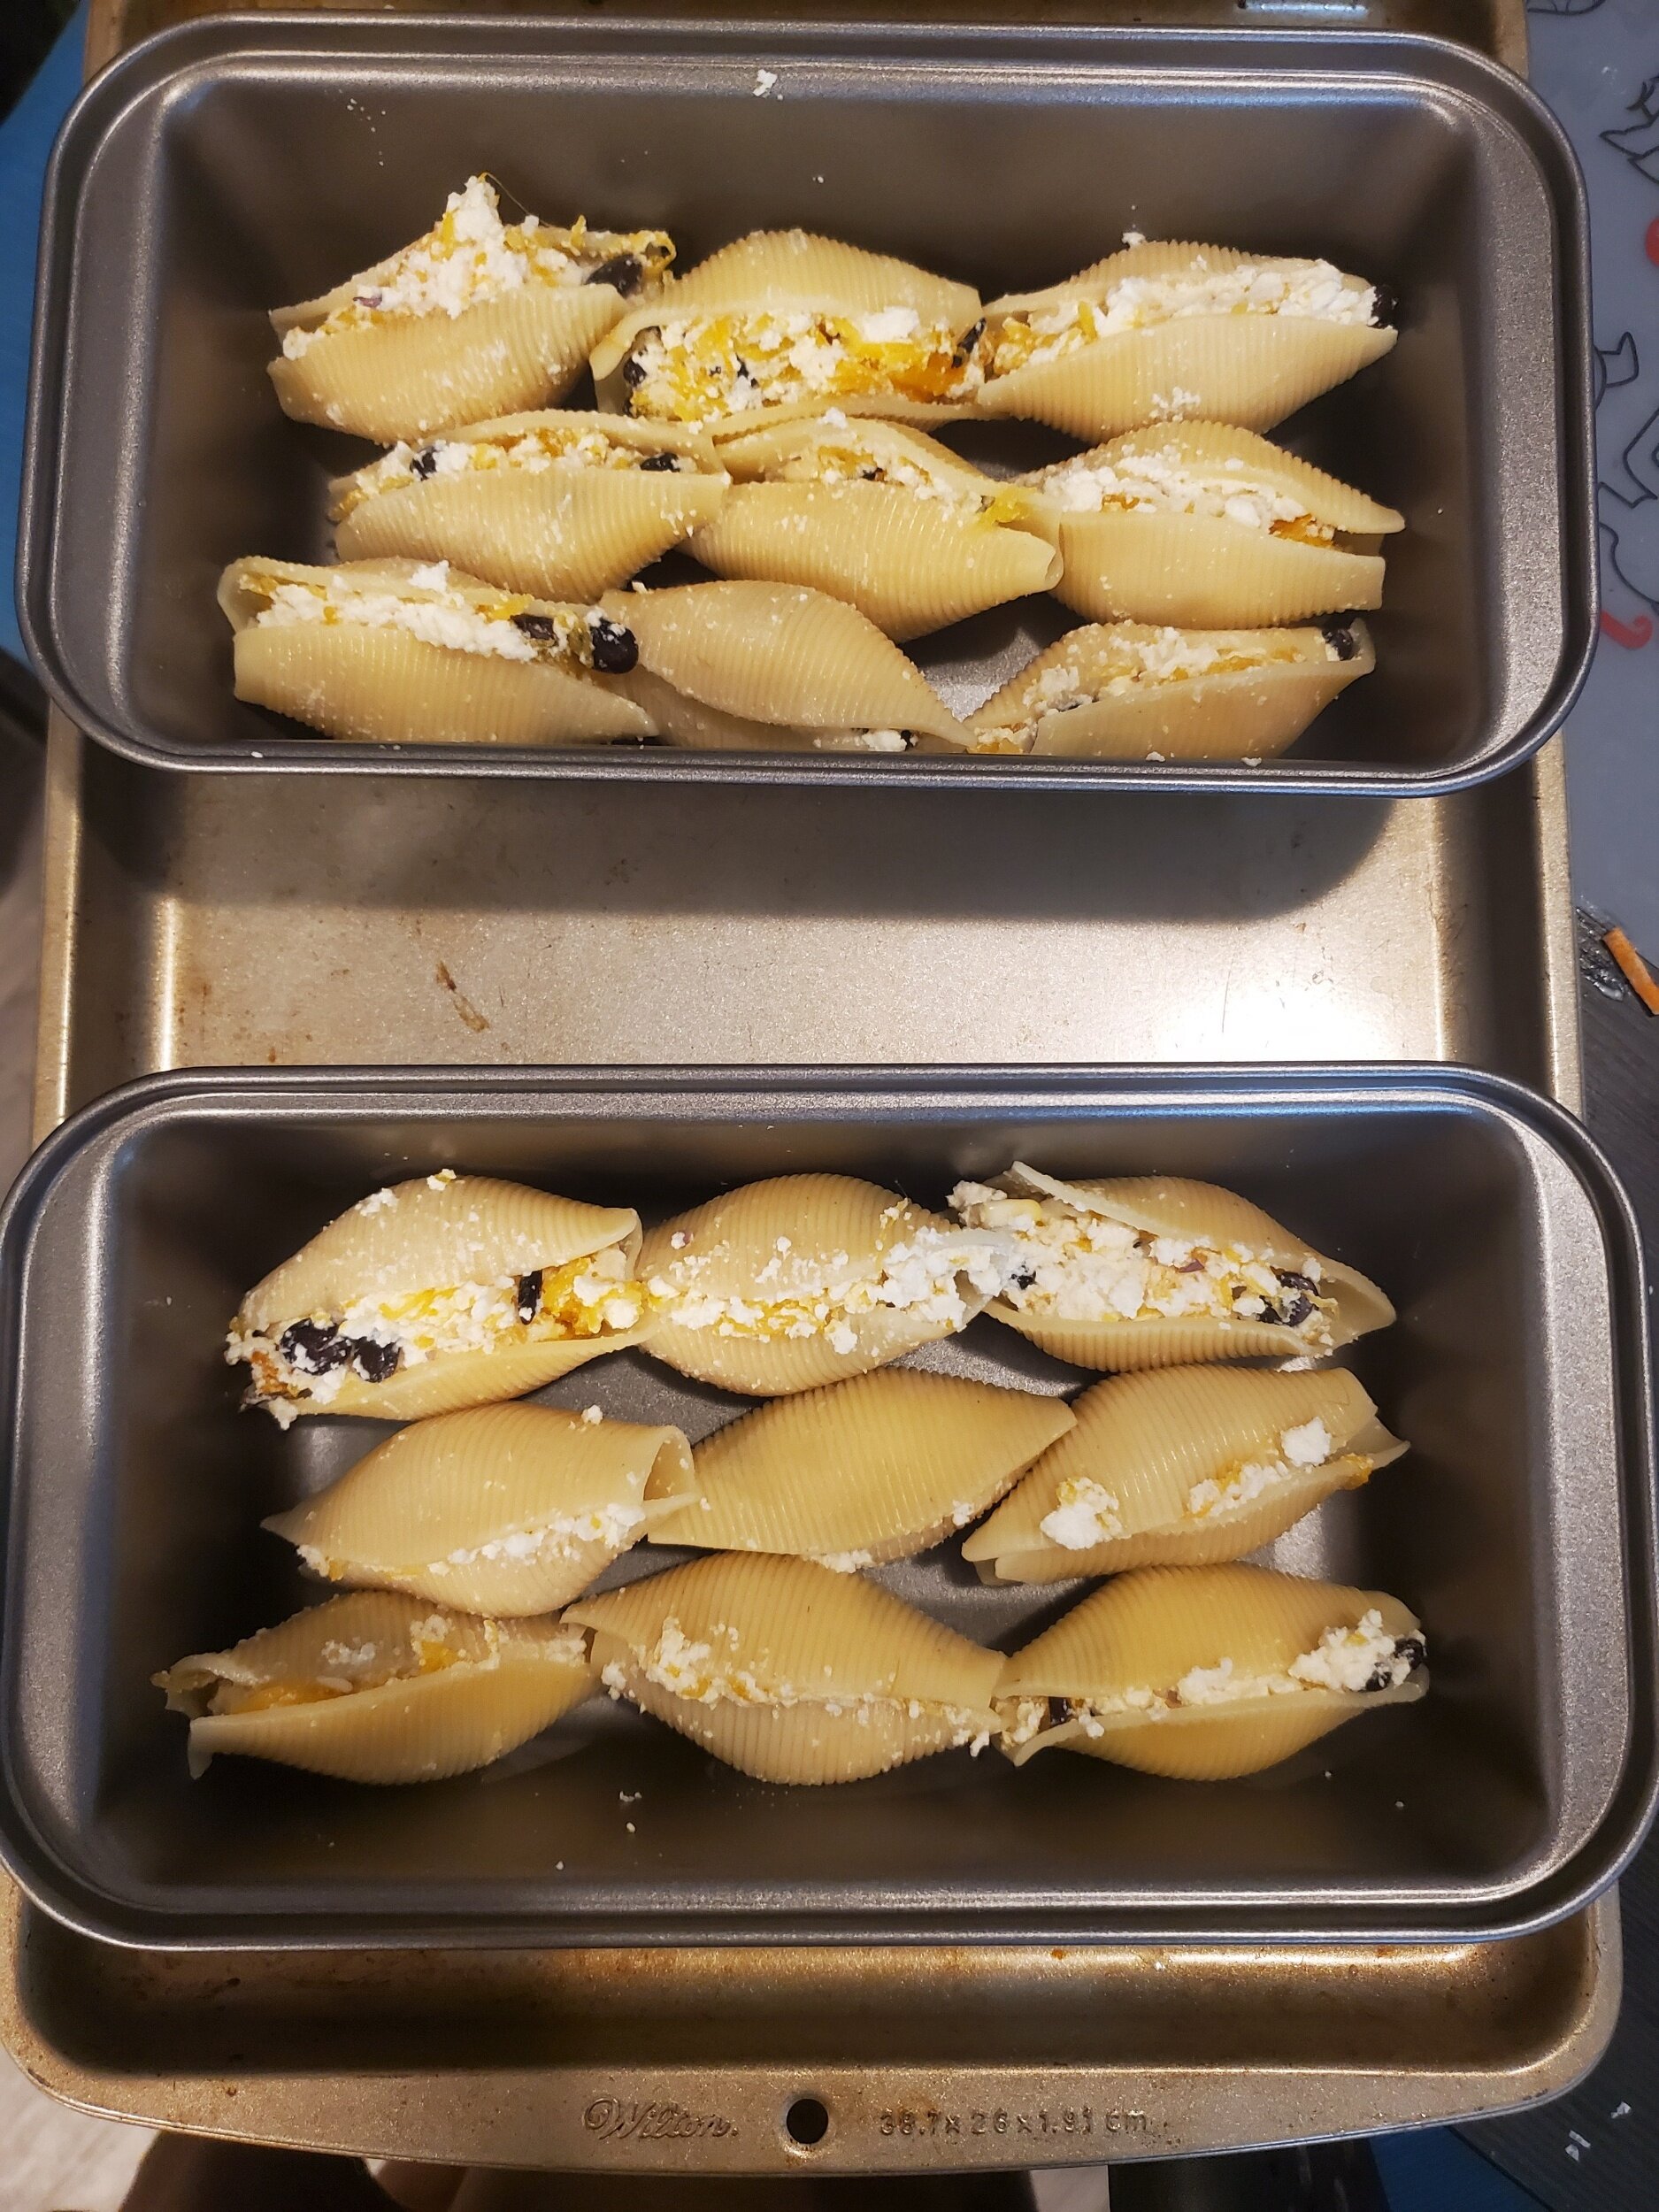
I like them in bread pans if I want to make it clear to the fam that we’re eating, not gorging. Your family size may vary, so how you do this may also vary. But get ‘em in whatever you’re baking them in!
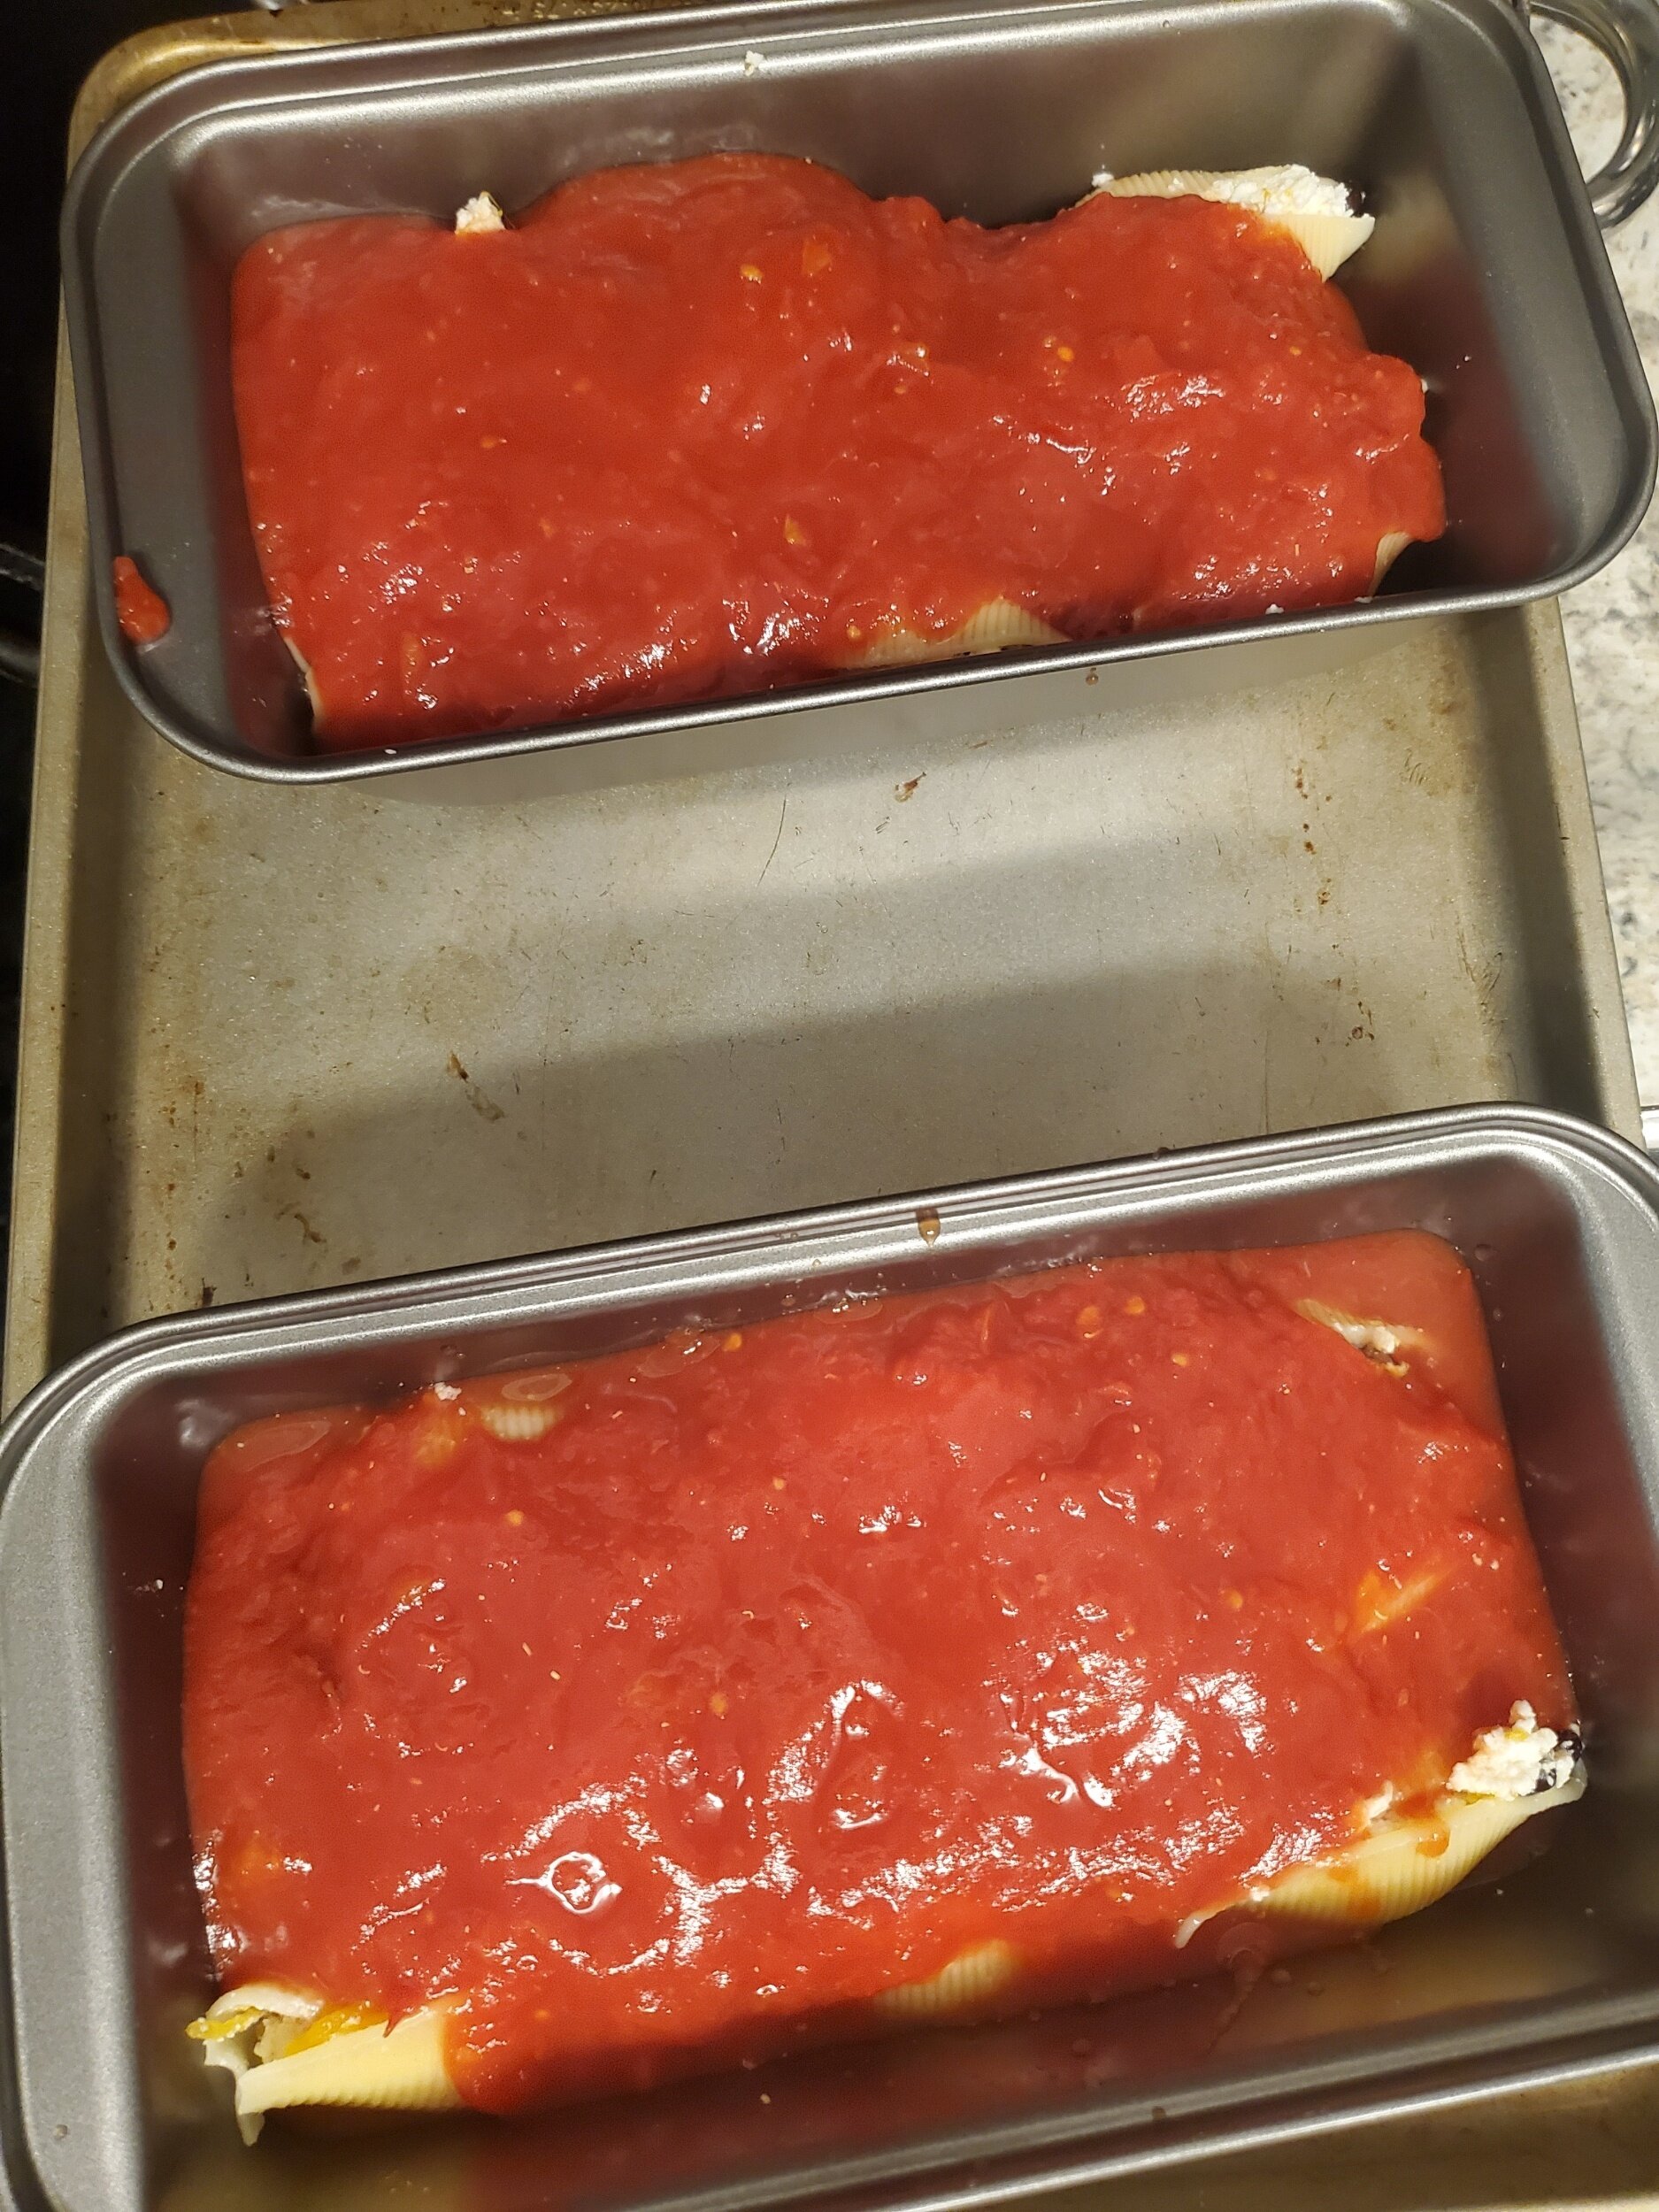
Whisk that sauce up and get it on there. It doesn’t have to be perfect.
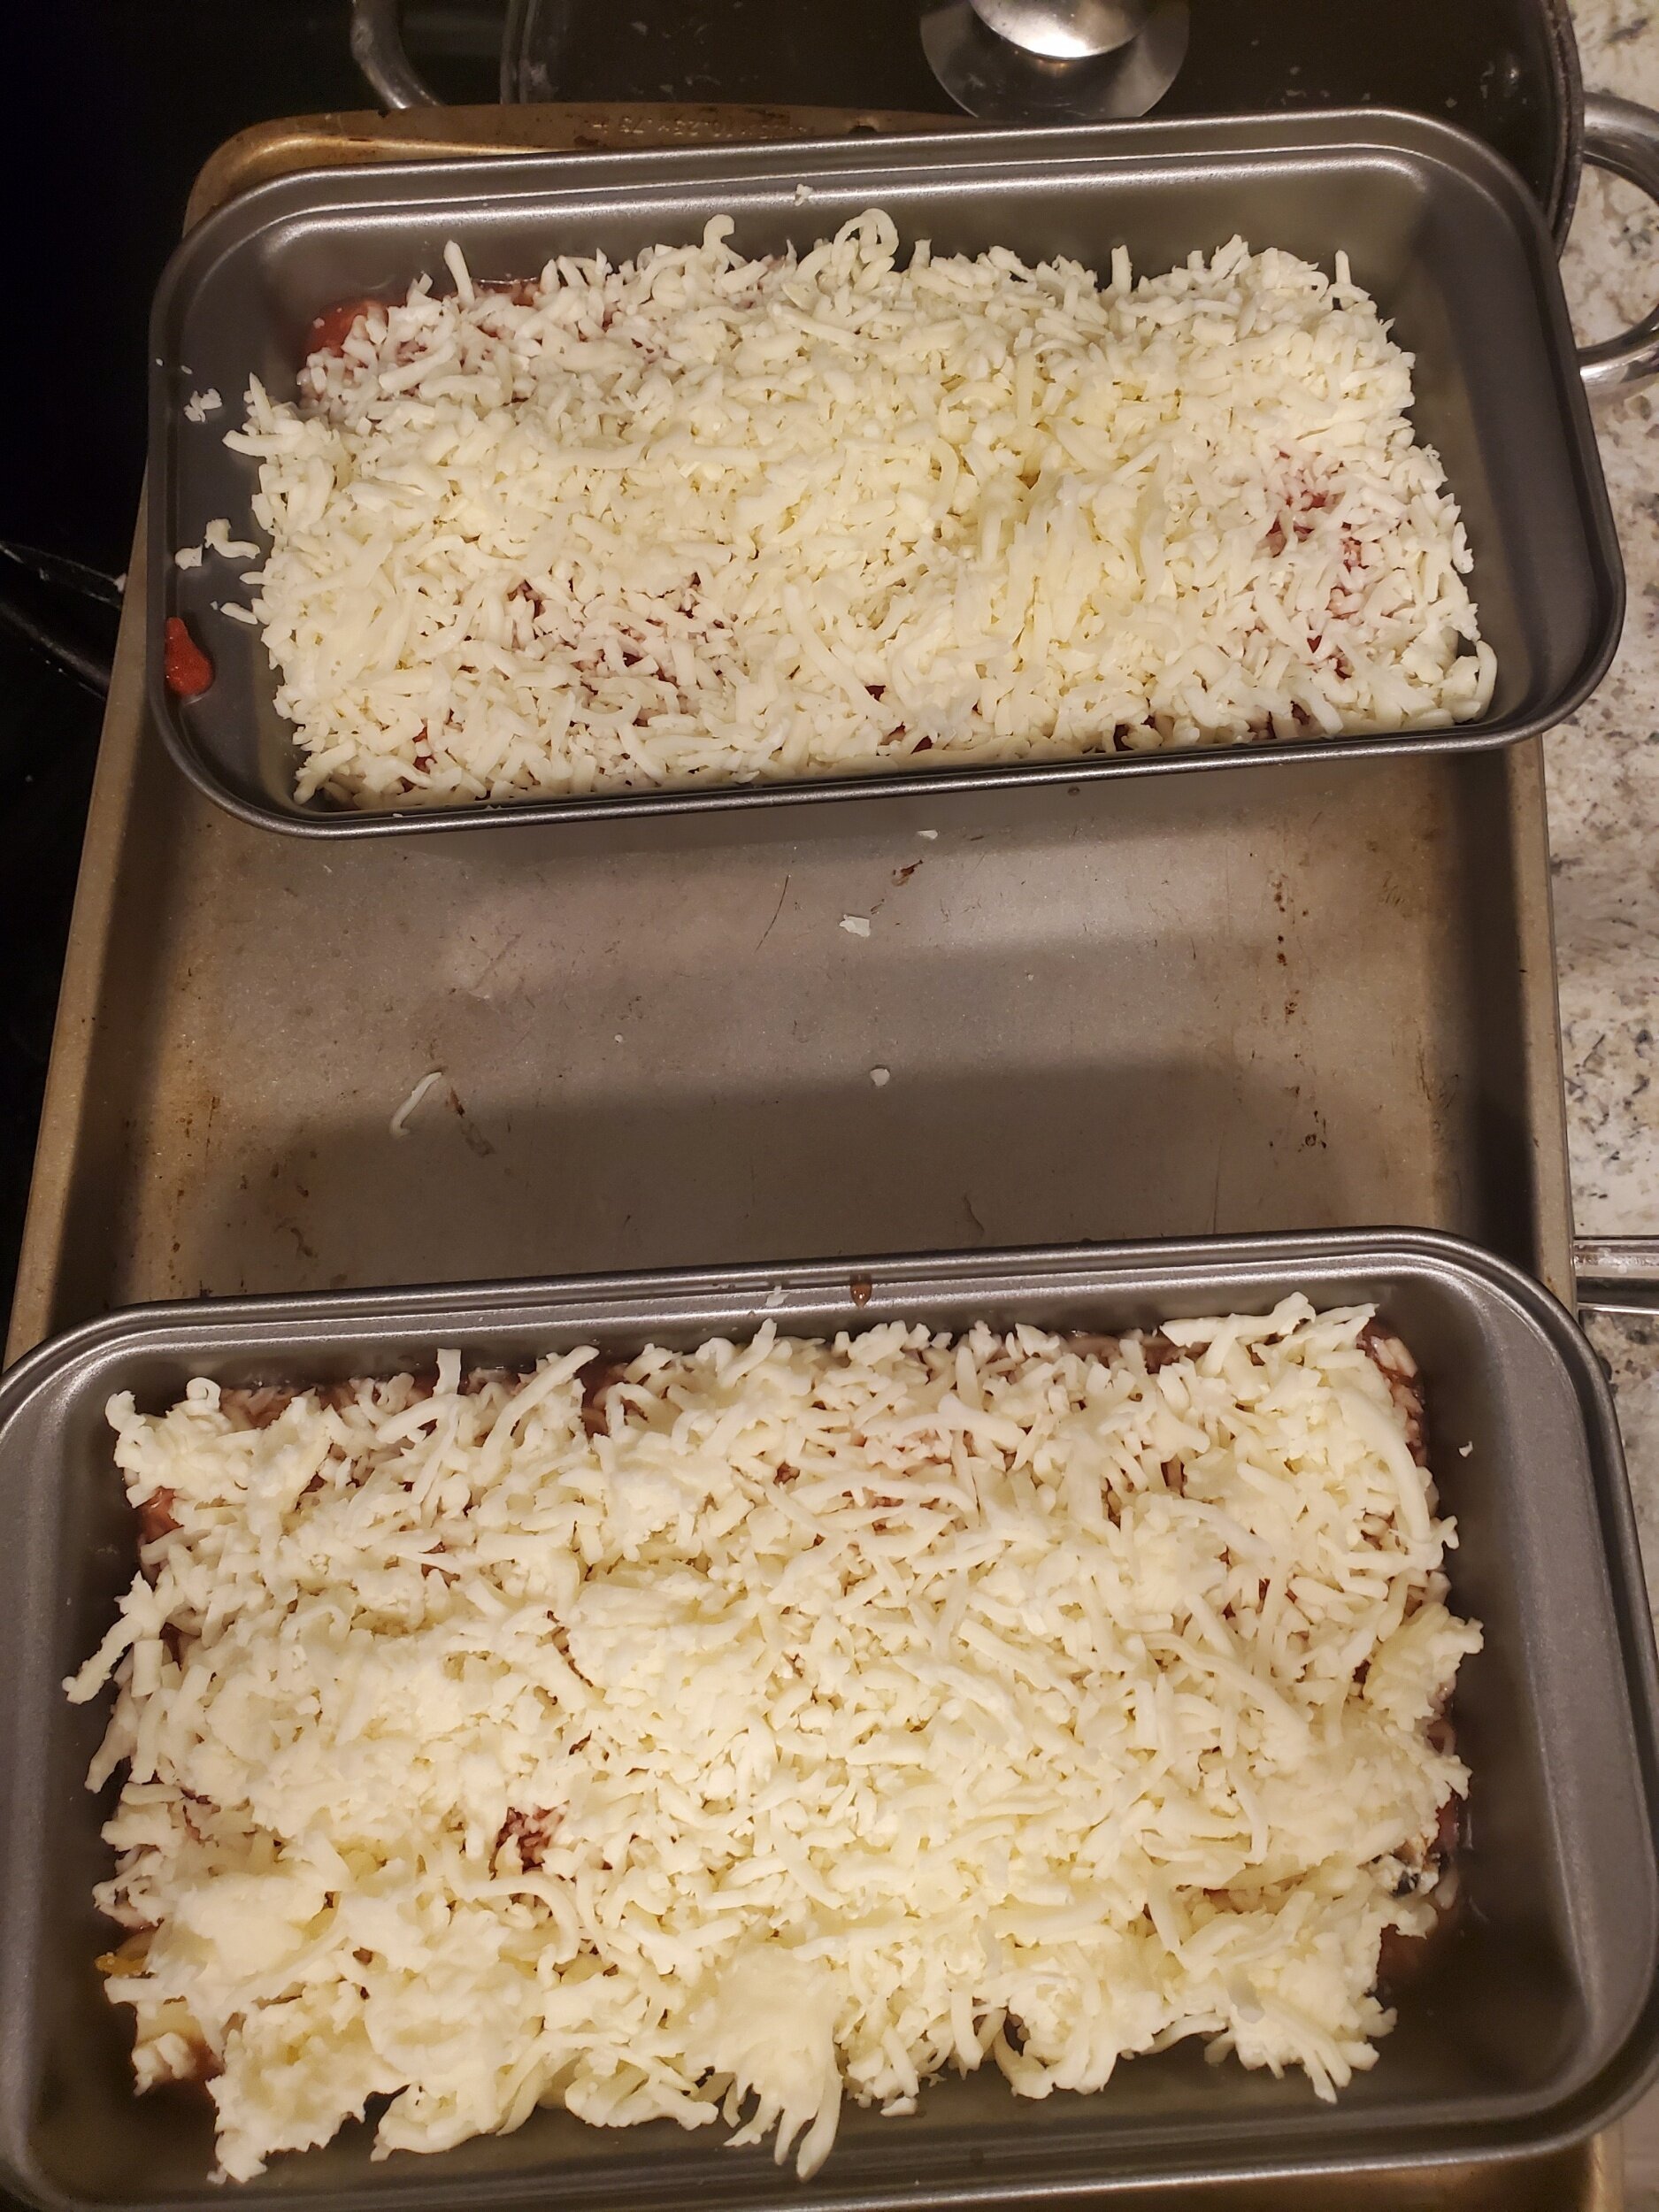
Cheese. Again, there is no such thing as too much cheese. Go nuts!

You want some foil on your shells. Time to put them in that preheated oven! Bake those puppies around 30 minutes, then remove the foil and give them however long they need to brown the cheese well.

Like this. This was 20 minutes for me. Usually it’s 15, so my oven is playing tricks on me!
Please let this cool for at least 5 minutes once it comes out. If you ignore this, I don’t want y’all blaming me for your mouth burns!

Last: enjoy!!