

How to Make Vegetable Ferments

There is nothing about kimchi that doesn’t make me happy.
I am happy to report that I’ve been answering a LOT of questions about getting started with veggie ferments! Since answering those questions generally means me Googling “positively probiotics vegetable ferments” and then sending the link to the person, it makes the most sense to me to just have y’all go through this article if this is your jam. It’s also my jam, and I admit that occasionally I pull the article up for the charts so I can avoid mathing while doing my veg ferments! I should be embarrassed to say I’ve been avoiding mathing despite holding a math degree, but I’m not embarrassed in the slightest.
Vegetable ferments! These are really my favorites of all the ferments out there - including sourdough! What’s most awesome about vegetable ferments to me is that, although they really can seem daunting at first, they are really easy to make. It’s generally salt and veg, sometimes with water added to make a brine.
My guess is that the most well-known of the veg ferments is the humble cabbage, transformed with salt into sauerkraut! Kimchi is a really popular type of sauerkraut indigenous to Korea. It’s popular because it’s freaking delicious, y’all!
Outside of the standard fare, you really can ferment just about any vegetable you wish to.

Are you really going to tell me that this dog doesn’t look amazing? Only think that could make it better is if the kraut were fermented instead of pickled!
What do I need in order to get started?
Not much, to be honest. You probably need a knife, though that depends on what you’re doing. Some jars would be good. You can use Mason jars, or really any glass jar, but if it’s not made for fermenting then you do have to babysit it by skimming scum and burping it at least once per day. If you want fermenting jars, I personally think Kilner jars are the best. That said, Fido is the most popular, IKEA makes some (and it looks like they’re finally selling the gaskets again, which is bonus), Le Parfait are lovely, Weck makes my second favorite, and there are more brands besides.
Beyond that, you need the food you want to ferment, non-iodized salt, possibly additional water, and any spices you feel like adding. It’s pretty low tech, really.
If you want to be all fancy about it, you can get a muddler (otherwise, use a wine bottle or rolling pin), and you can also get special fermenting airlocks to use on Mason jars (or other jars that don’t hermetically seal), or you can use regular airlocks. How complex this becomes is really determined by your personality and love (or lack thereof) of gadgets. It is, however, important to remember that people have been doing this kind of food preservation for thousands of years, so you don’t really need all the Industrial and post-Industrial age stuff in order to make some nice veg ferments. I personally have been known to use lidded casserole dishes and the like, if I didn’t have enough fermenting jars (this mostly comes up when I’m doing olives, because I do them about 25 pounds at a time).
This right here is “the start of a beautiful friendship” between you and some half or full sours!
What about salinity and brines and such?
This also is pretty easy, and I’m gonna give you a couple of charts for it!
Salinity is basically how much salt is in your ferment. The most common percentage is 3%, which basically means that for every litre of water (1000g), you’re going to use 30 grams of salt. You do not want to use iodized salt. Iodine inhibits microbial development, which is the opposite of what we’re looking for here. Any other salt is fine, though. If you feel like making your own salt from the nearby ocean water, go for it. If you’d prefer to buy the 45 cent free-flowing (non-iodized) grocery store salt, do it. Himalayan? Okey dokey. Really, whatever you’ve got that doesn’t have iodine is fine. You do not have to buy expensive salts, though some people really like to. Personally? I generally use whatever is closest to my hand that day. Some days it’s kosher, other days it’s grocery store free-flowing, very occasionally it’s Himalayan. To be honest, I generally save my fancy salts for seasoning at the table. That’s just me, though. You do what you like.
Sometimes, you will use salt but not make it into a brine (a brine is a mixture of salt and water, sometimes with spices added). This mostly happens with cabbage, but sometimes may be what you want to do with other things. Very occasionally, you may want to add some sugar. I find this is most commonly, in my house anyway, relevant to making furikake with shiso leaves. Not everyone uses sugar for this, so you know.

This one is nice because it also gives you volumetric. If you’re doing chile pastes or olives, you’ll double the 5% amounts to help prevent mold.
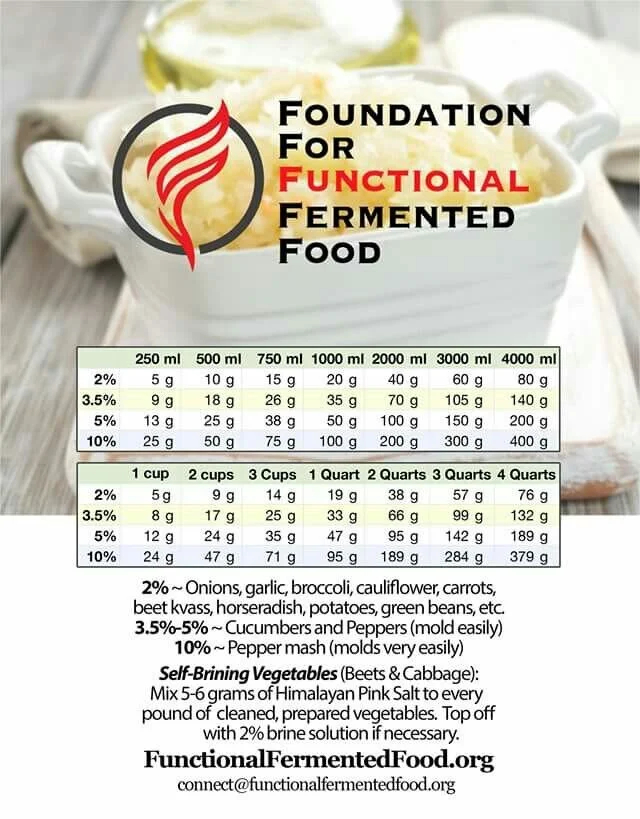
I like this chart the best, though, because it gives you some guidance on which vegetables go with which brine percentages.
Look at that - two charts! No, but seriously, there are a lot of these out there. So be like me and don’t reinvent the wheel here.
I personally do onions at 3%, and I always do olives at 10%. I find that at 5%, they’re more work due to frequency of molding for that fruit. When I’m making hot sauce, I do a 10% brine even if I didn’t puree the chiles (spoiler alert: I never puree the chiles!). But I also tend to ferment my hot sauces for around 3 months, which dramatically reduces the saltiness. If you’re going for a “young” hot sauce, you’d be good at 3-5% for the 2-ish weeks it’d ferment before blending (and possibly straining).
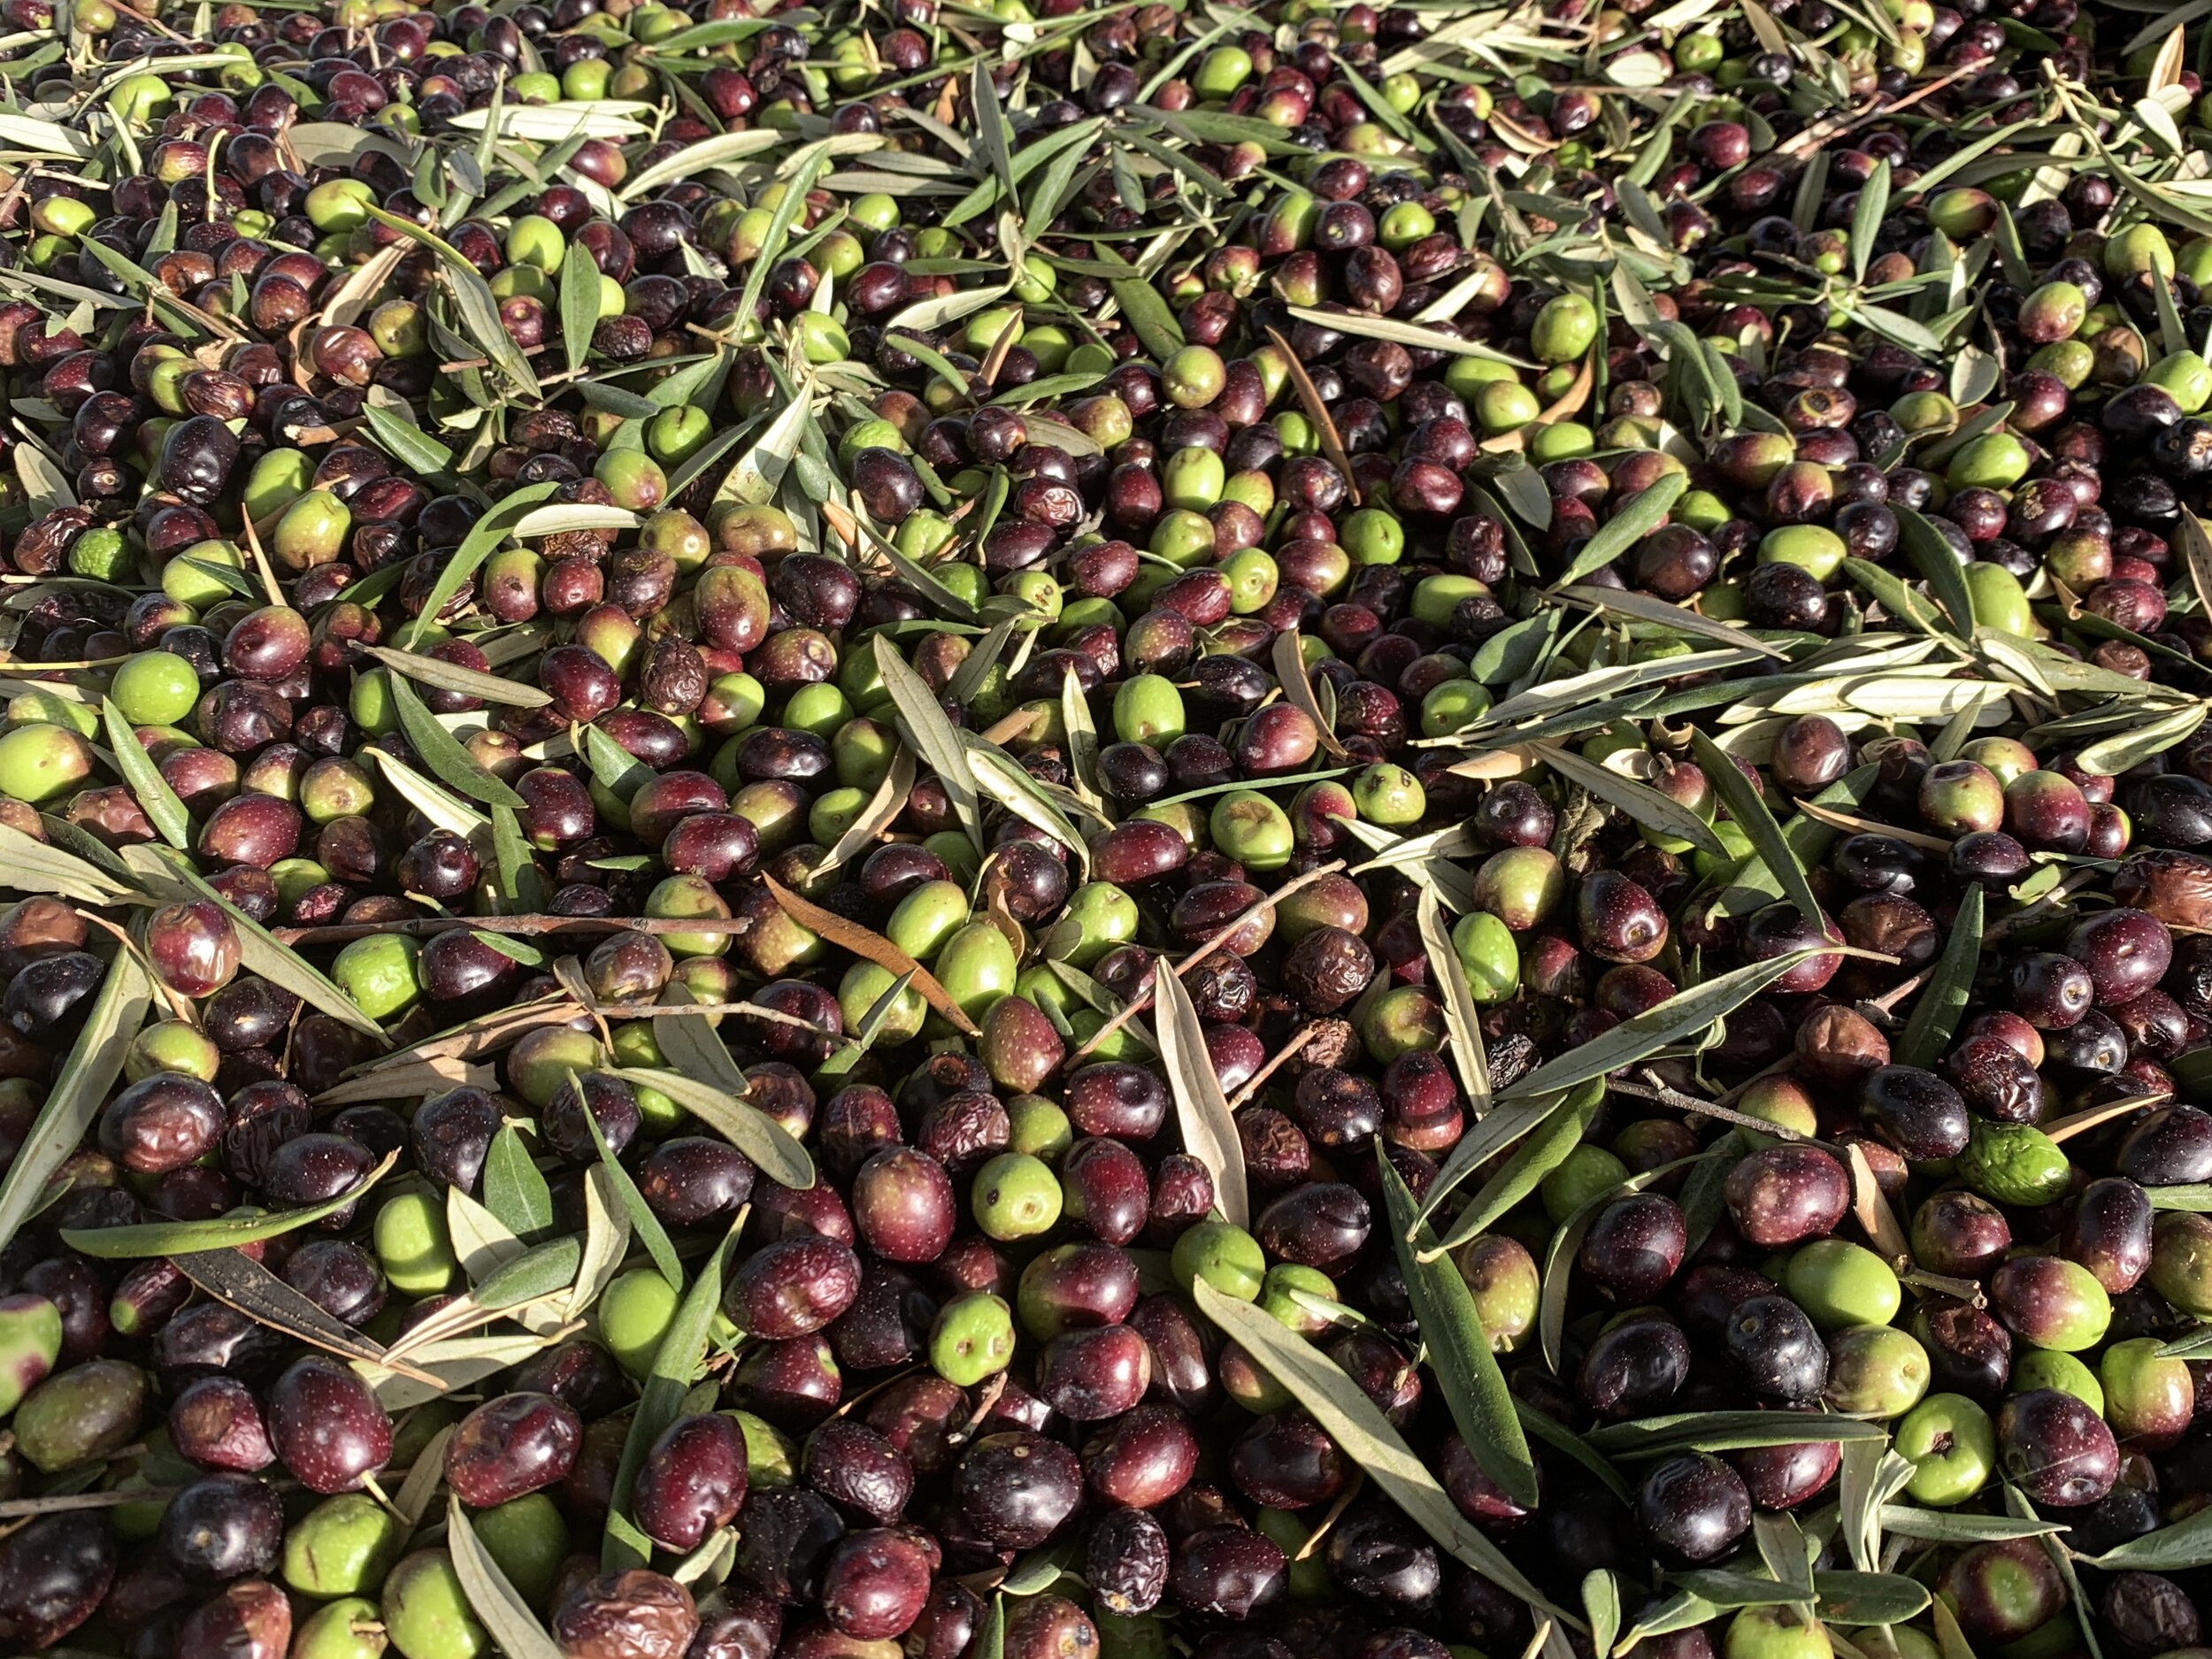
Olives! This is, hands down, my favorite fruit. I eat olives nearly every day, most of which are home cured. My bags of olives tend to come with a lot of leaves, so I save those for my herbalist practice.
Ideas for what to ferment?
I do have some! Kraut, I think, is the easiest of the lot, and there will be 3 recipes for that on Wednesday’s post. Onions are also lovely. For onions, I do 3% salt and thinly slice red ones. Most of the time I do not need a brine, because I salt the onions with whatever I’d need for the weight of veg I’m using, then muddle/press them so they release their own water. Ferment for 1 week, then put in the fridge. Although I often use these for cooking on days I’m feeling too lazy to cut onions, these are most popular in my house for burgers and dogs.
Carrots! Do your carrots for about a week. Once you go over that, they start getting kind of funky and you may have protests over them.
Watermelon rind! True story here - they aren’t cloyingly sweet like the pickled version - 5% brine for about 2 weeks. These taste remarkably like cucumber pickles.
Turnips! Yes, turnips! Add a slice of beet in them to achieve a lovely pink color! 3% brine for up to a month (I normally pull these at 2 weeks, because my kid prefers younger ferments). Excellent on sandwiches or just by themselves!
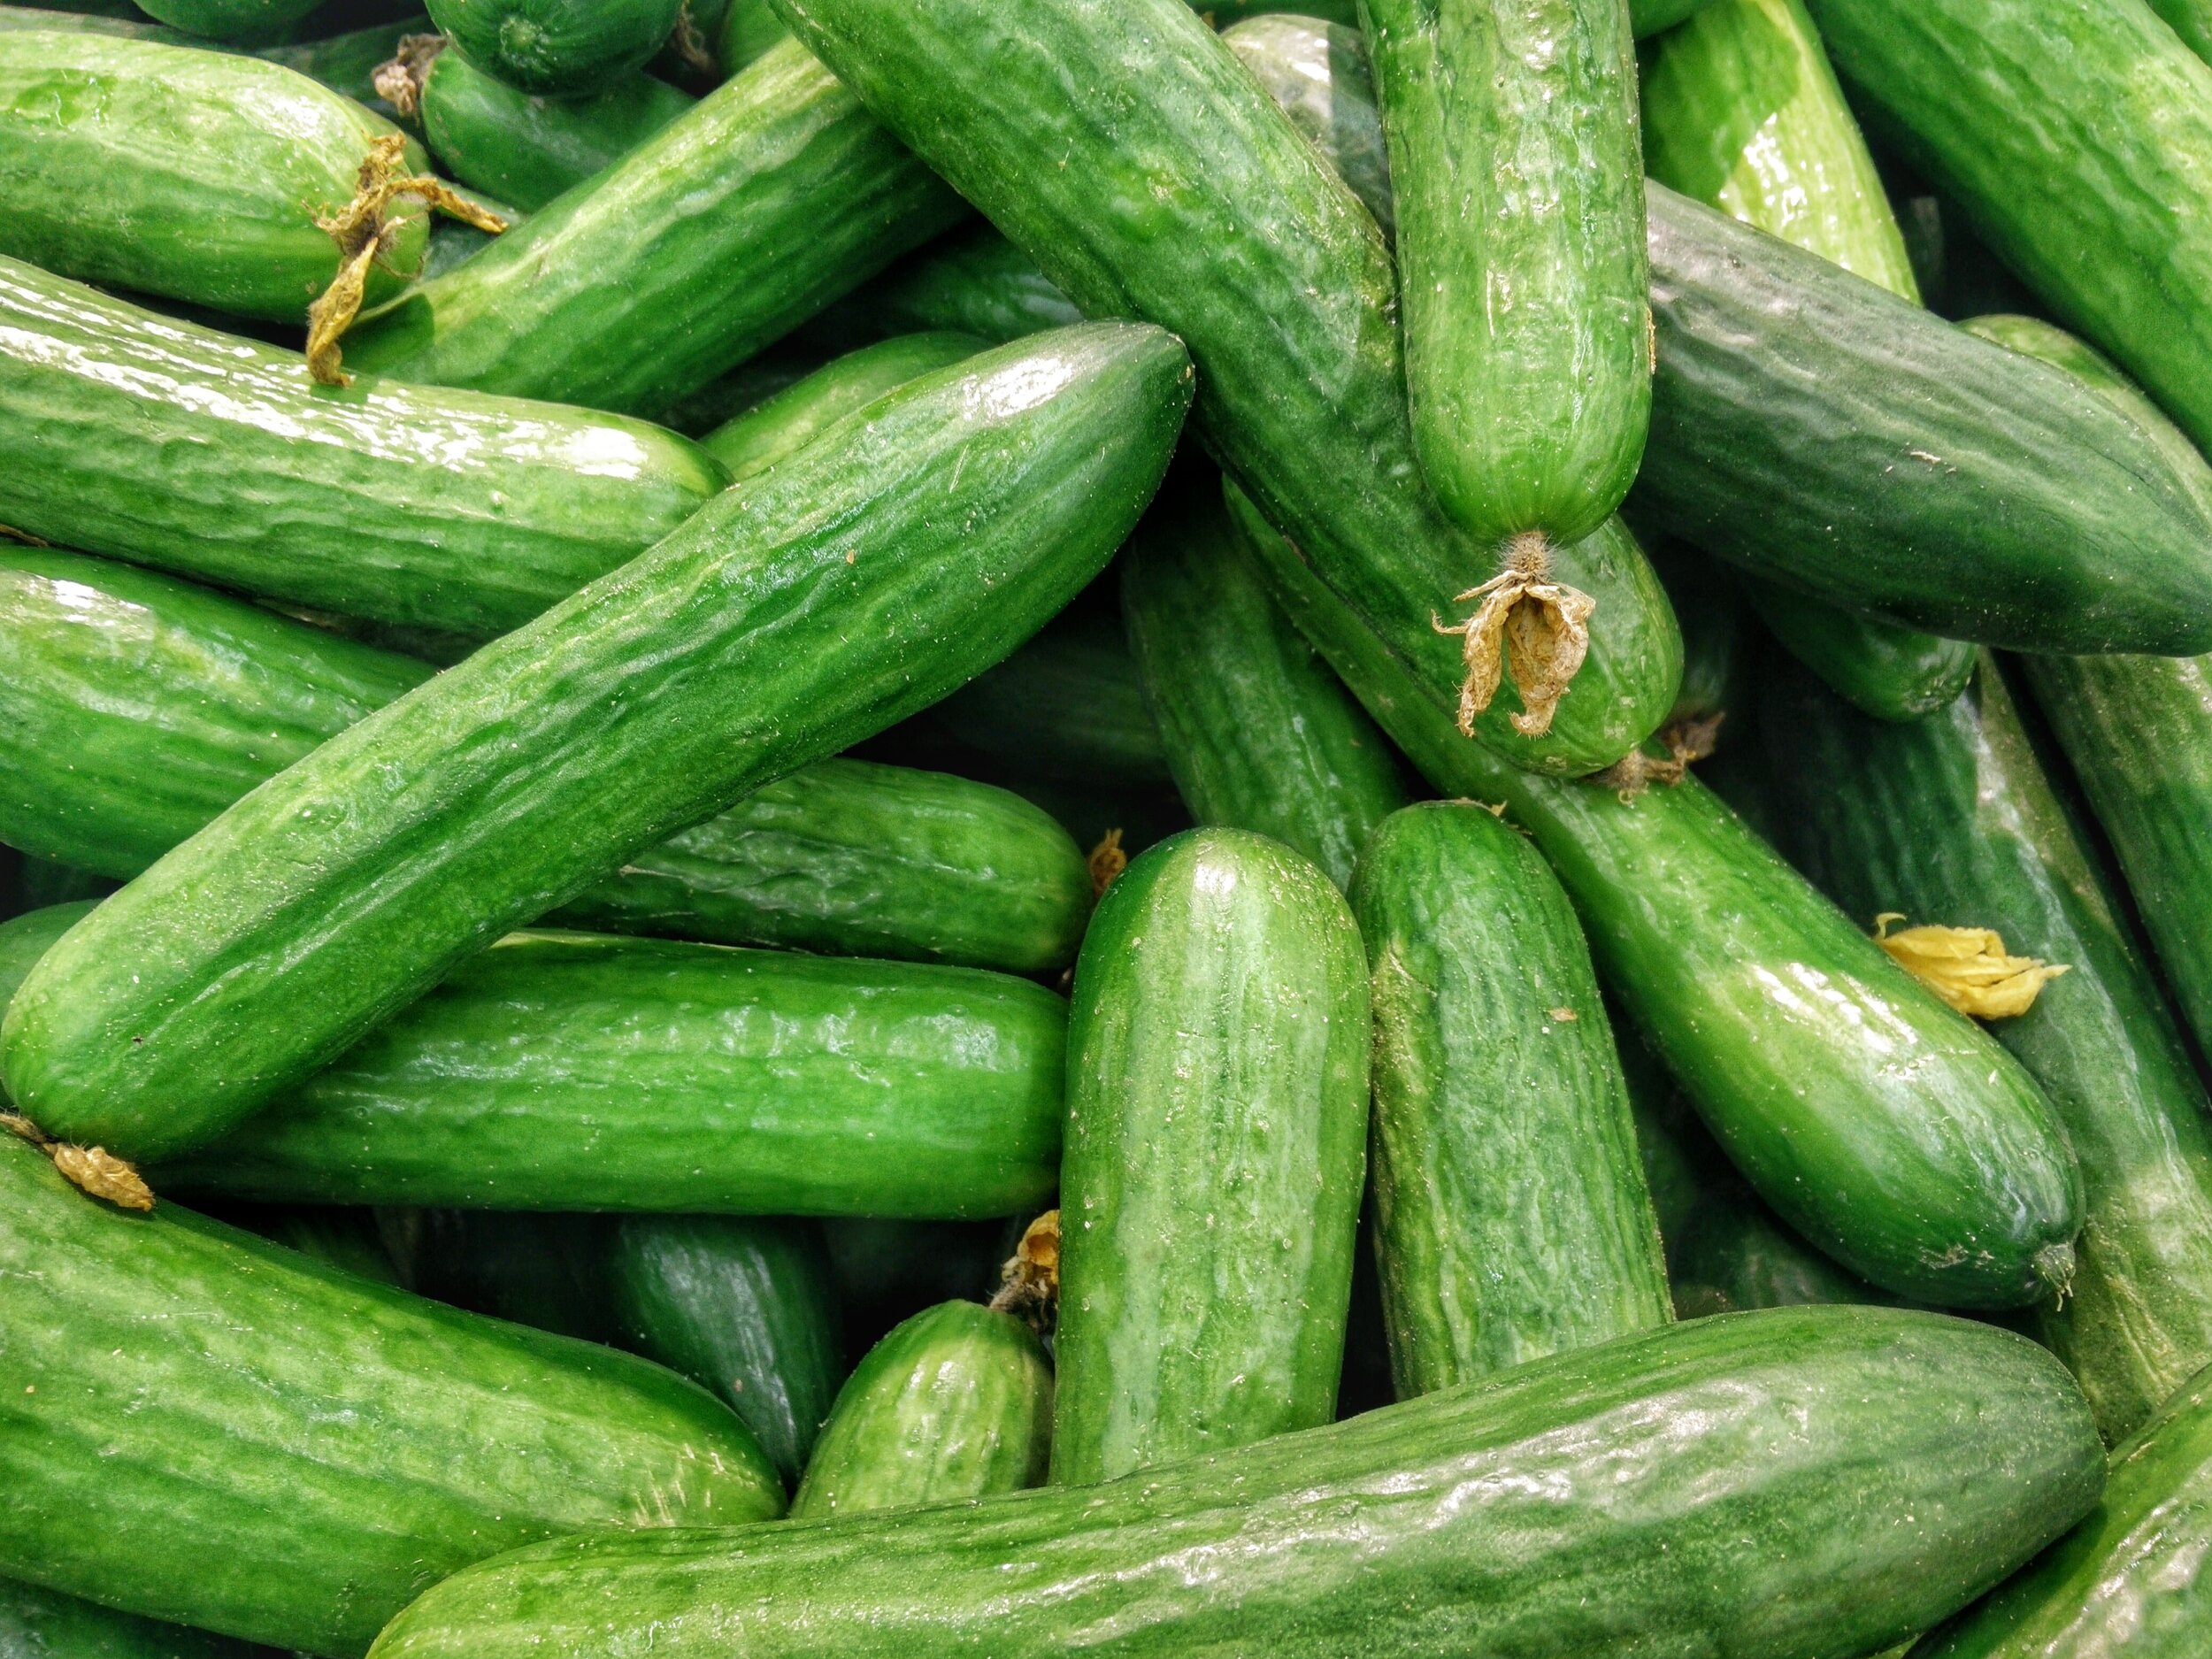
Cucumbers I always do at 5%, because I find they tend to mold more easily than most people tell me they do.
What about hot sauce? This is a popular one in my circle. 10% brine added to as many destemmed and halved or quartered chiles as you can pack in your jar. Toss in a clove or two of garlic to flavor your hot sauce with no effort! You can ferment this in as little as 10-14 days, but for the real nuance of flavor, go 3 months.
Pretty much the sky’s the limit here, but other than a few staples, I tend to ferment whatever vegetables I’m going to wind up binning otherwise. No sense in throwing away food that isn’t being eaten fast enough when you can simply ferment and forget it until you’re ready to nom out!

This is a super simple recipe for half sours
This all sounds really intimidating!
It does, doesn’t it? All these things to do and jars to keep up with! But trust me, your life will be better if you make these for yourself and your loved ones! Start slow and easy with one or two simple recipes, and then as you gain confidence you can try recipes that feel more complex. This is truly a rewarding way to add healthful probiotic foods to your daily diet with just a small bit of effort on your part!