

Soft Sourdough Sandwich Loaf
Ever since my daughter started noticing that her friends eat different bread than she does, she has been all about the soft loaves. So much so, she boycotted bread for 6 months until I developed formulas to suit her textual desires. Now she’s back on the breadwagon, and we can’t be happier! I still make big, beautiful crusty loaves with designs etched into them, but now need to keep a sandwich loaf in the house for her as well. Especially since we are in the thick of the age of losing baby teeth, which makes anything other than Wonder Bread-soft anathema to her. By and large, I am a “by feel” baker, so when a friend asked me to teach her how to make a good and soft sourdough sandwich loaf to satisfy her kids’ equal need for soft crusts and fine crumb, I developed this formula.
It is, admittedly, more challenging to get a super soft loaf for the home baker than it is for the commercial bakery, because even if we had access to the synthetic agents used by big corporations, I really doubt any of us would use them. What I have learnt through the recipe development process is that a soft loaf comes down to a few things:
Kneading. You really have to do it. And a lot of it. Consider this your gym workout, because you’re definitely not going to be doing “arms day” after making soft bread. The minimum kneading time I recommend is 10 minutes, but 20-60 produces a substantially lighter crumb that even your pickiest bread eater will enjoy.
Milk powder. I only use Nido brand, because I want the fat from the milk, not just the watery fat-free stuff. Milk softens crumb. Consider this to be the “optional” ingredient, because longer kneading times (20+ minutes) will eliminate the need for milk powder. Most people gasp when they see how much milk powder I use, but it needs to be powder and not milk so you can supersaturate the dough with milk without it turning into a crèpe-like batter. This recipe uses less milk powder than I use in any other soft dough I’ve developed, but it’s still a fair bit.
Milk. Brush milk on the loaf when it’s done rising and about to go in the oven. This “pre-softens” your crust.
Butter. Brush butter on the loaf as soon as you take it out of the pan. I do all 4 sides, then wrap in two dish towels to let it cool.
If you apply these 4 principles to any loaf of bread you’re making, sourdough or otherwise, you will have a soft loaf to rival those found in grocery stores!
A few notes, of which #3 is critical that you read:
This recipe calls for an outrageous amount of water. It’s on purpose, and it’s to help the dough rise. Yeast that have room to move eat faster, and thus fart faster and more often. You want lots of farting to get a good rise and to speed up the process some.
I do not really use a stand mixer for breads, because I need to feel what the dough is like in order to know when it’s done. The recipe, however, is adapted to allow you to do so.
When I tell you below to knead, I don’t mean the kind of kneading you’re used to. If you do not want to deal with this, here is where your stand mixer becomes quite valuable. You will need a bench scraper to knead by hand. The one I’ve linked is at the bottom end of how wide you’ll want it, but I’ve been known to hit up the hardware store for a 14-16” plaster scraper in the past. Here is a video to show you how to do high-hydration shaping (which you really don’t need for this loaf, but can use). For hand-kneading, you apply the same principle in the video, except you’ll be using the scraper to fold the dough on itself and around your counter/bench/board to knead it. Same concept, different application.
If hand kneading, do not put your dough on any surface that isn’t wood. You will not like seeing your counters get marred by the bench scraper. Be like Nancy Reagan and just say no to anything but wood.
A quick note: by request, I have modified this recipe to include US/Imperial measurements and, where possible, volumetric. You will still need to double check these conversion figures, and in cases where my conversion app didn’t have a specific ingredient, you will need to play with it a bit or do a bit of extra research to figure out what the volumetric conversion is.
Here is what you’ll need:
1kg (2.2 pounds, 8.33 cups) all-purpose flour
46g (1.6 ounces, 1/3 cup) whole-fat milk powder
30g (1 ounce, 4.93 teaspoons) salt
750g/mL (25.4 ounces) water
250mL (8.5 ounces) active sourdough starter
Now let’s prepare the dough!
Mix together, your flour, milk powder, salt, and water, then let sit 30-60 minutes (or until your starter is fully active).
Add your fed, active starter, then knead for 10 minutes. Let that bad boy rest 15 min - it’s had a workout! Then knead 5 more minutes, rest 5 more, then knead for a final 5 (total kneading time is now 20 minutes, plus another 20 in breaks). Put the dough in an oiled bowl, cover with plastic cling wrap, and rise 16-24 hours. I usually tuck this on top of my fridge or in a cabinet so it’s out of the way. You’ll know it’s done when it’s doubled in bulk. I like to mark the bowl with a Sharpie as soon as I put the dough in so I have a visual marker of where it was when I come back the next day. Much easier that way than it is to try to remember.
Time to shape and bake!
Remove your dough from its bowl and divide in half. You now have a choice to make: do you want to bake one loaf, or two? If only one, you can put the remainder of the dough in the fridge for up to 4 days, or you can freeze it in an oiled container or bag.
To shape, you will gently remove the dough from the bowl so it deflates as little as possible, put it on your board and use the scraper to tease it out into a rectangular shape a bit smaller than the length of your pan. Once that’s happened, go on ahead and shape each loaf, then put in your bread pans.
Cover and let rise 4-5 hours, until it's domed over the top of the pan. Sometimes I turn the oven on and set it next to the oven to speed this along (1-2 hours). Once risen, give it a nice brush with some milk (optional; I often forget this step), and sprinkle with some sesame or poppy seeds if you like that effect. Bake 350 for 70 minutes, then turn off open, crack the door, and give it another 10-20 or whenever you remember that bread is still in there!).
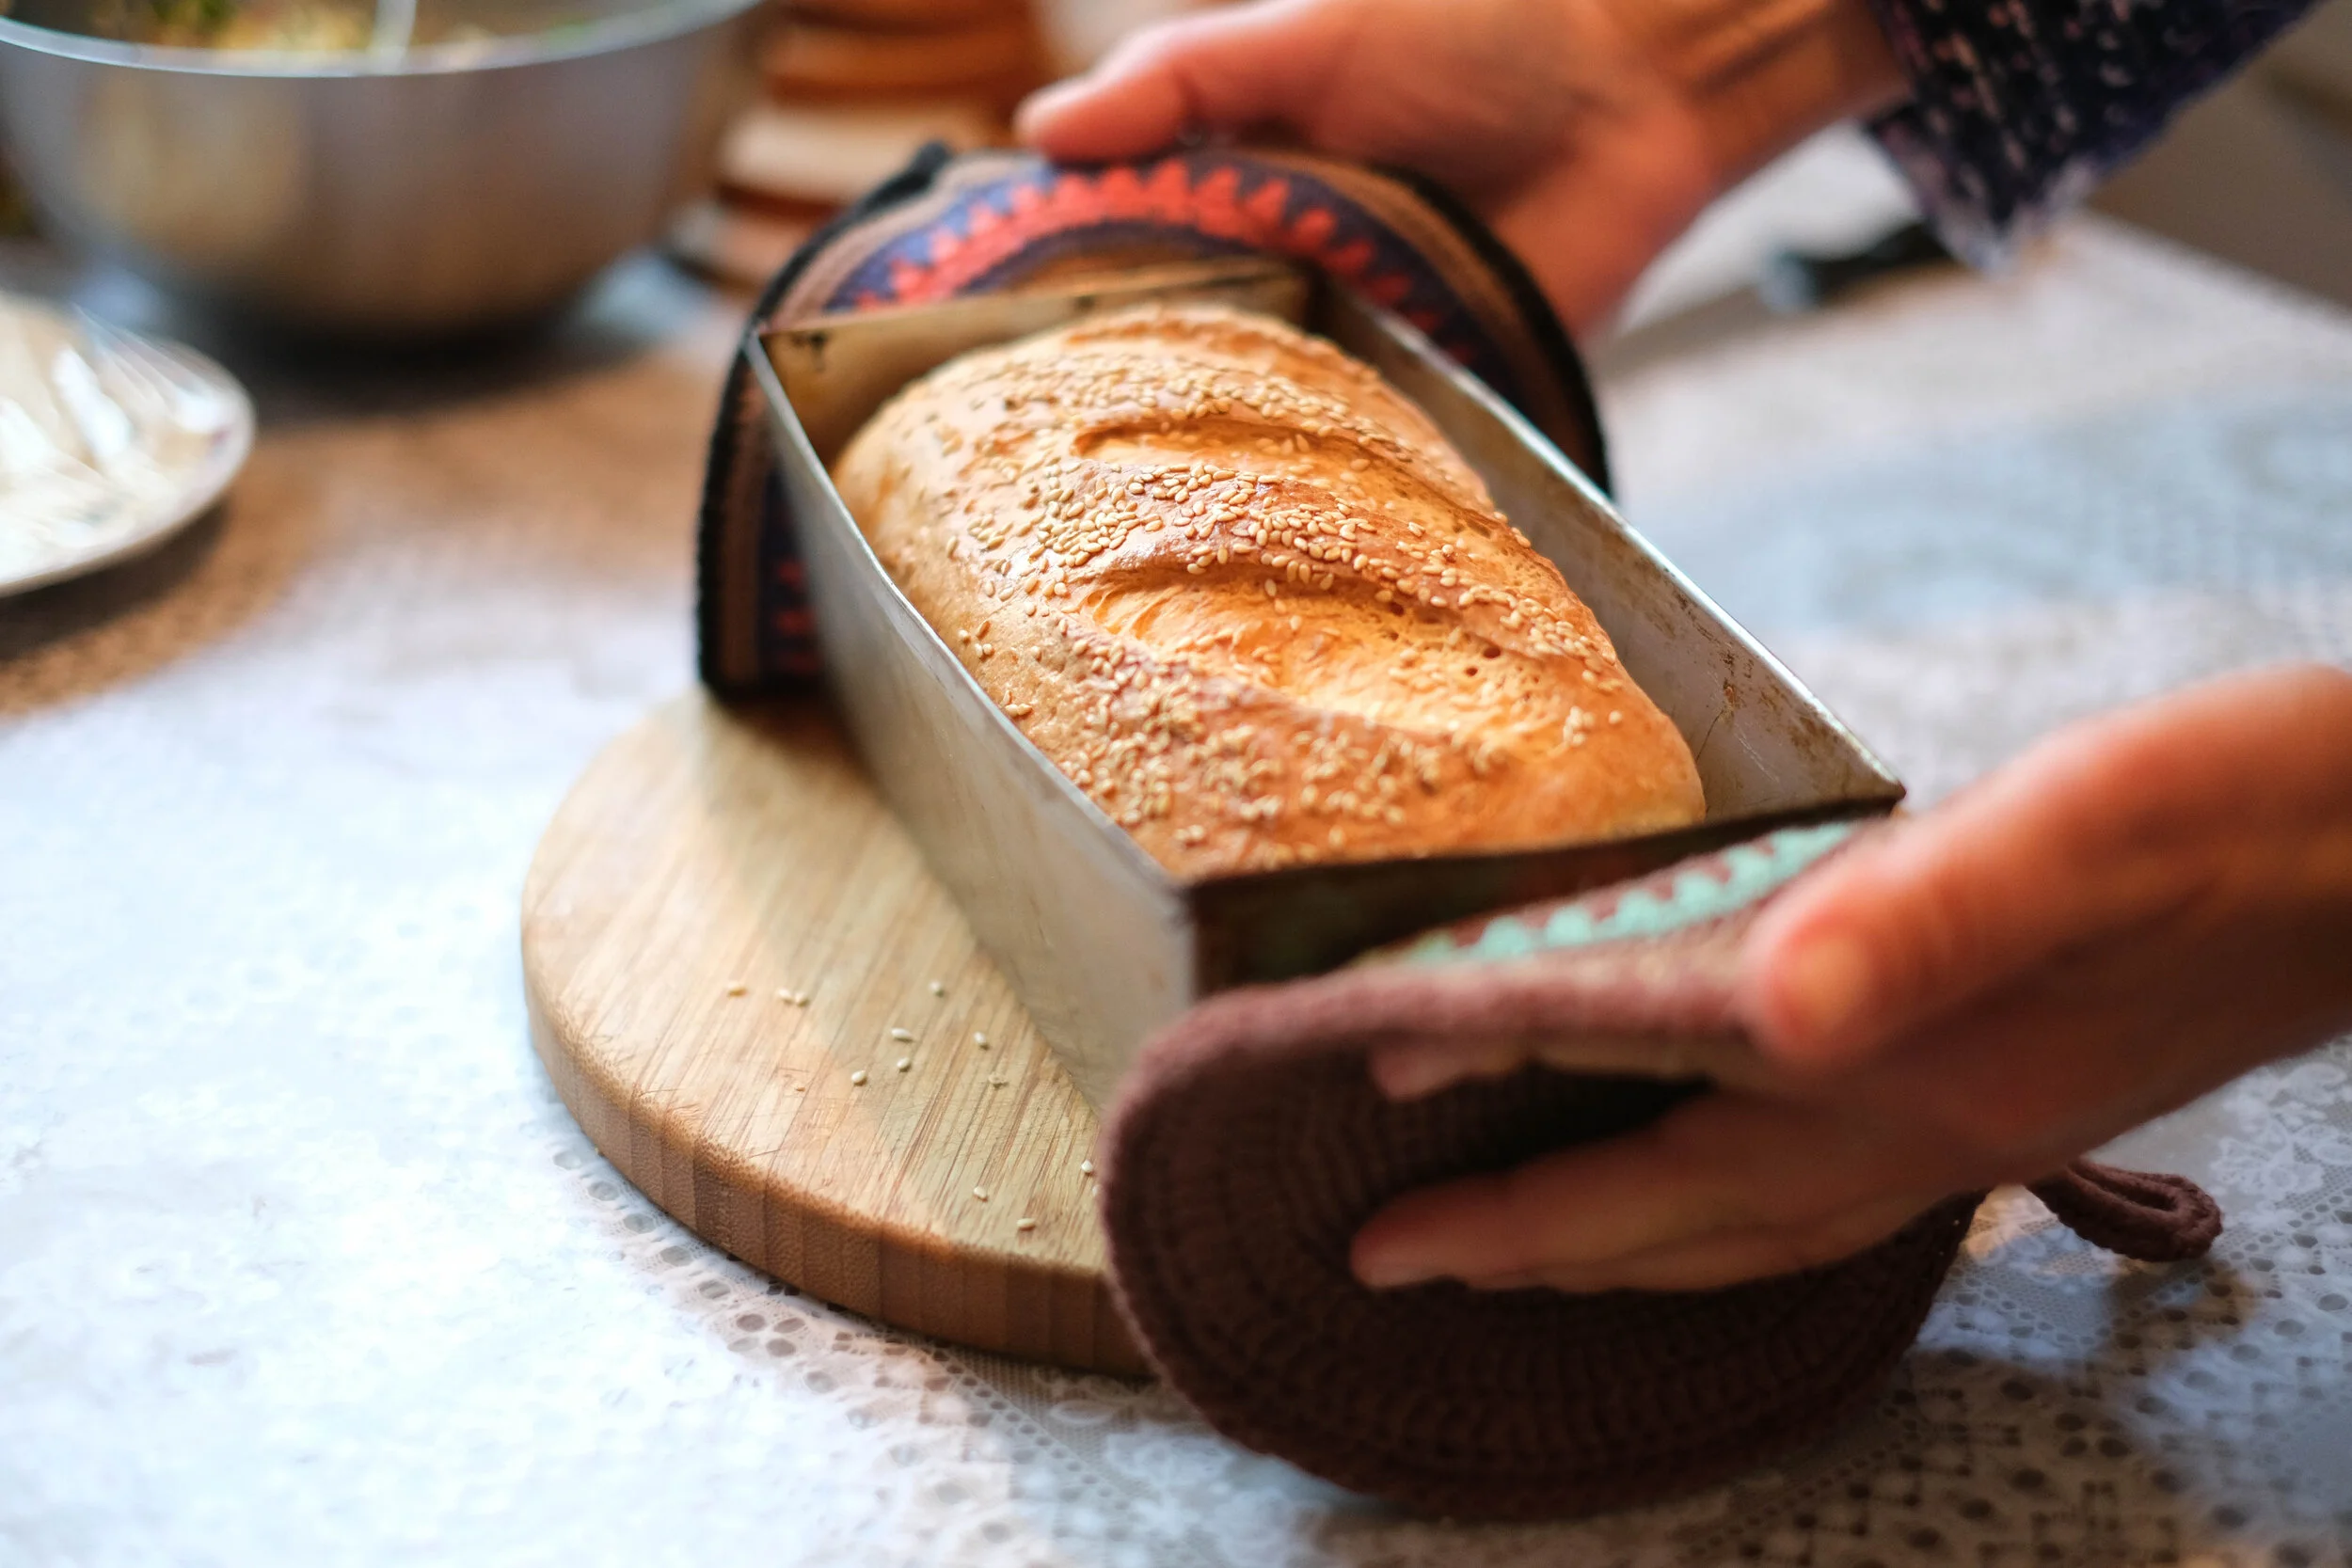
Cool your loaves on a rack for 5-10 min, turn out, and brush it all over with butter. Be liberal, because you want the butter to seep into all the beautiful cracks to give it that softness you’re looking for (and some extra flavor!). Then you will wrap your loaves in 2 towels each and let finish cooling completely on the rack before cutting. If what you’re really looking for is a soft crumb with a very crispy crust, skip the towels. Either let it cool completely before cutting into it, no matter how your tummy grumbles, or the crumb will not be as soft as your efforts indicate it should be.